I have a lot of small sets of tools that don’t come with anything suitable to store them in, and am finally getting fed up enough to make my own. Case in point, I have a small ratcheting bit driver that has the bits in the bubble pack that I purchased it in, along with a free-floating ratchet handle. All of which was stored in a ziploc bag for upwards of 5 years.
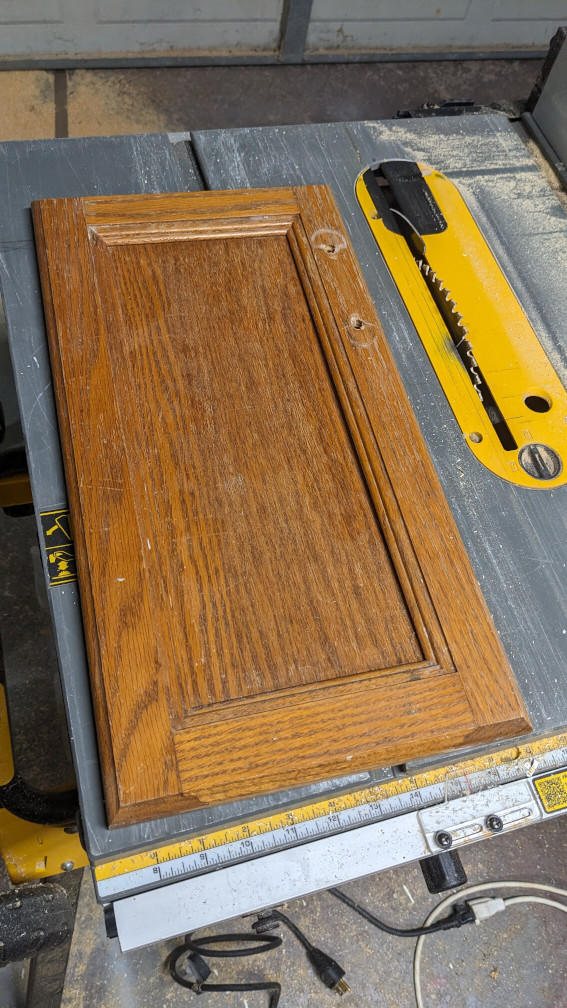
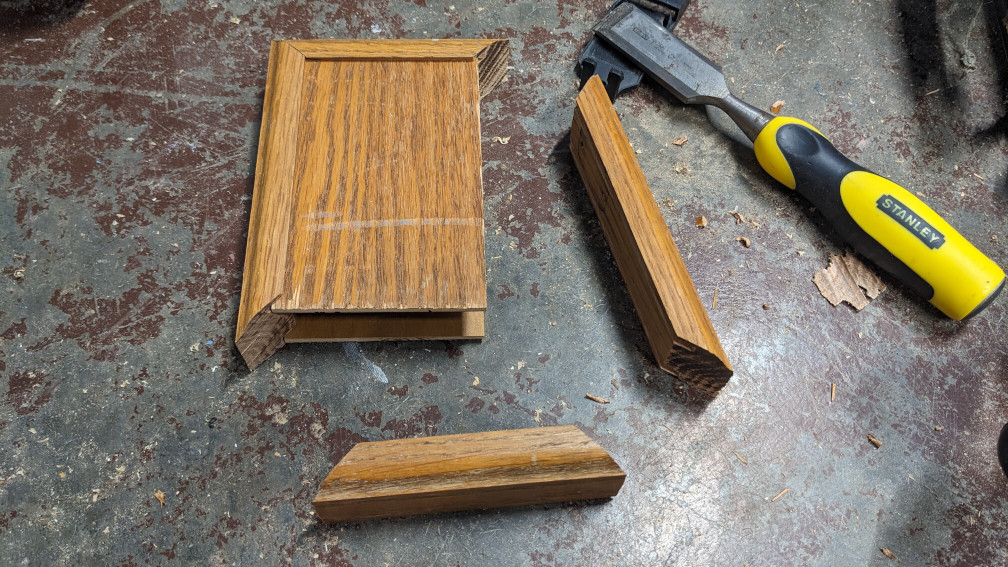
I also have some doors from an oak cabinet that we took down and got rid of some time ago during a bathroom remodel. I put the cabinet by the side of the road and a neighbor took it, but I forgot to put the doors with it. This particular door got ran into, and was broken pretty badly.
Let’s tear it apart with a table saw and get something useful out of it. Make sure the tree didn’t die in vain.
 Plywood delaminated from a child’s knee
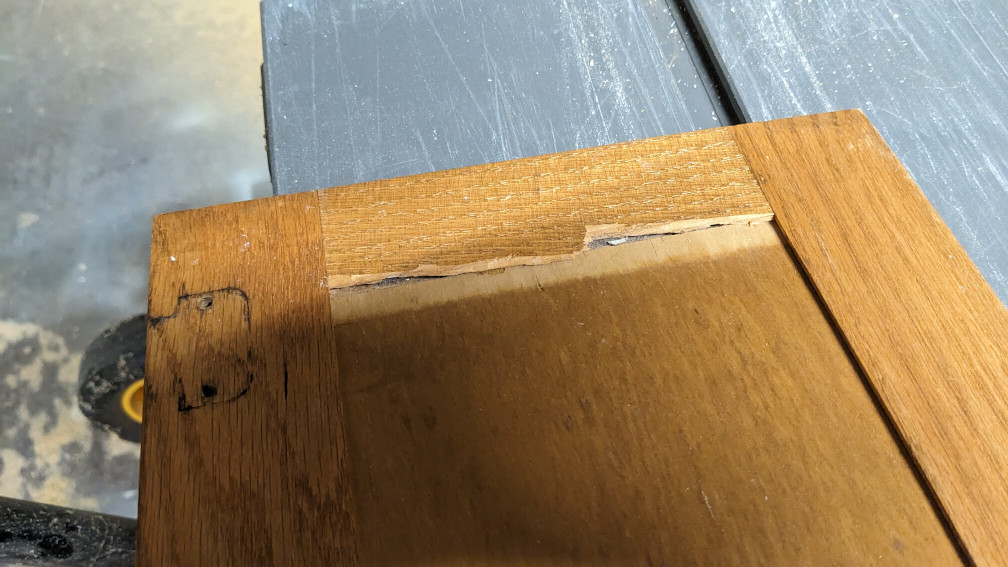 Collateral damage at the dado
The idea was to use the stiles and rails in a different orientation to create the box. I want the walls of the box to be tall, not that wide. As they sit on the door, they are wide and not very thick.
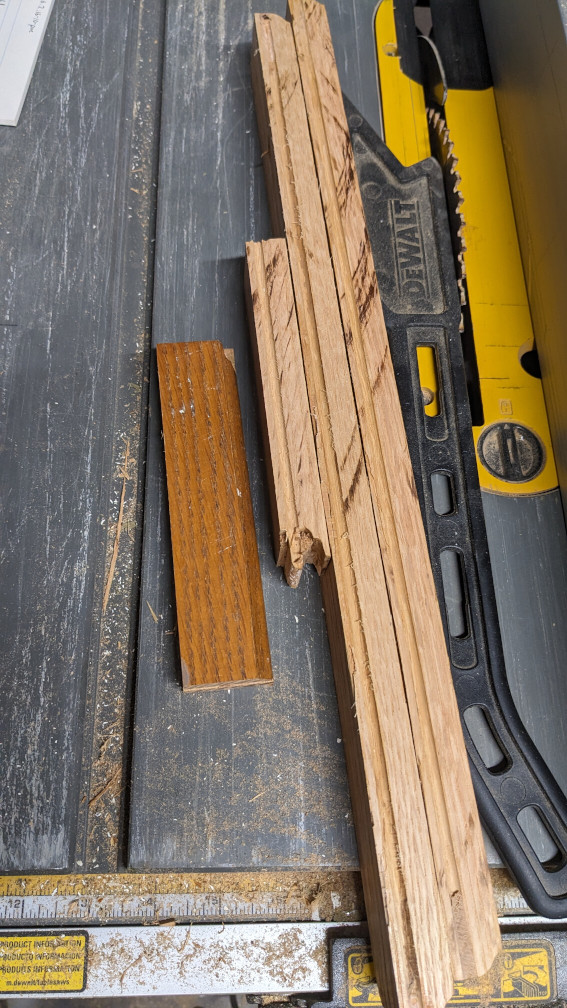 Dado for plywood insert ripped off
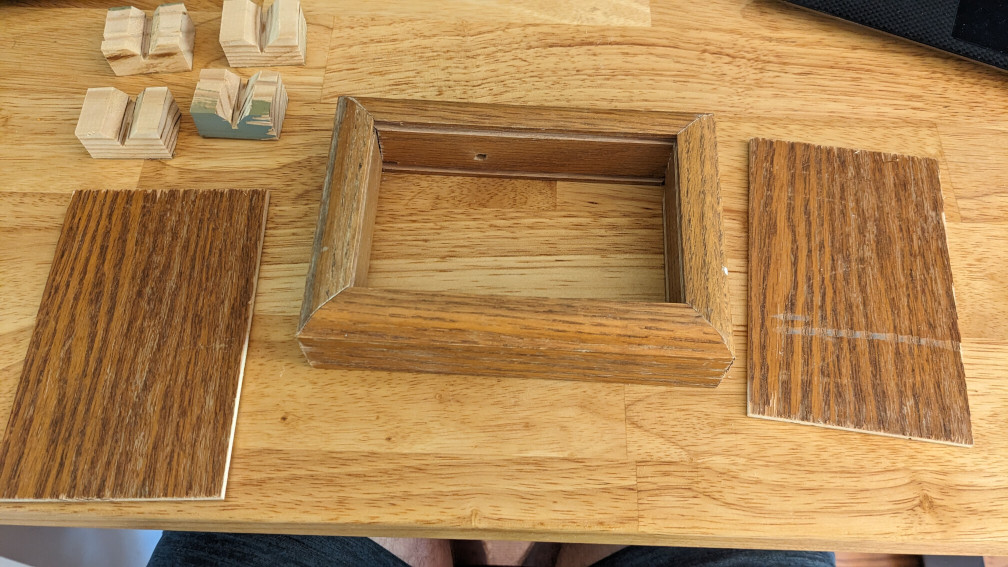
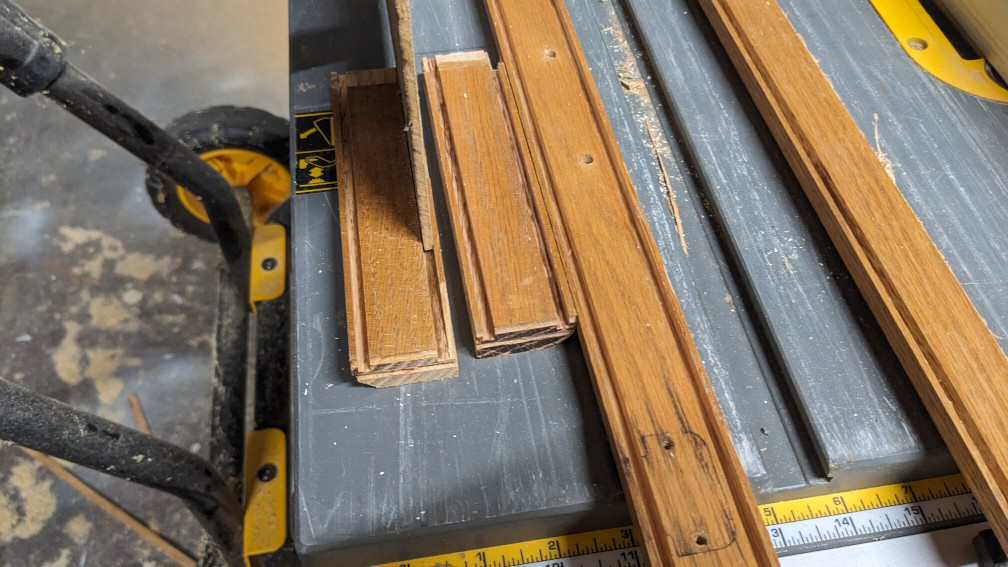 New dados for plywood in new orientation
Next step is to miter the corners, determine the dimensions needed for the plywood top/bottom, and dry fit.
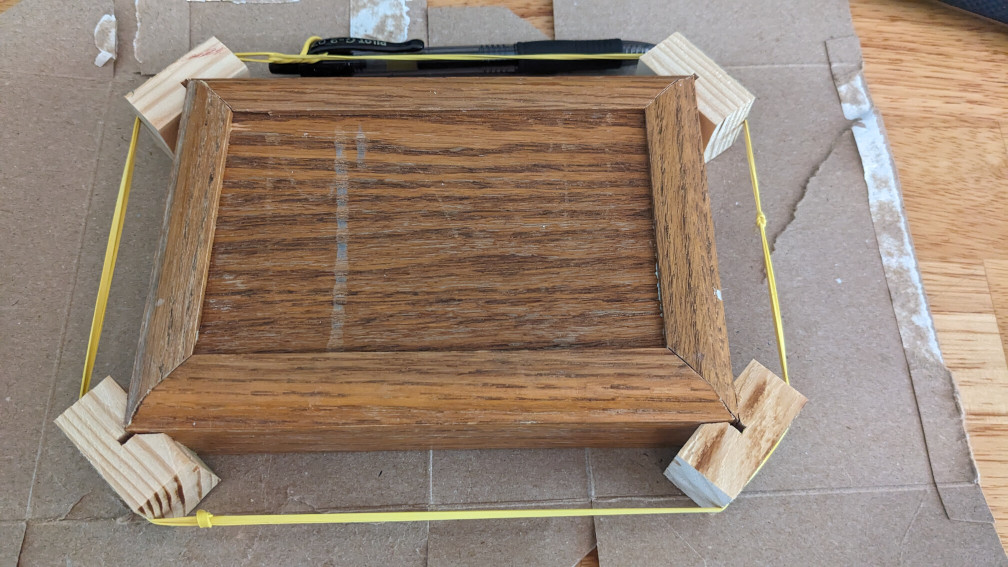
 Dry fitting
 Pre-glue
 Glue drying
It would have been a great idea to sand off the existing finish prior to gluing. The inset corners will end up being very difficult to sand well later on. The next step will be to cut the top and bottom apart from one another on the table saw, then add some elm (from my back yard) to thicken up the top and stabilize the corners with the small glue surface. In the 2nd photo below you can see how I added a strip at a 45 to help stabilize the corner without adding a small dowel/bowtie/etc. then filled in the remaining area.
 Top/bottom separated, elm glued on
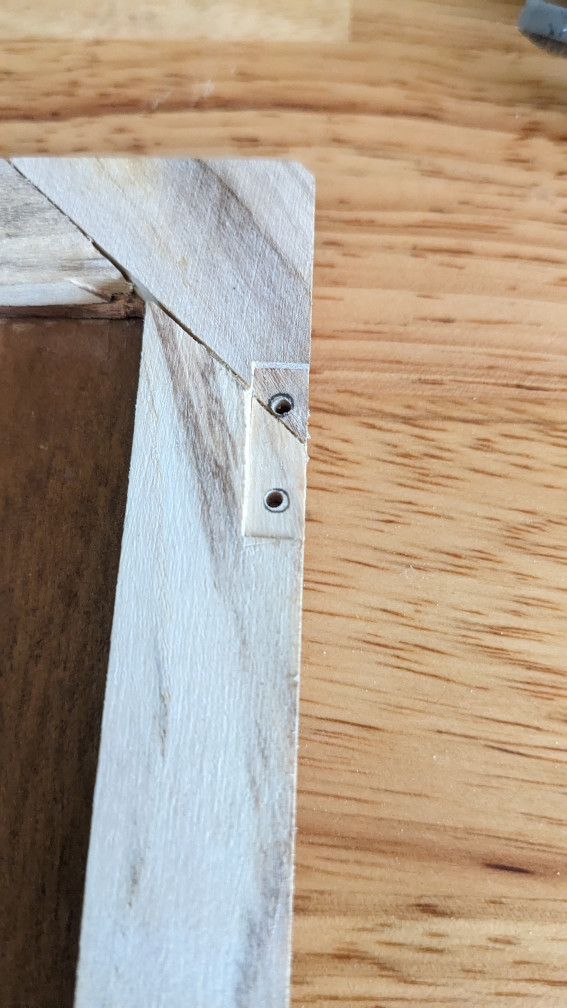 Pre-drilled screw holes
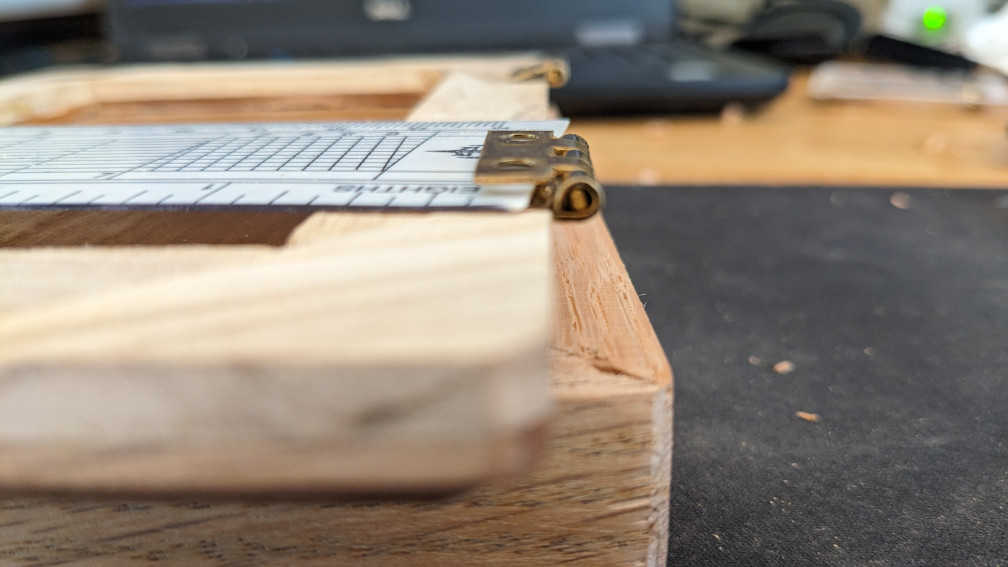 Hinges are not thin
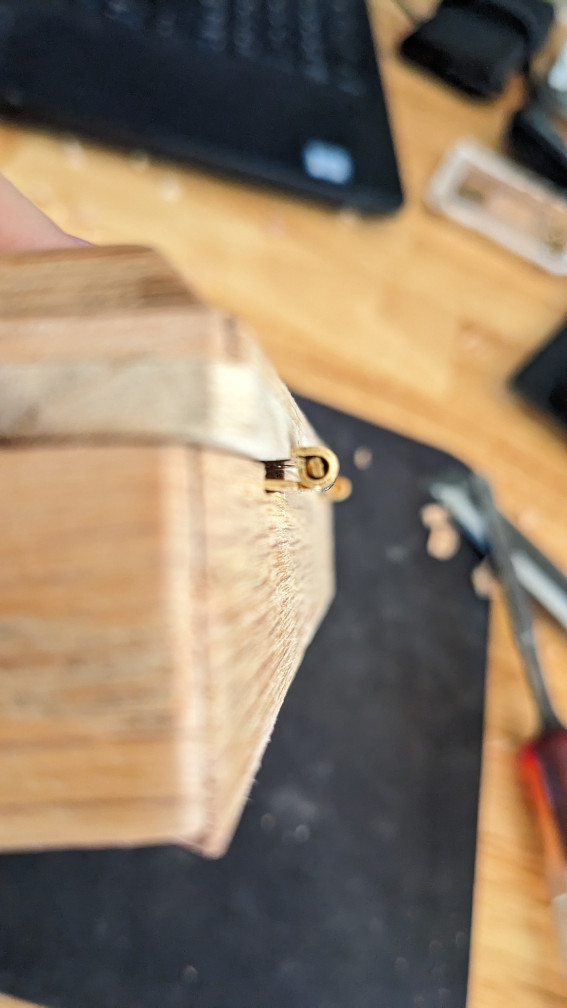 Extra depth on bottom hinge pockets
The hinges didn’t sit flush with one another. I could have probably squeezed them in a vise and had it work just fine. But ultimately I decided to just make the pockets for them on the bottom end deeper to prevent an odd gap. The top, even with the added strip of elm was thin enough that I ended up having to cut down the screws to prevent bursting through the top.
 After sanding to 220 grit
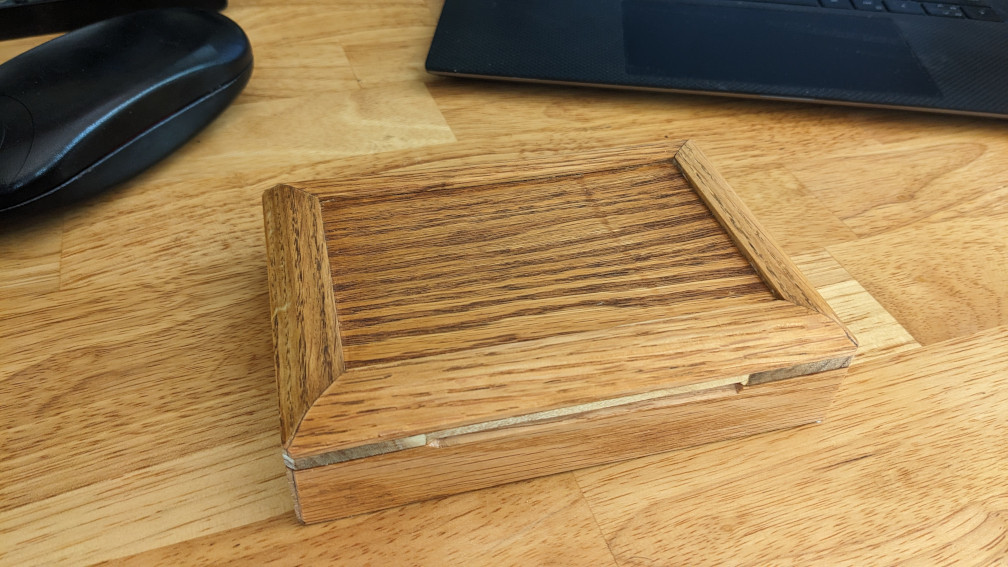
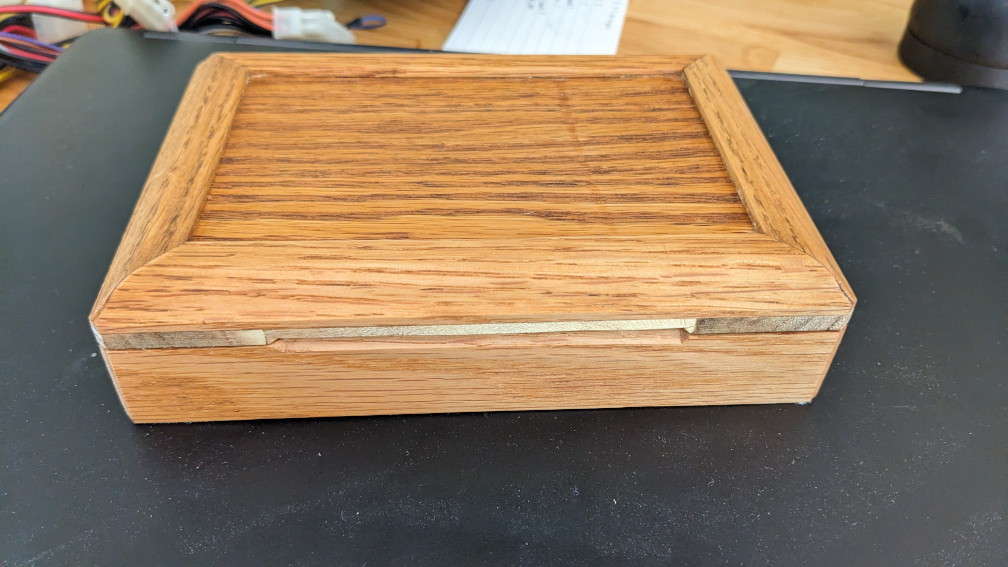 3 coats of tung oil
Another addition before finishing was to add a small chamfer to the top and bottom. I decided to inset some magnets to hold the box closed, and these chamfers will give my fingers somewhere to go and apply some force to separate them. Similar to the front of a laptop.
This post is a work in progress. After picking up some neodymium magnets I will inset them into the top/bottom corners with epoxy, and 3D print an insert to hold my driver and bits. The box ended up bigger than required for the small tool set. So if I want to add additional items in the future I can just redesign and reprint the insert. If I filled it with a solid block of wood and carved everything out with a chisel, I will fall into the sunk cost fallacy, and be unwilling to repurpose the box and throw away the insert.
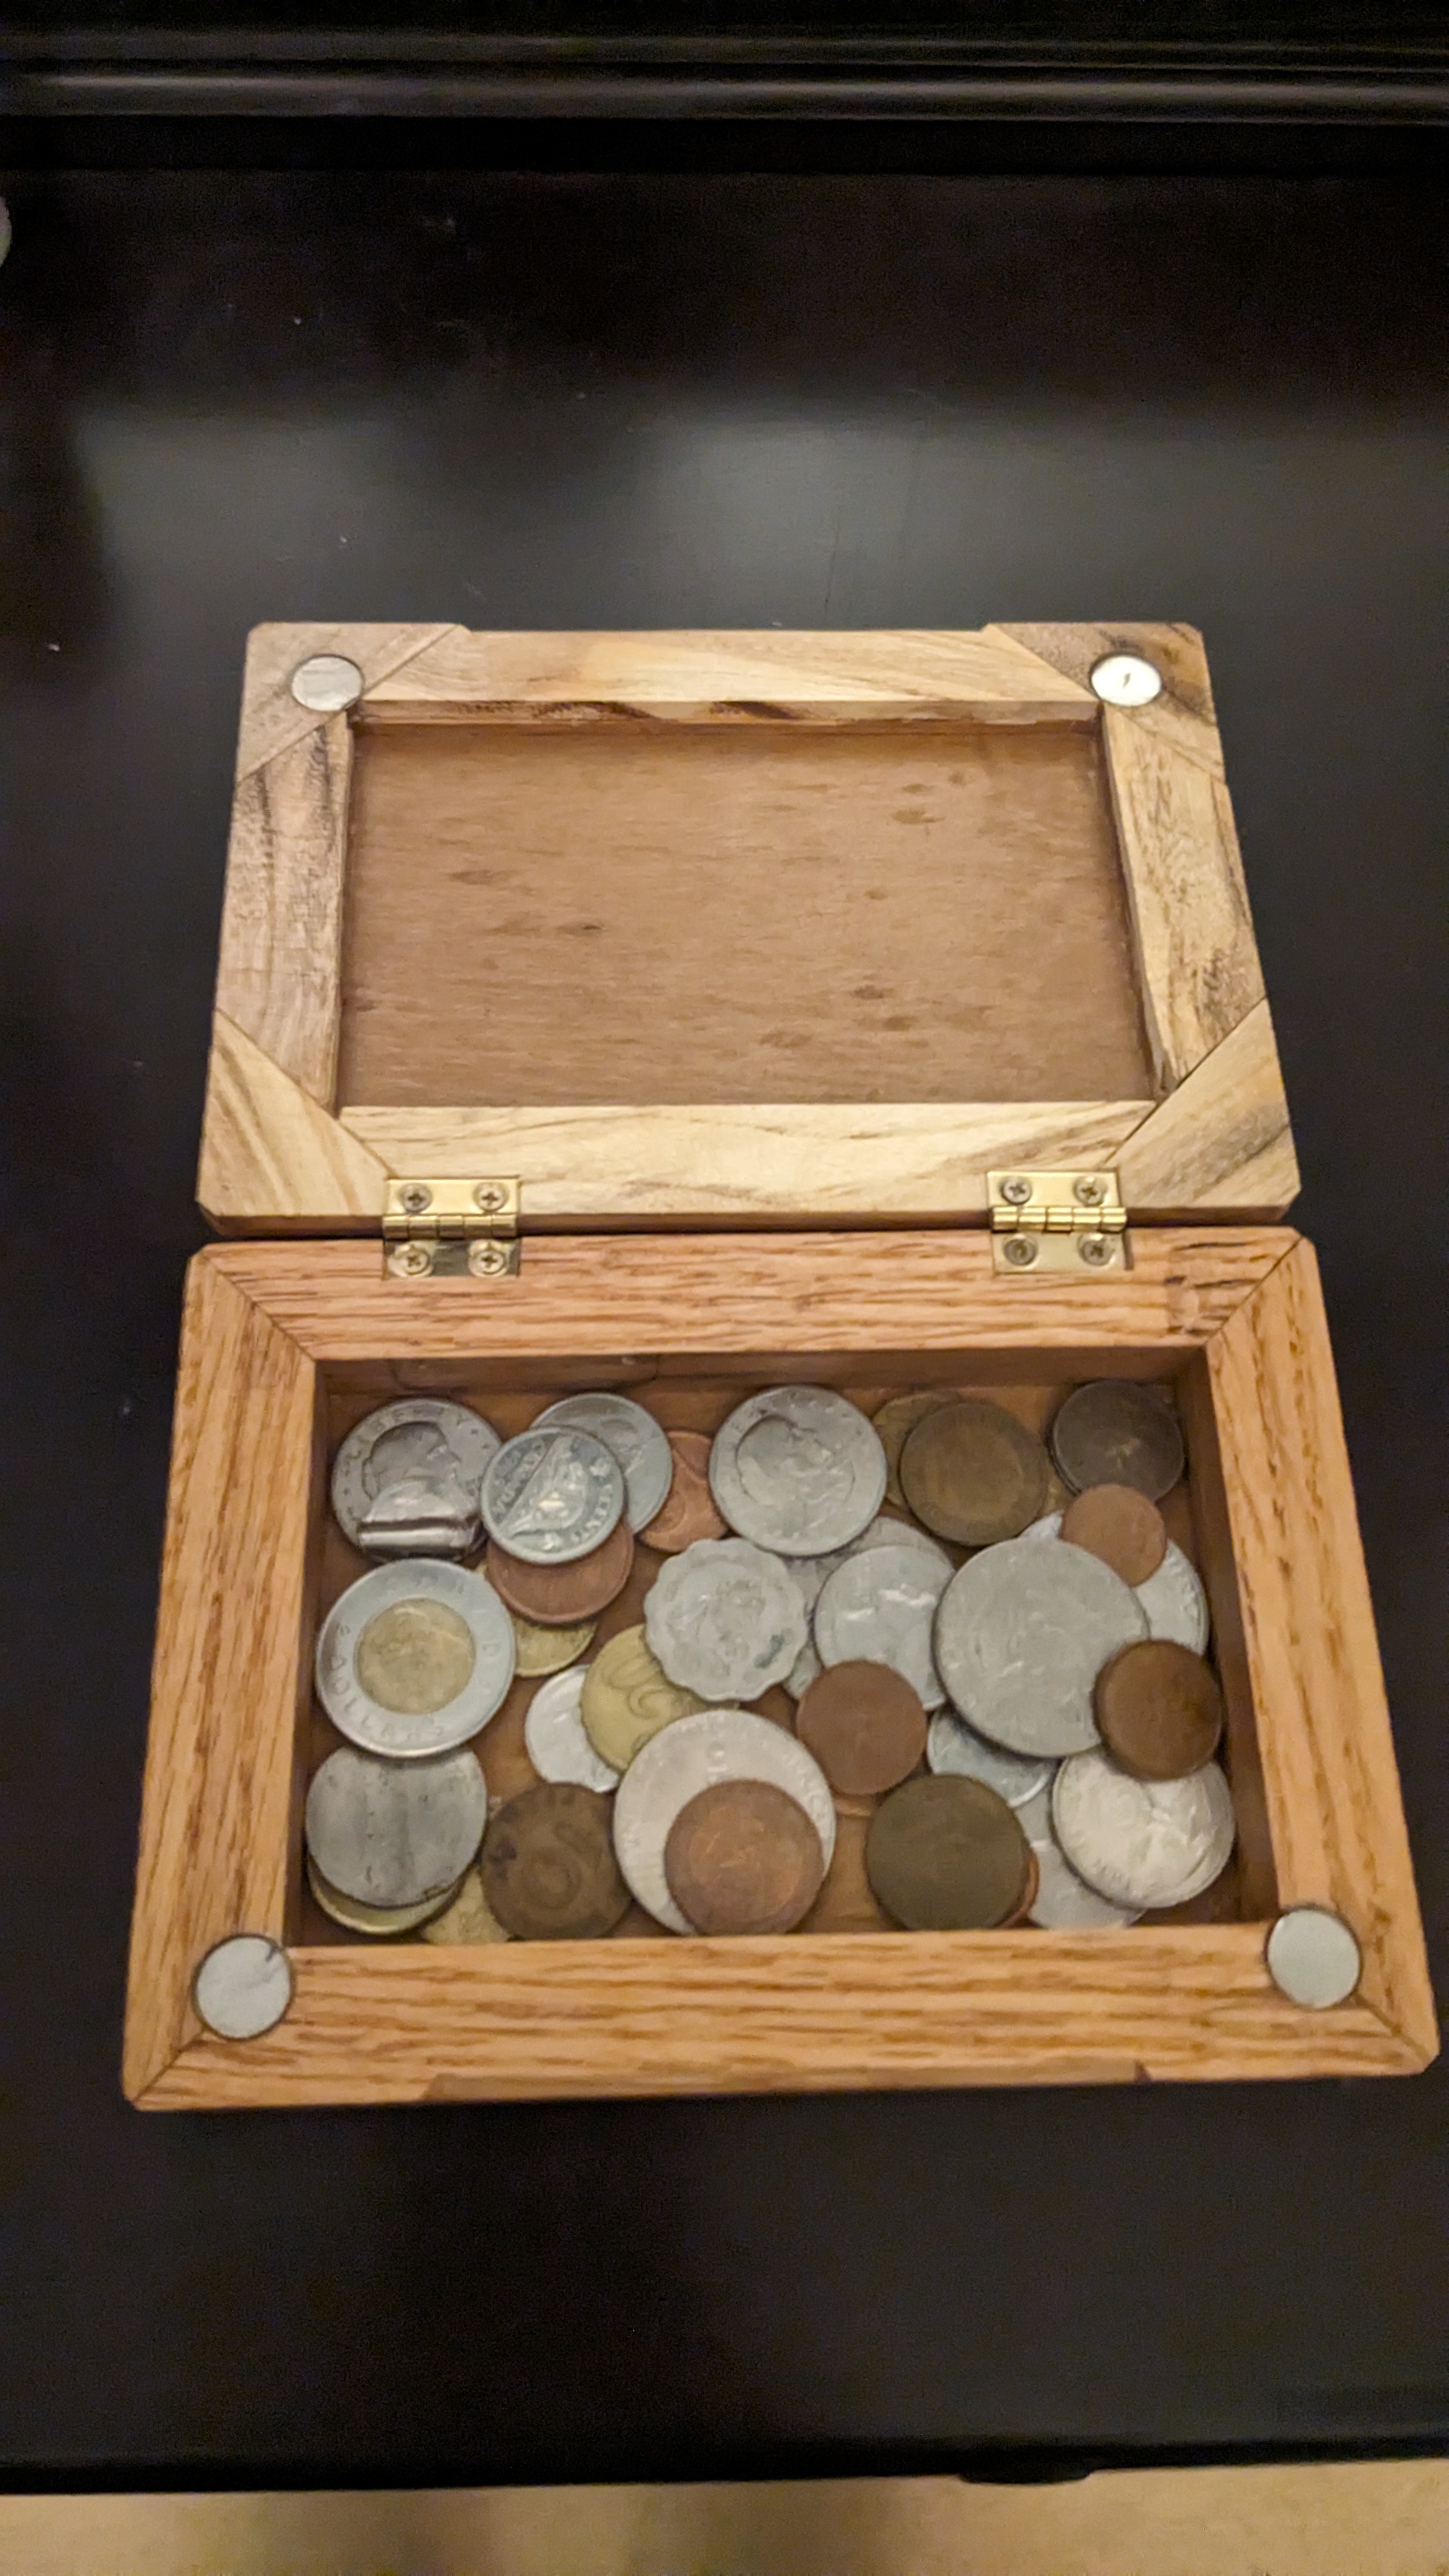 The final product sitting on the dresser with some coins that I’ve acquired over the years.
I’m a big fan of the neodymium magnets. You can use different sizes to get different holding force, or sink them a bit deeper with thicker epoxy separating them to make the holding strength a bit weaker.
I don’t know if I’ll use any of that wood from the back yard again, the grain isn’t all that nice, it wasn’t all that dry, and I don’t have a bandsaw. So resawing it into something usable gave me more burn marks than I would like. The neighbor has a small mill, and can probably help out in the future.
And I think I’ll have to use some paste wax to give it a bit more of a lustrous finish. I’m not sure I’m in love with just plain tung oil. It looks a bit dull, but I don’t want to mess around with polyurethane.