This one was quick and easy, as it wasn’t on the short list when we moved in.
It turns out our house was the mother in law’s place, and the daughter and son in law live next door. They put her in an assisted living facility, and sold her house. Yes, the sellers live next door… awkward.
But they moved for work for 3 years (according to the other neighbor), and are keeping the house. They are older and don’t understand security cameras or home automation. So they just leave the lights on 24/7, presumably to ward off burglars. The front porch, side yard floodlights, back deck, living room, etc. are all on, all the time.
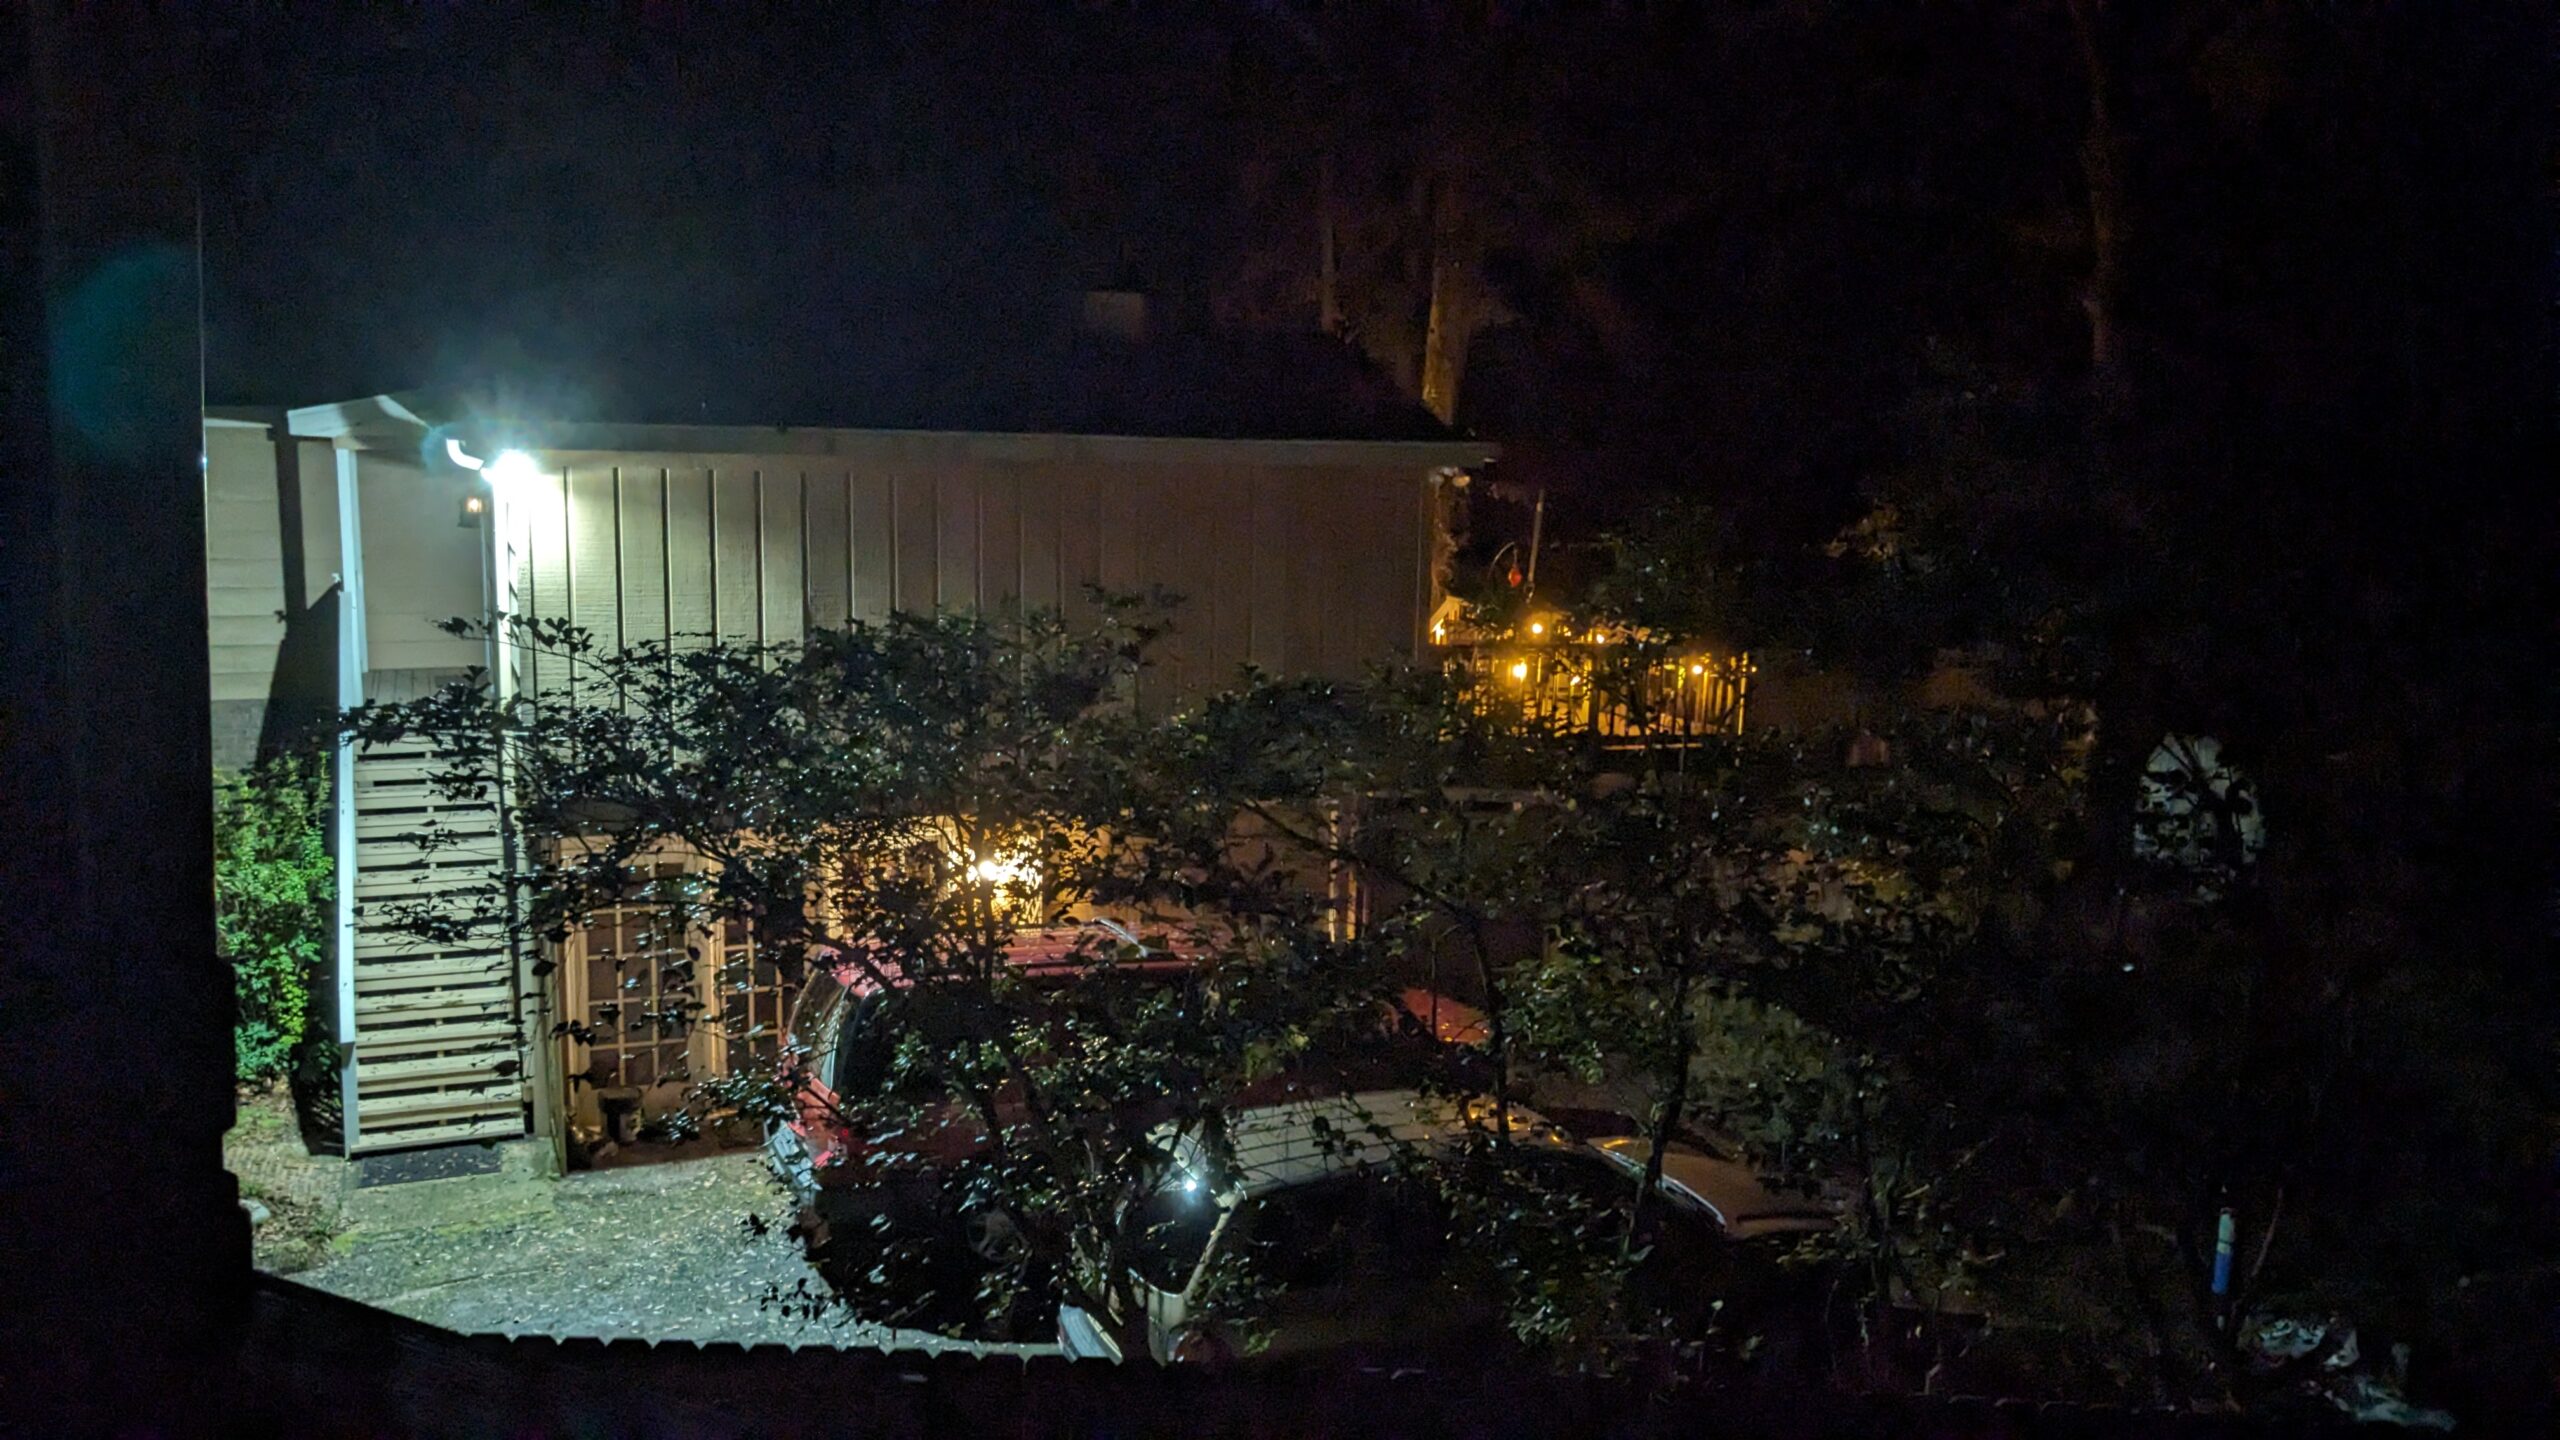 From the back deck, 2ft outside our bedroom.
We have vaulted ceilings and windows in the gables, and our master bedroom faces that neighbor, which means lots of light keeping us from sleeping well. Eventually we will probably close this in with a normal insulated wall, but for now it needs to exist as a window. So it’s getting coated in a film.
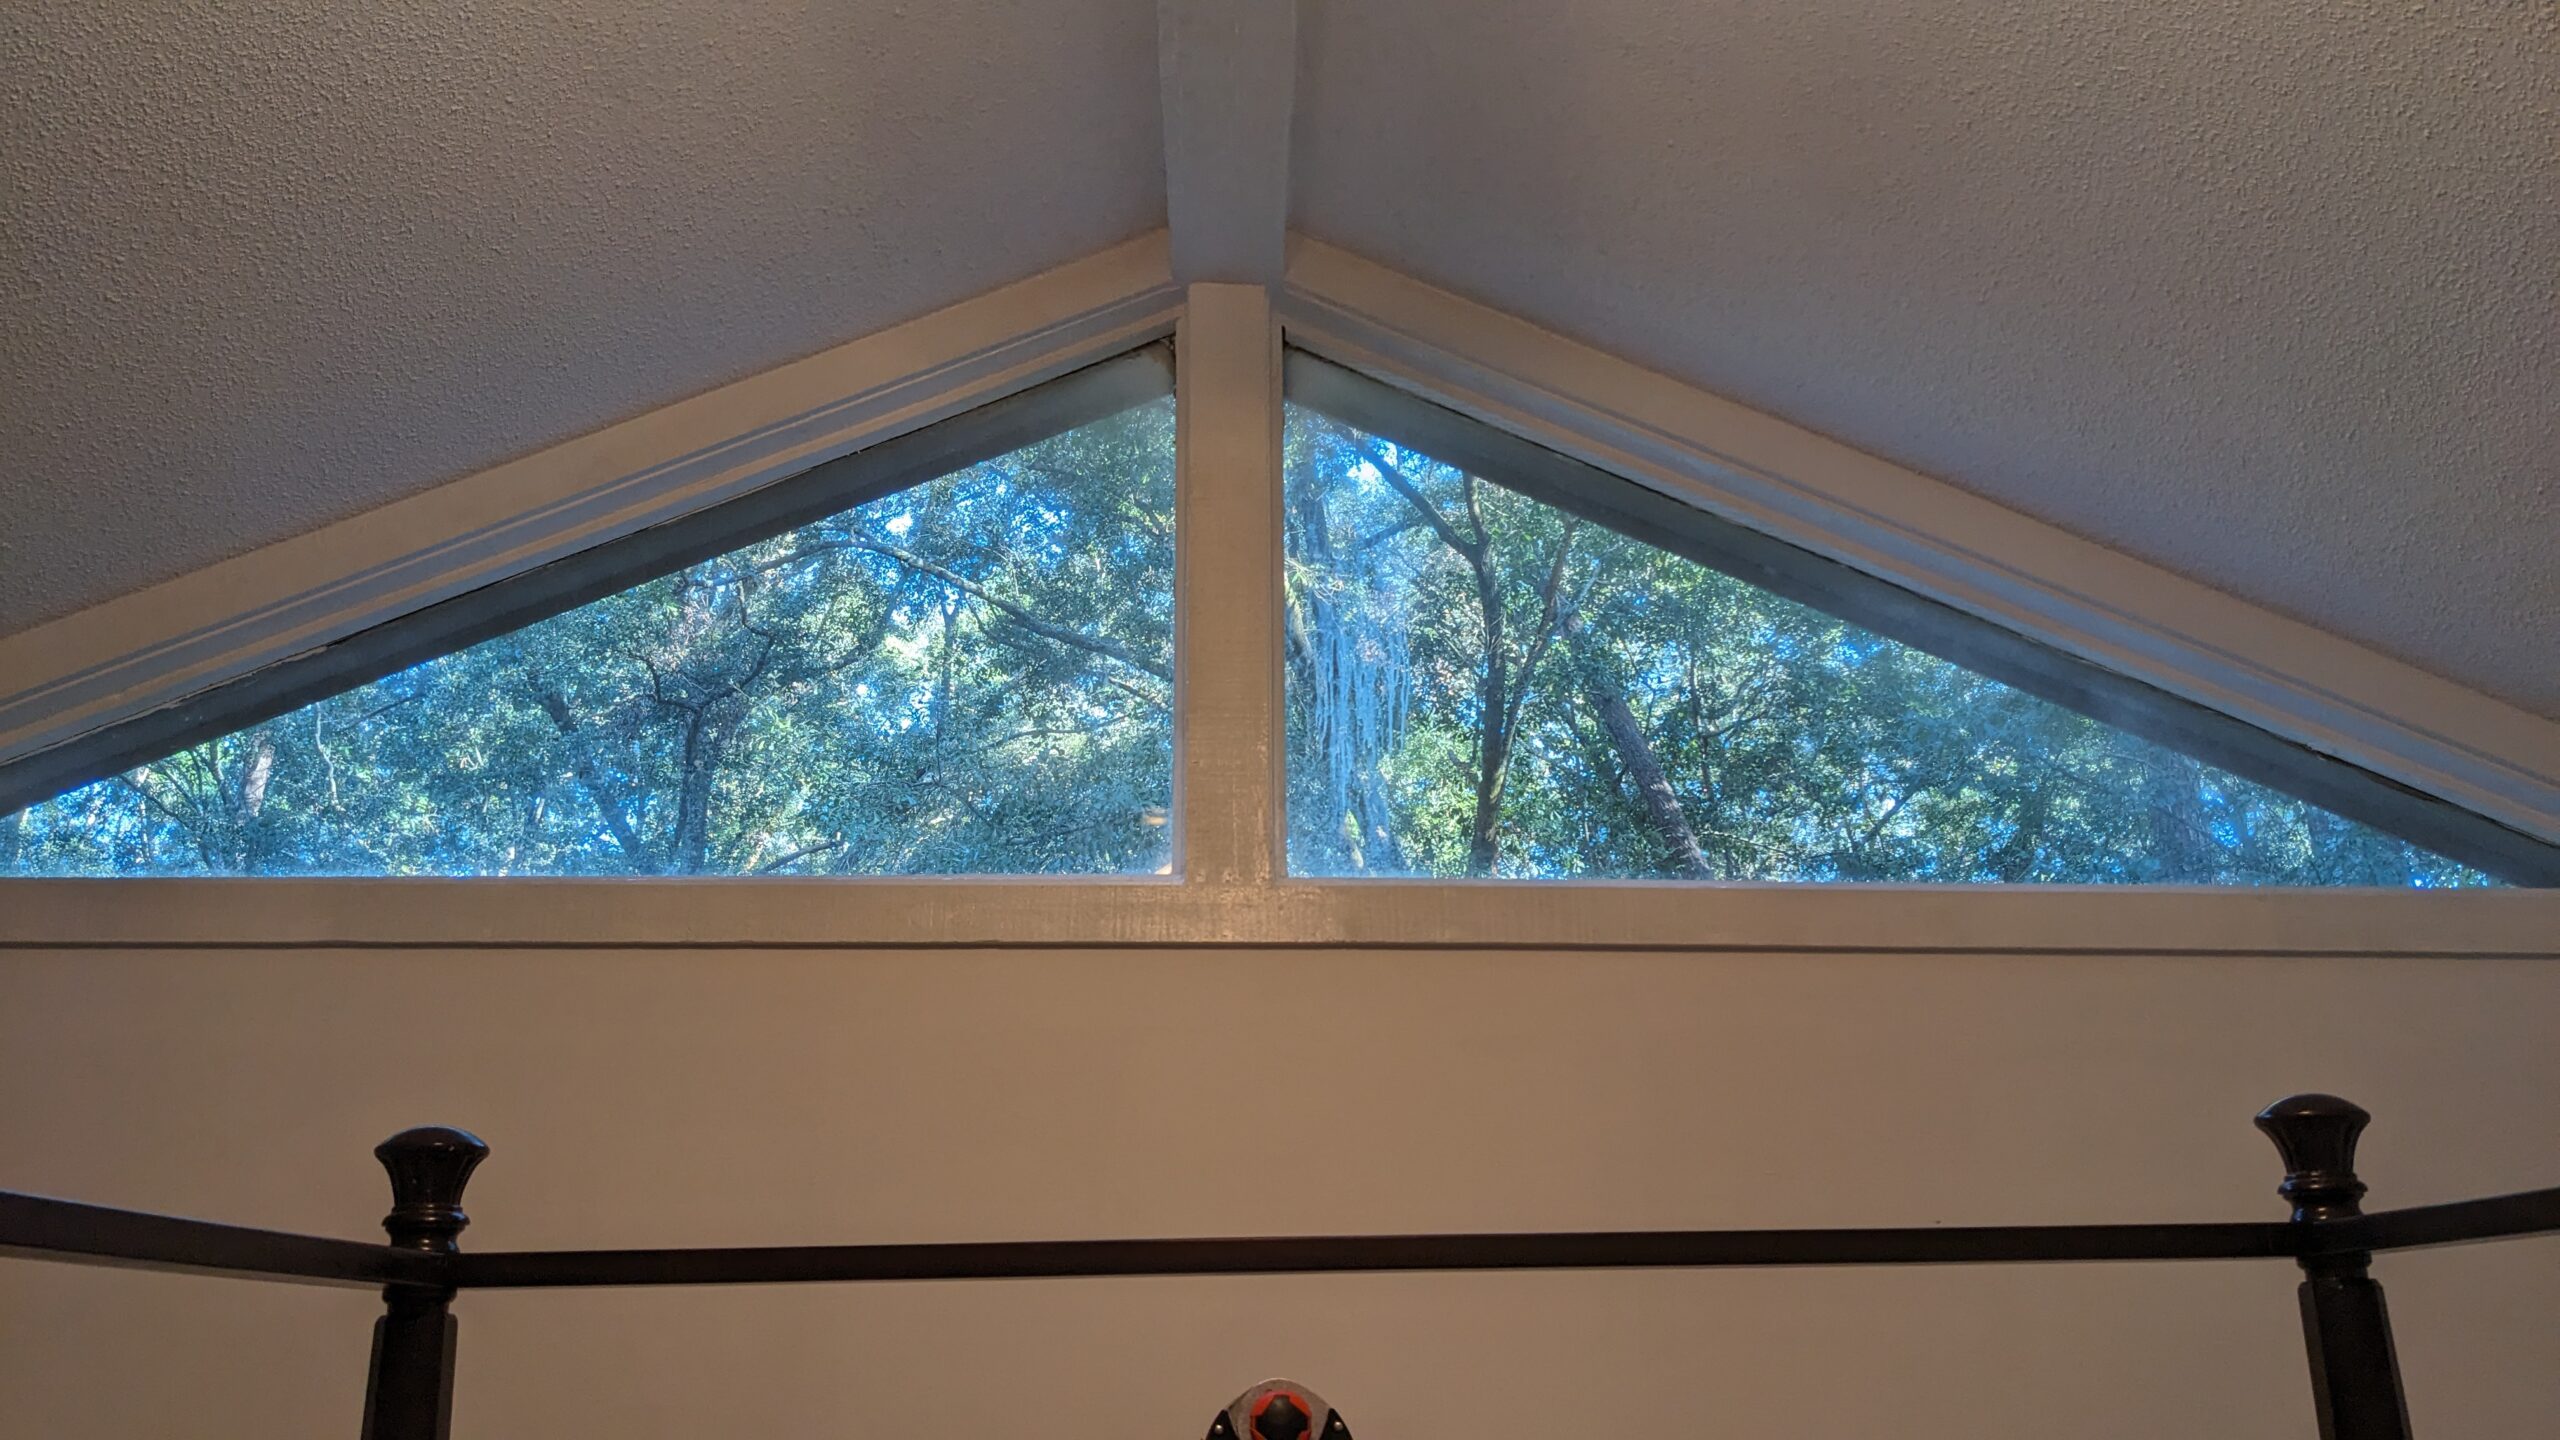 And they did a terrible job painting, so there is crud all over the windows…
We bought a roll of film from Lowe’s, it was $30 or so. Gila privacy black 36x78; static cling.
It will be just enough to cover our two windows by cutting down the diagonal. It has a paper backing on one side. It’s not a sticker, the backing keeps one side clean so you can squeegee it against the glass without dust and dirt particles in between. Both sides are the same finish and consistency, so we’re just flipping one. It seemed to work just fine. Ymmv.
1: Cut pieces and dry fit.
They say to keep them at least 1" larger than needed in each dimension. I found that 3-4" extra is good for something this large. Small deviations in angle will end up as a large runout along the 6′ length I’m dealing with.
2: Clean the windows.
I used a razor blade scraper, then Windex and microfiber cloth. The instructions say not to use vinegar/ammonia based cleaner. Just let it dry fully after cleaning I guess.
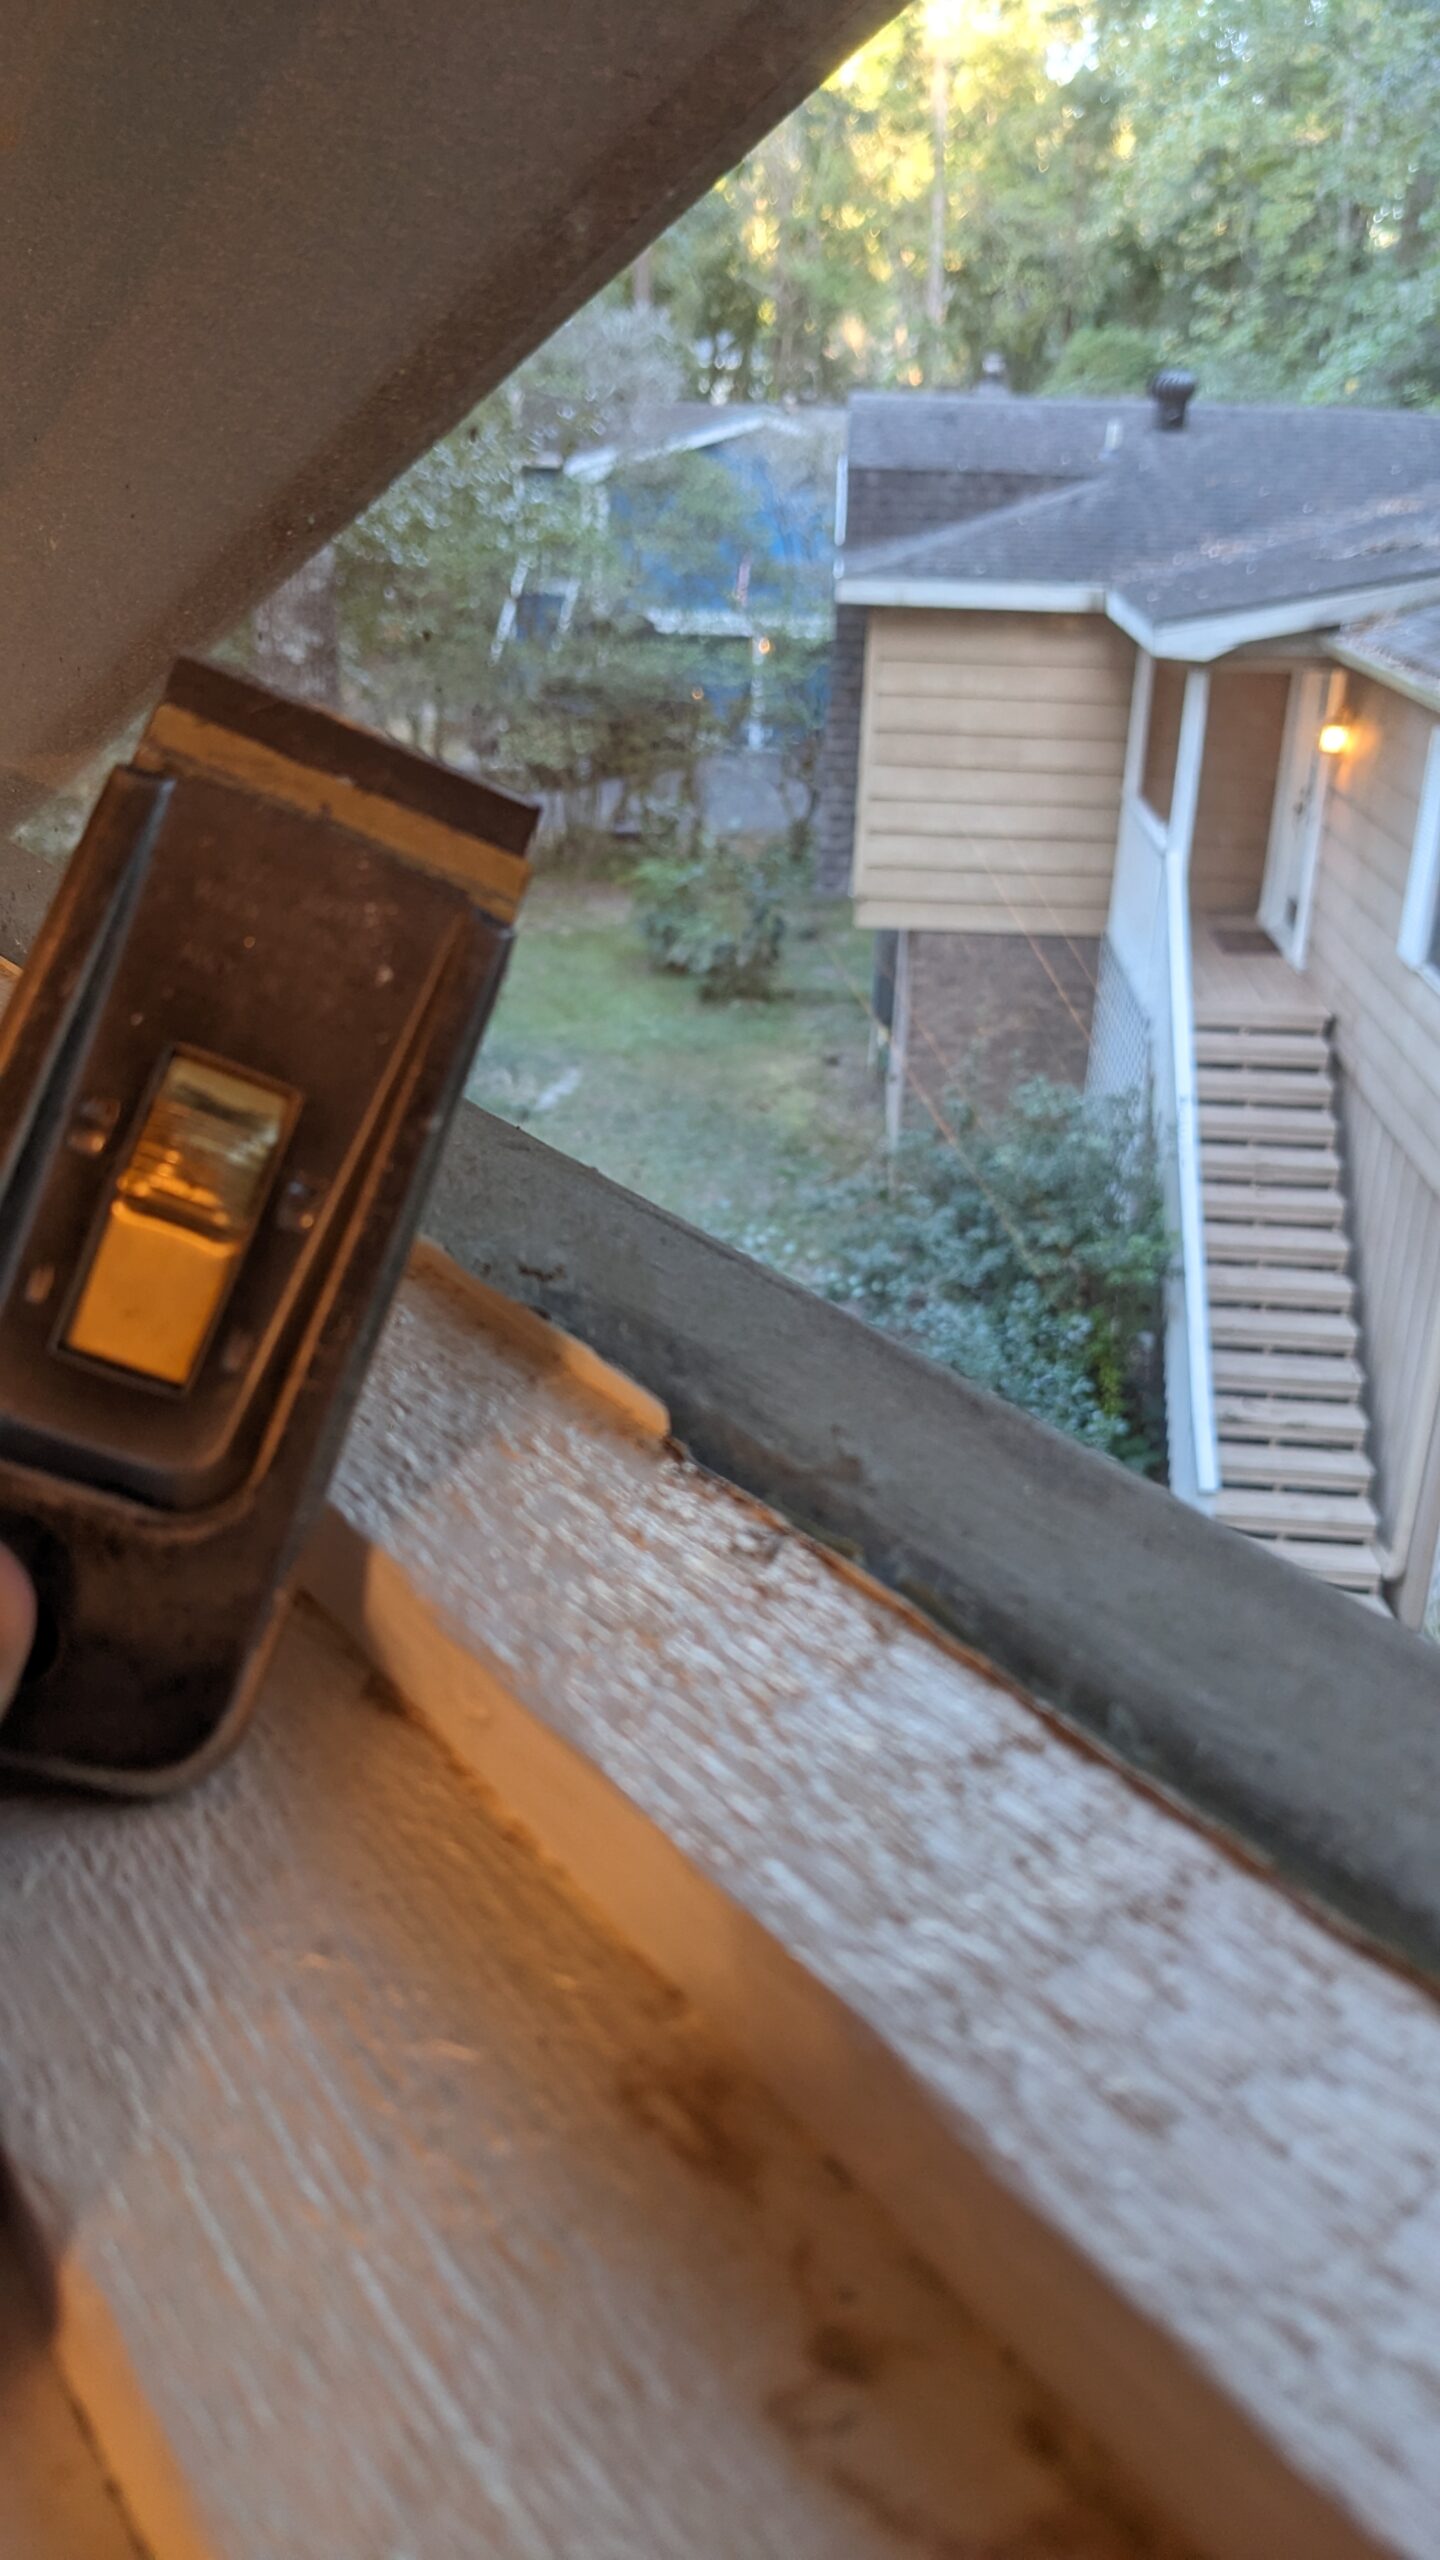 Cleaned on the right, still dirty on the left. Maybe I should have just painted the windows white until we rip them out. There’s more light coming in now it seems.
3: Wet the window.
With their special formula, of course. In reality this is just dawn dish soap and water in a spray bottle. So make your own for a few cents.
4: Peel backer off and squeegee.
From the middle out is best. I used an old library card that was thin and pliable. A rubber spatula could work in a pinch. It helps to also work the top first to get some Van der Waals force keeping it all from sliding down (or figure out how to turn off gravity temporarily, shooter’s choice).
5: Cut excess.
With a good fresh razor blade - I like these little guys.

6: Re-squeegee the edges after cutting.
If you’re lucky, you can tuck a tiny bit of the excess into the gap (because the previous builders were sloppy).
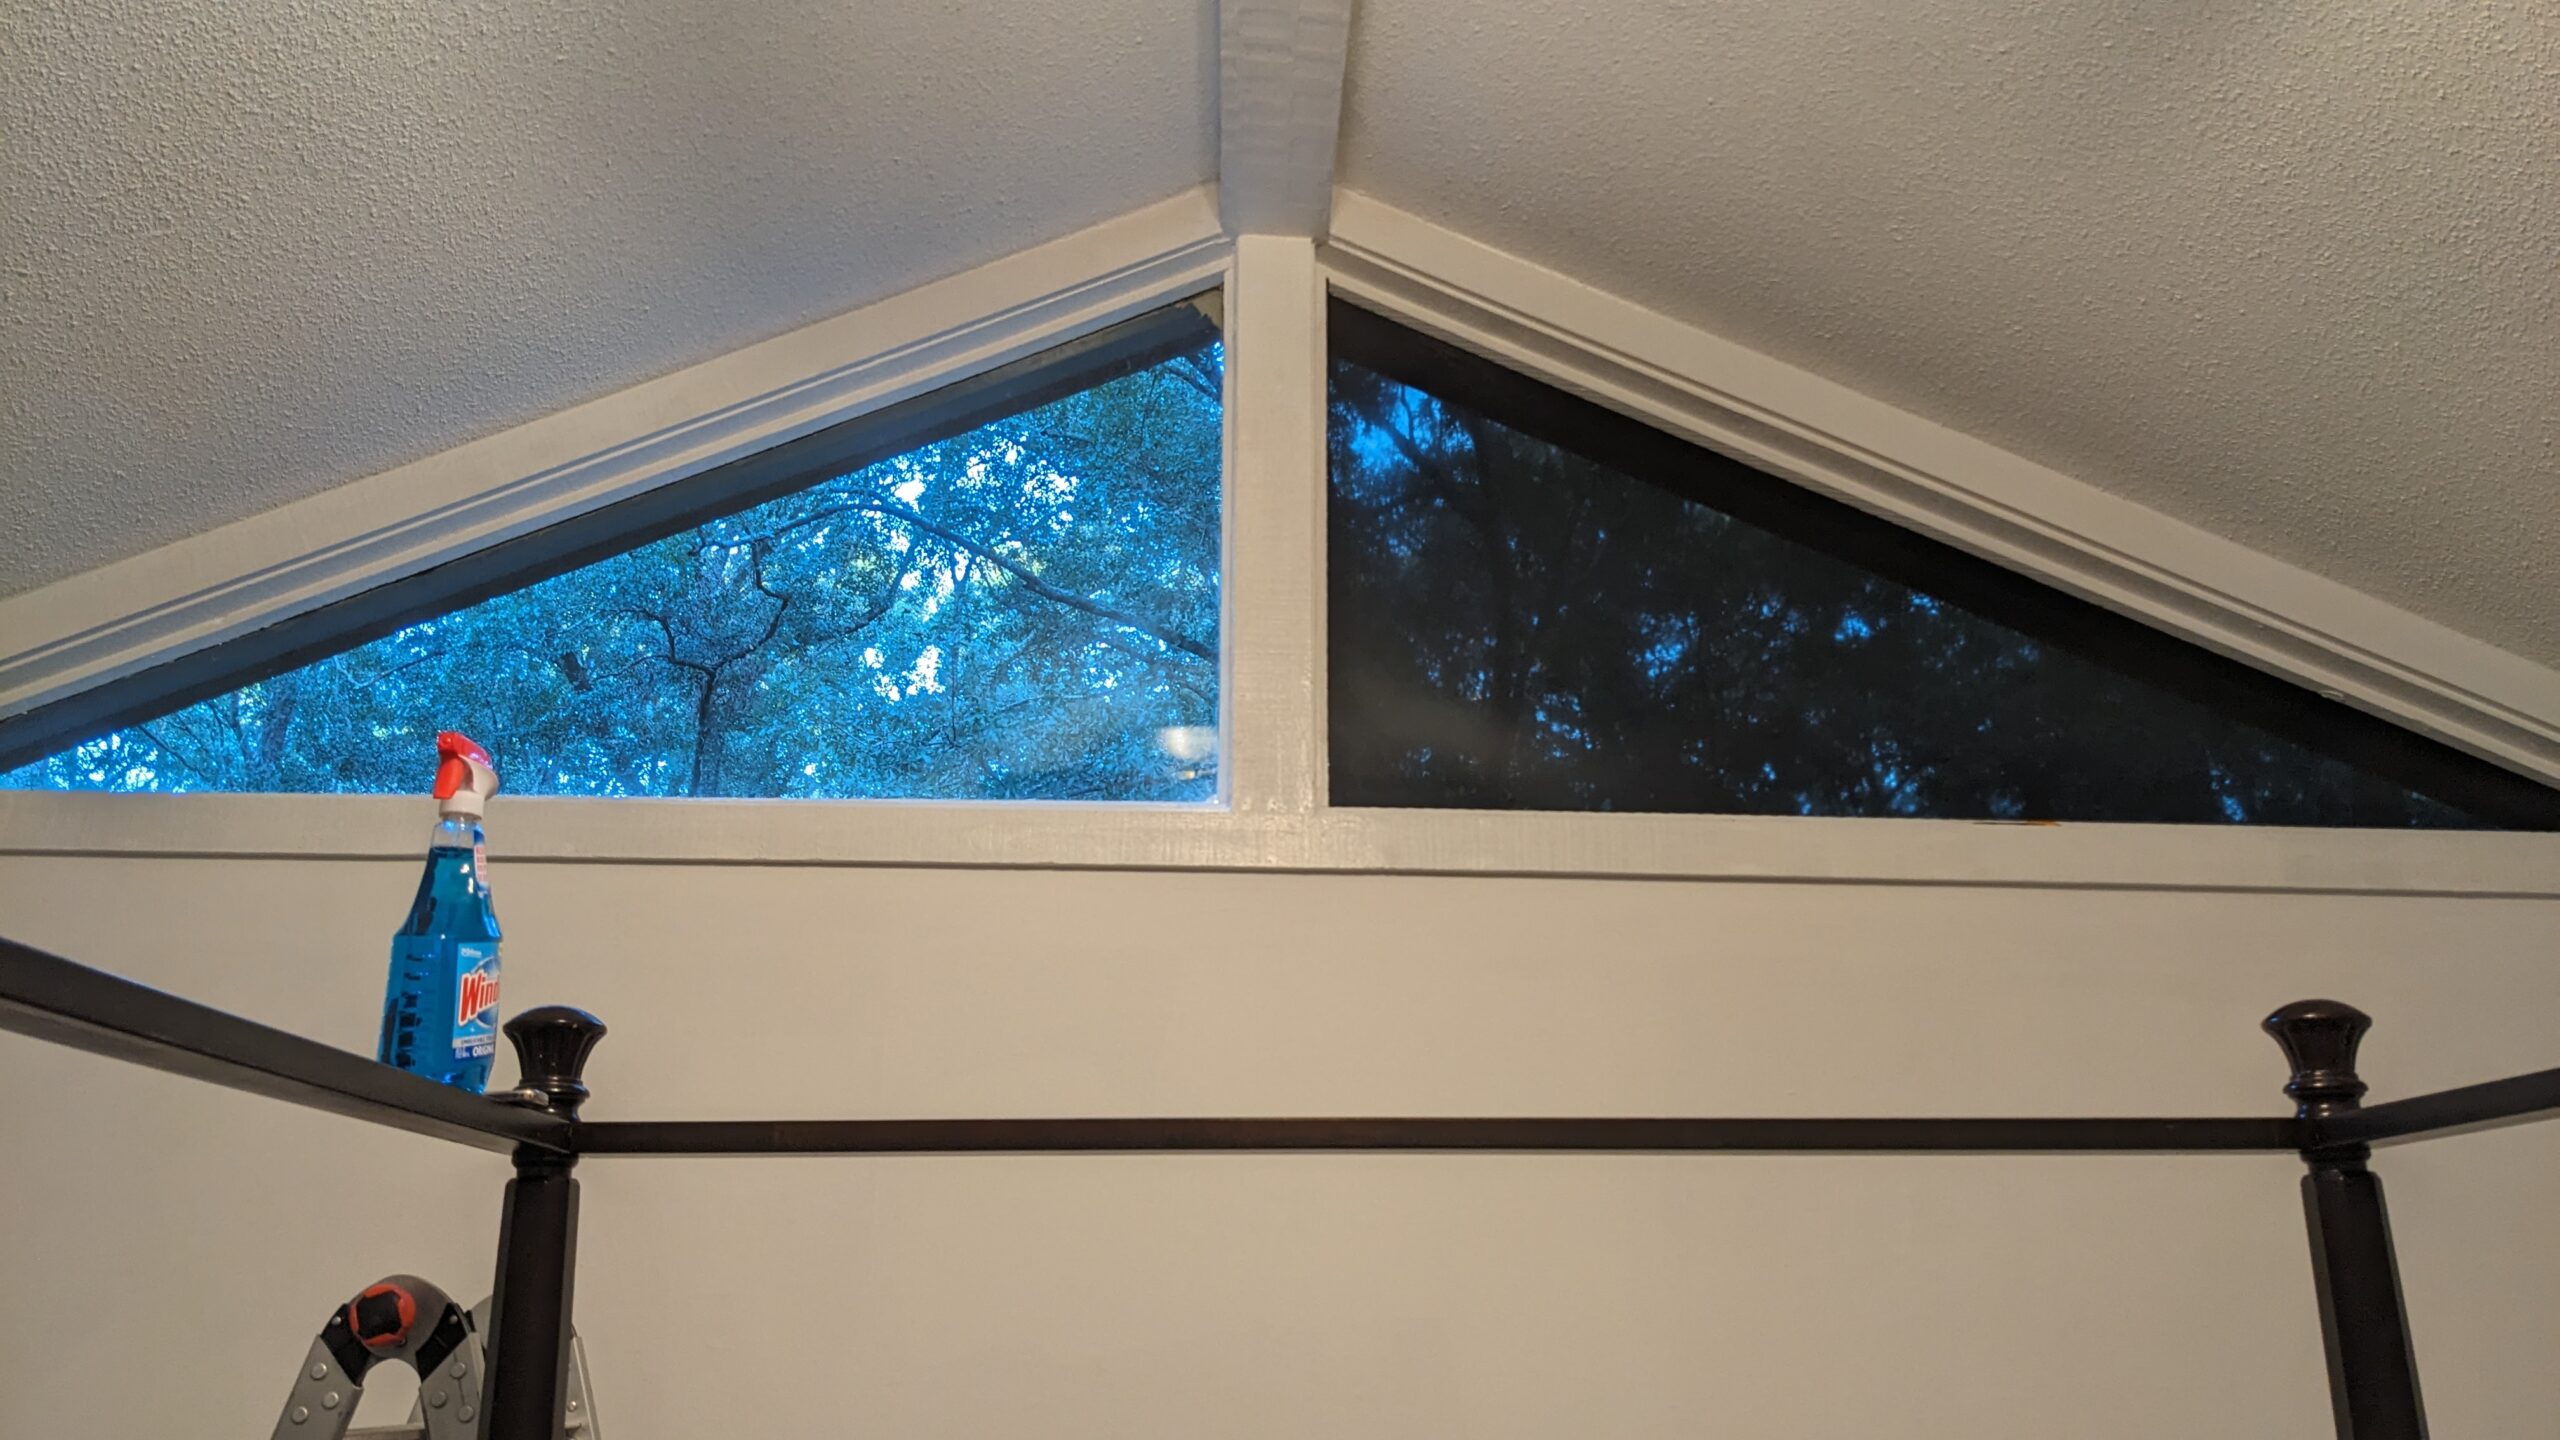 Half done
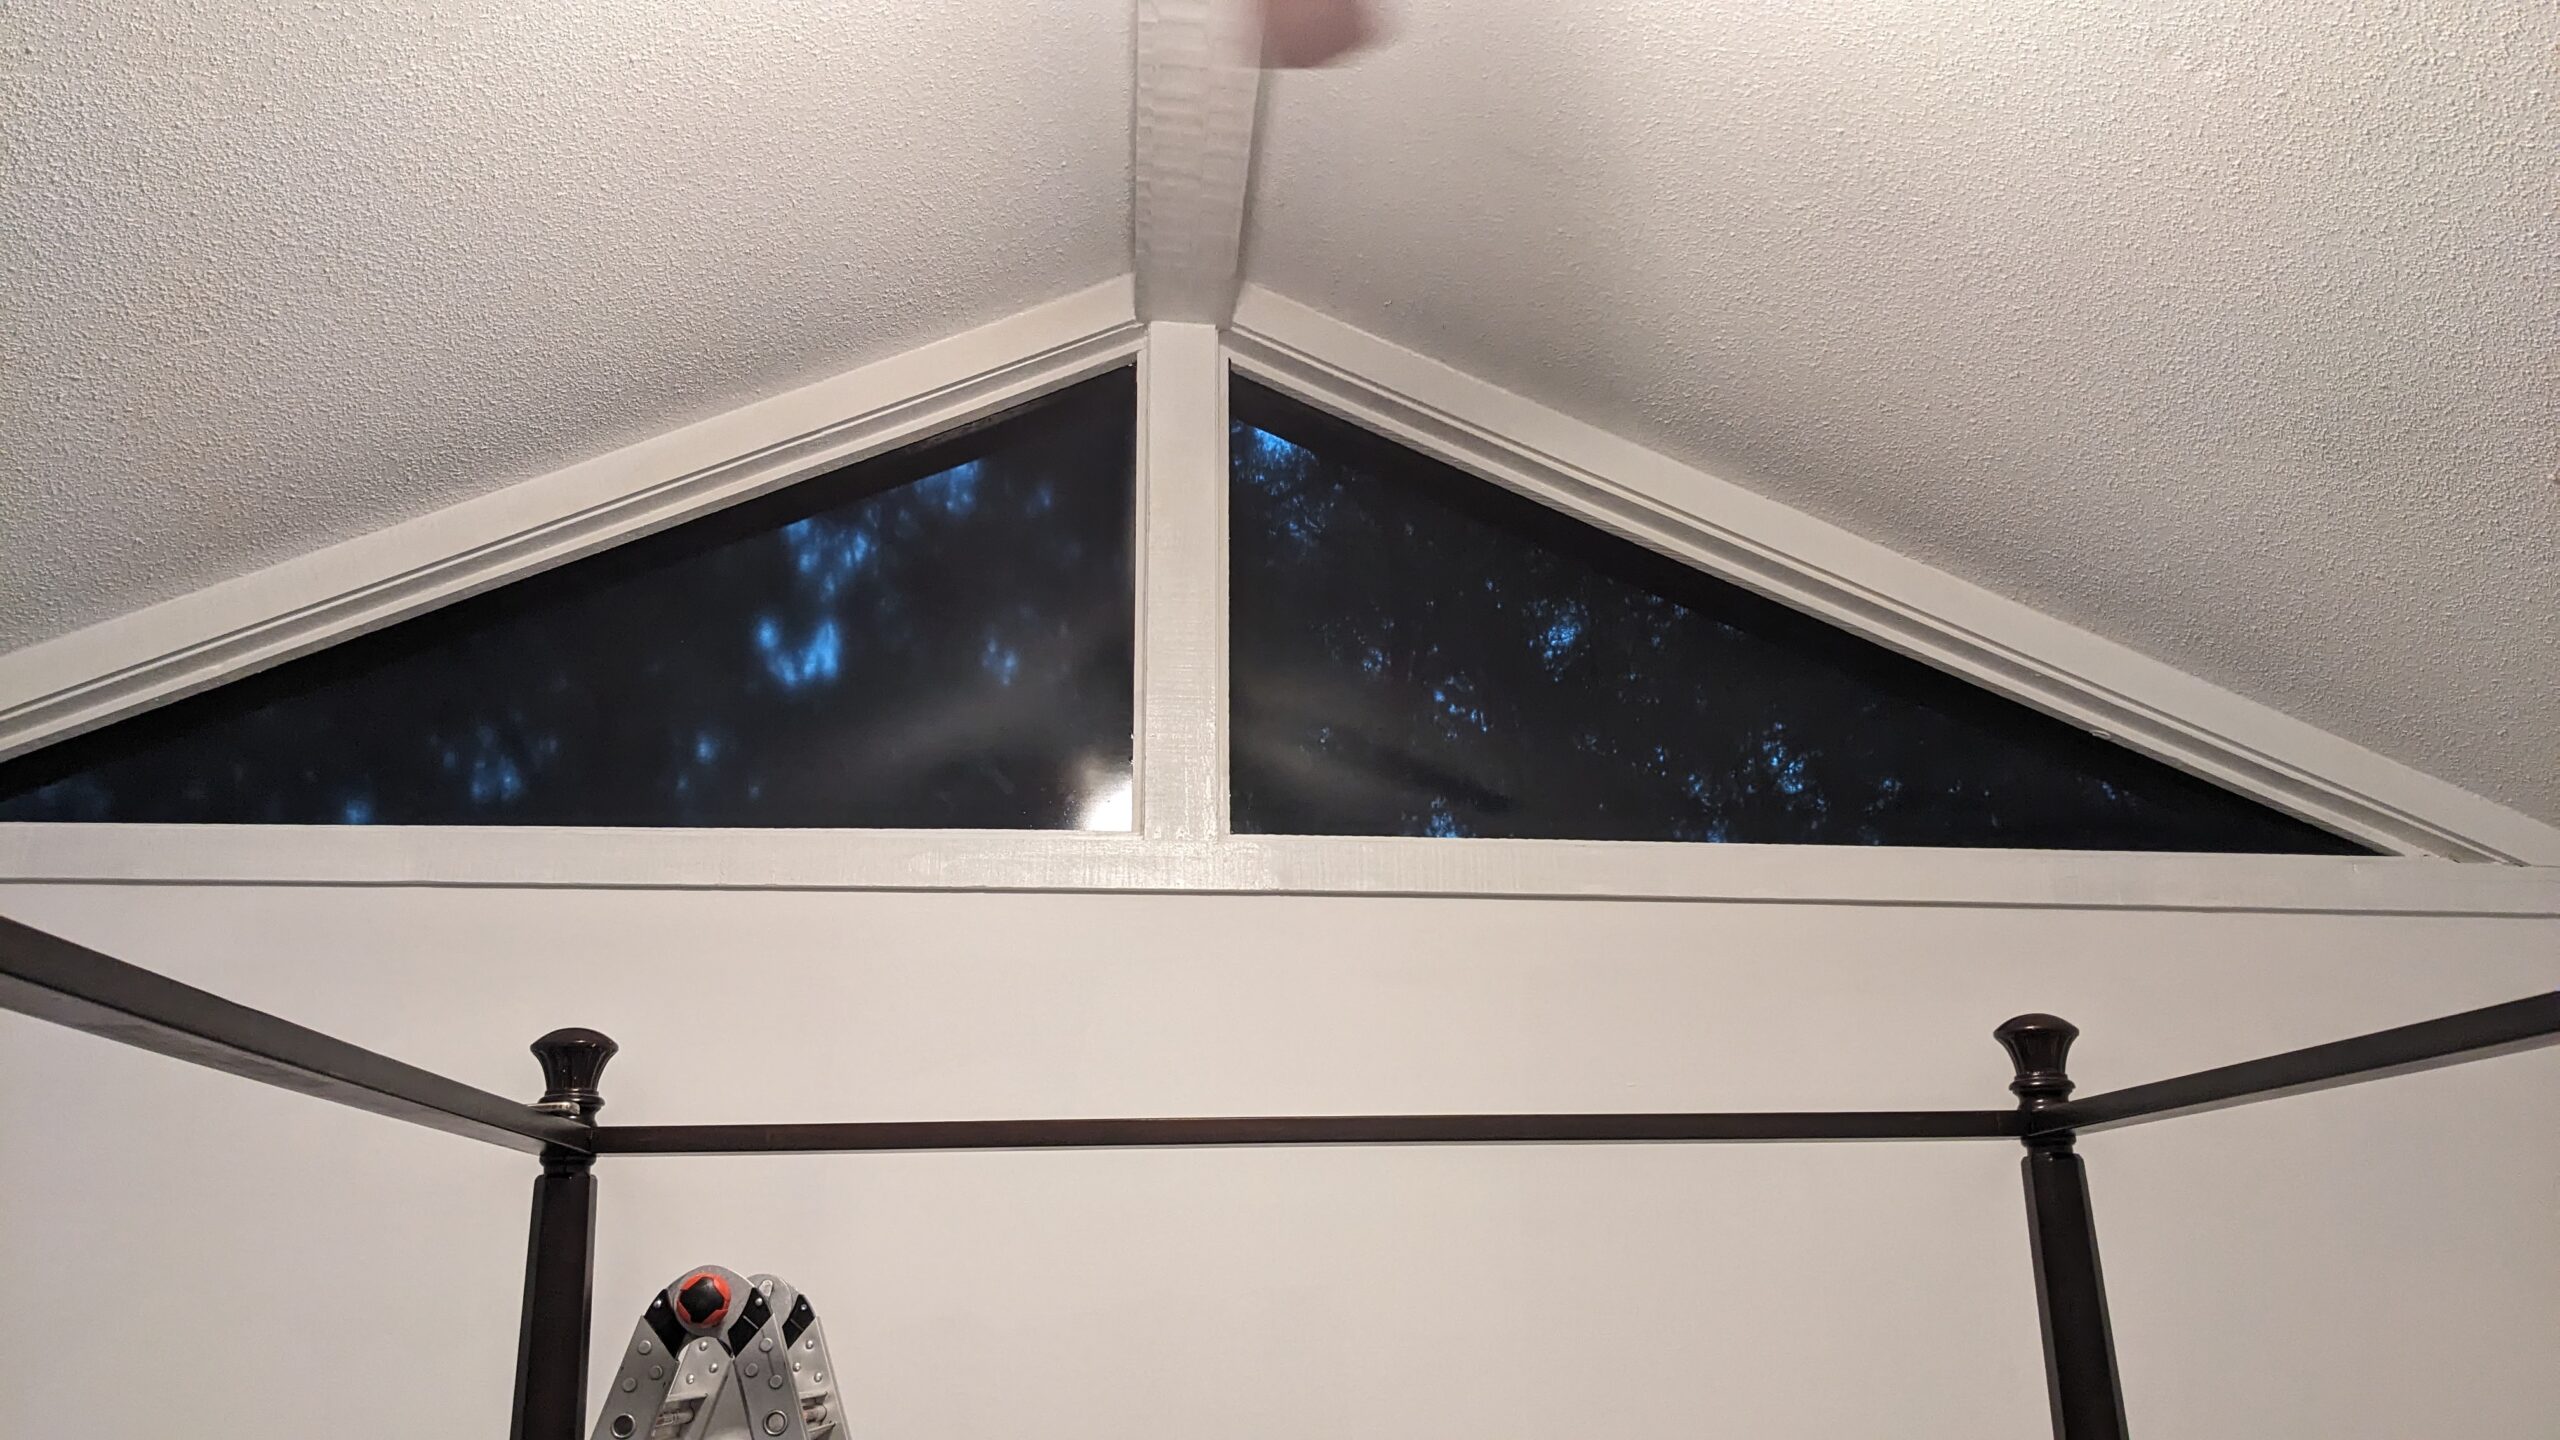 All done
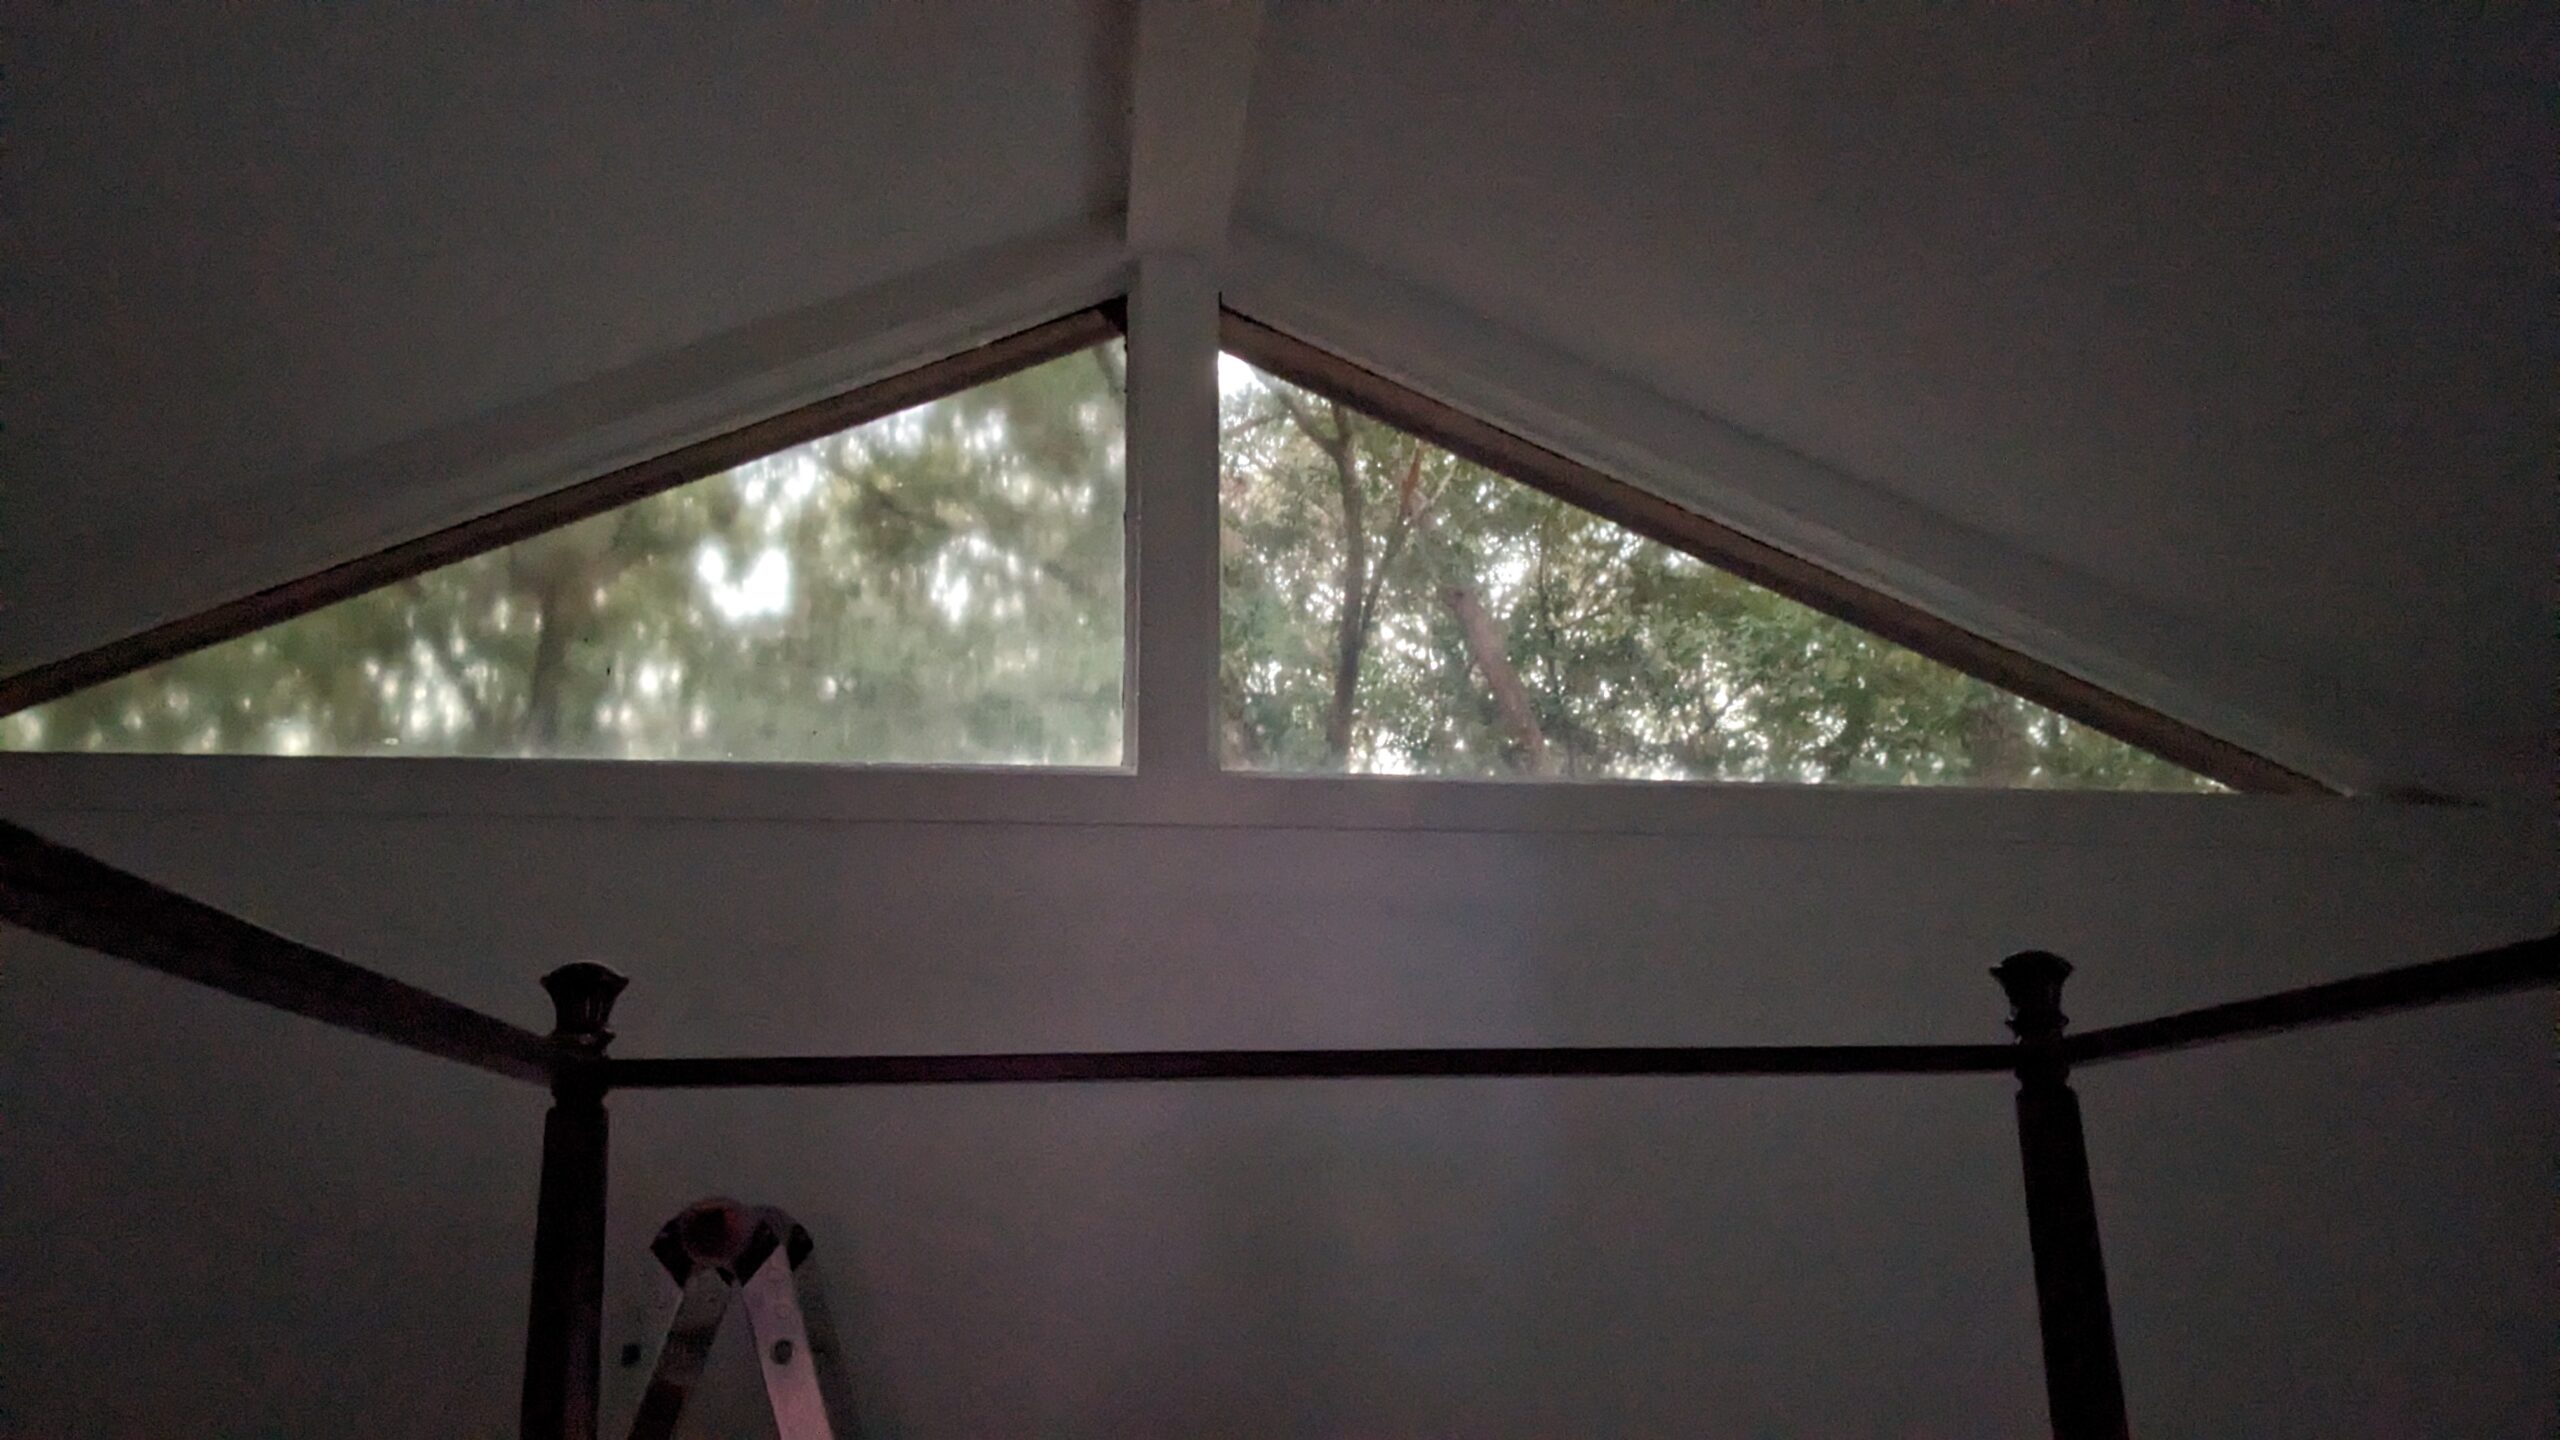 With the lights off. White balance doens’t do it justice.
That’s it. We can sleep a little better now. It was either that, or walk over and unscrew the bulbs on their porch fixtures. Lord knows these people don’t answer the phone (they moved across the country, and we’re terrible to work with when buying).
In a few months when we get to this room for remodeling, we’ll frame them in, add insulation, and sheathing/siding when it comes time. I plan on ripping out all drywall anyways, so this additional bit will be well worth the darkness and energy savings.