Overview
This will be a fairly short post. I’ve been meaning to make it for a while, but the boy almost immediately brought the printer back to his dad’s house. So I don’t have it around to mess with. And he’s not all that interested in taking pictures to help me get the rest of this series finished. Alas…
We’re just putting Marlin firmware on this thing. He doesn’t have a RPi to put Klipper on it, and I’m not giving up one of my spare Pis just so that it can be taken away to another house. It would likely need extra setup to work out kinks, and I wouldn’t be around to do that. So Marlin it is!
Marlin structure
For those unaware, Marlin is free open source firmware for 3D printing. Every Creality printer I’ve ever used either uses mainline Marlin, or a fork of it that’s pretty close to mainline. In this case I’m using Marlin v2.0.9.7.
Clone the repository from Github. Or download as a .zip and unzip it somewhere.
I’m using code-server, which is just VS code running on a VM that I’ve got in my cluster at home. It’s ultimately a docker image that’s easy to setup. You can run VS code on your machine directly, which is probably easiest. Ultimately we’ll be using PlatformIO to compile the firmware. PlatformIO is an add-on to VSCode that you should be able to install with just a few clicks.
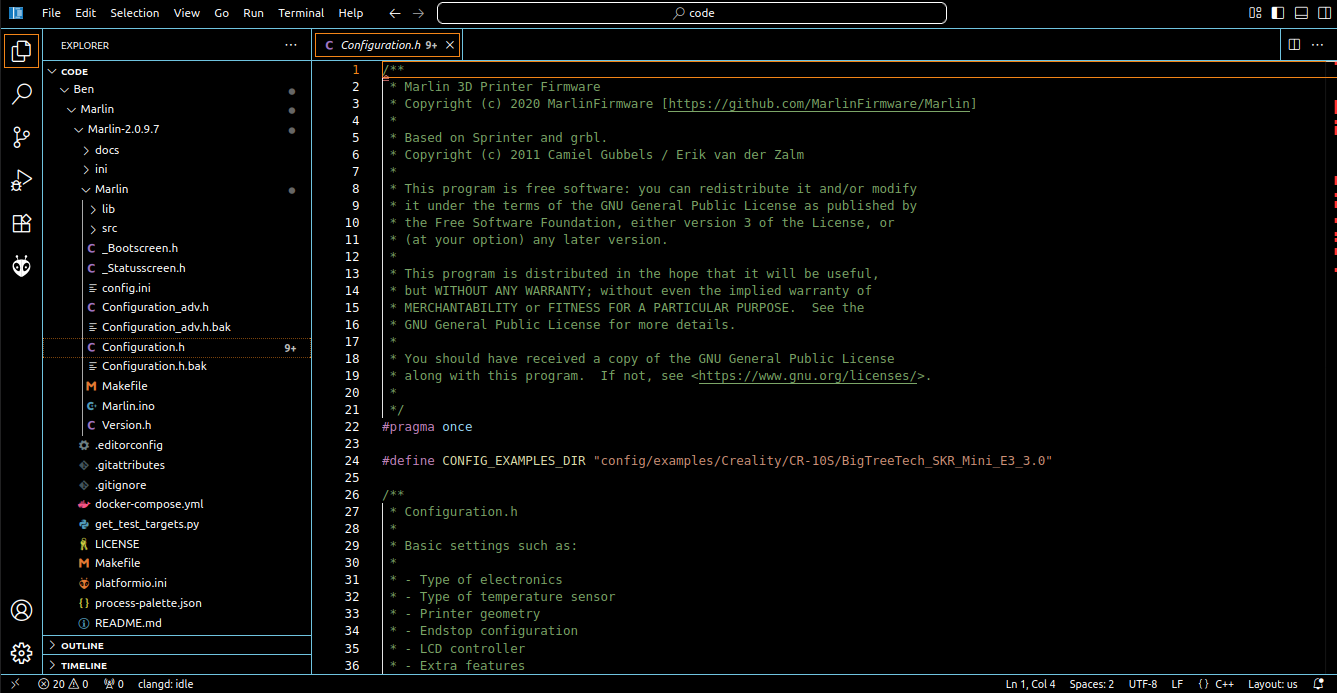
You can see here that in the Marlin-2.0.9.7 main folder there’s a file called platformio.ini. This is what PlatformIO needs to compile the firmware properly.
There are four config files that dont’ come with your repository clone. They are:
- _Bootscreen.h
- _Statusscreen.h
- Configuration.h
- Configuration_adv.h
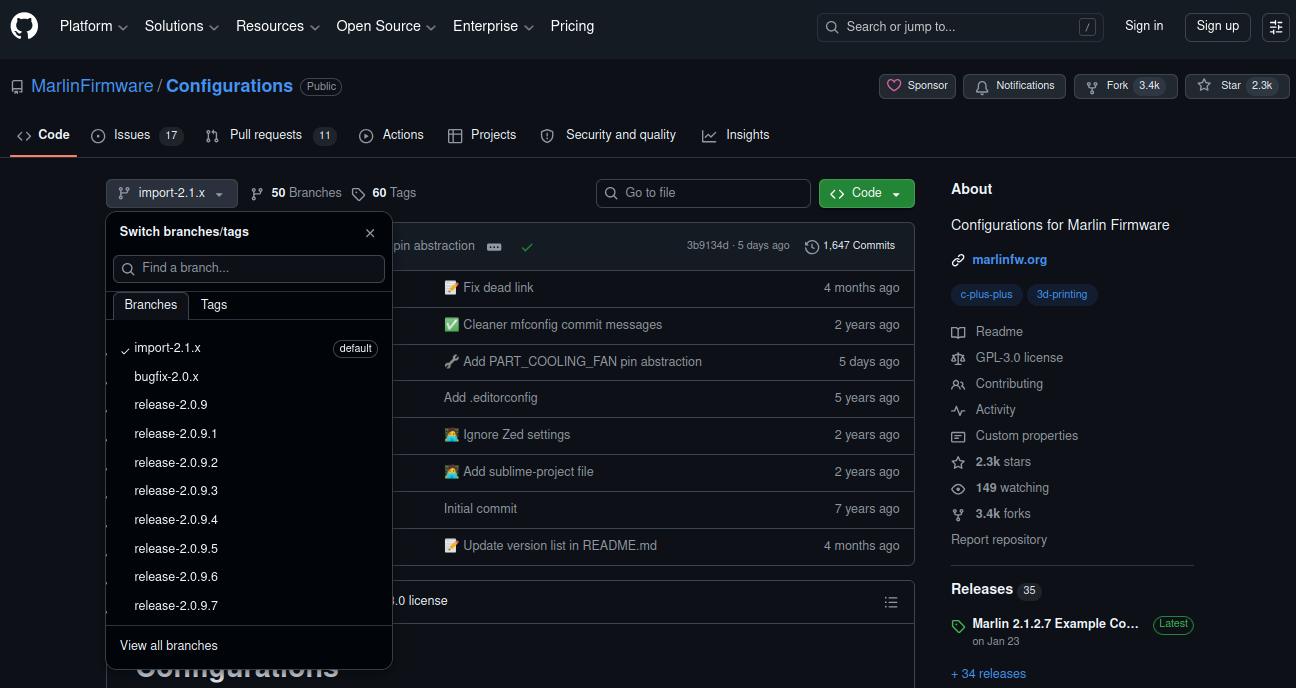
You can download the configuration files from here. You need to download from the branch that matches the firmware version from the other repository. If you’ve never used it, there’s a drop down menu on the top left to do this.
These files need to go into the /Marlin directory, not the root directory of the project. I had to change a pin assignment (end stop high/low mess up later on), so ignore the backup files _____.bak that I have in there. Those get ignored during compile.
So the 5 files we actually care about are:
/Marlin-2.0.9.7
  /Marlin
    _Bootscreen.h
    _Statusscreen.h
    Configuration_adv.h
    Configuration.h
  platformio.ini
Now that you have all of the files, let’s edit what we need to and get this thing compiled.
PlatformIO
Open up platformio.ini from the root folder of your project. We just need to make sure the right processor is selected so the compiled binary works on our board.
Check /Marlin/src/core/boards.h for your board. Mine is BOARD_BTT_SKR_MINI_E3_V3_0 4027 //BigTreeTech SKR Mini E3 V3.0 (STM32G0B1RE). platformio.ini also calls out /buildroot/share/PlatformIO/boards. We can check in that directory as well and find STM32G0B1RE
Change these three lines. Mine were lines 16, 281, and 280. Right up front, and at the tail end. Ignore the middle.
default_envs = STM32G0B1RE_btt
platform = STM32G0B1RE_btt
board = BOARD_BTT_SKR_MINI_E3_V3_0
_Bootscreen.h
This functionally does nothing. It’s just a binary representation of the boot logo that says “Creality 3D”. It’s setup this way since it’s black and white, and avoids having to load additional code for the firmware to make sense of a .bmp file.
If you want something custom, you can create it here. It’s a 128x18 photo.
I’m not messing with this. It only shows up for a second during boot.
_Statusscreen.h
There’s also not much to do with this. The example I grabbed was specifically for a CR-10S. There’s a logo in here as well, and it correctly labels the printer. You can make a custom one if wanted. I didn’t change a single character.
Configuration.h
A lot of these should come from the configs github. I pulled from /config/examples/CR-10S/BigTreeTech SKR Mini E3 2.0. So most should be correct, but some things will have to change. I’ll just start at the top and work my way down.
Line 92. We need to define our motherboard.#define MOTHERBOARD BOARD_BTT_SKR_MINI_E3_V3_0
Line 139. Change your machine name if desired.
Line 161-79. v2 of the board has the same TMC2209 drivers as the v3. But if you’re doing something else on your own board, this is an important setting to get right!
Line 582. You can change the max temp of the heater. I.e. if you want to print with exotic materials that need higher than 275C. Like some types of nylon, PEI, PEEK, etc. Beware changing this value unless you want a fire risk. You need to understand the thermal limits of your machine. But you cannot print higher than this if you try. Once you hit this temp, the firmware will shut you down hard.
Line 1032. I’m using the z endstop on the original printer that seems to have never been used initially. And its logic is inverted. So don’t be like me. And get this correct on the first try.
That’s it for this file. Everything else is set to default for now.
Configuration_adv.h
Line 502. Commented out. The fan on the hot end that’s supposed to run all the time wasn’t. Upon troubleshooting, I was able to manually turn it on by sending the command myself from the controller screen (M106 P0 S255). I believe it’s fan 0 in question, but could be fan 1. I don’t have the printer in front of me to double check.
Line 601. #define E0_AUTO_FAN_PIN PA8. The fan ended up on pin PA8 on the mainboard when I wired it all up. So this had to be added for the firmware to tie the physical pin to the behavior of the extruder 0 (I only have one extruder) fan.
This should be it as well.
Compiling
From here, we just compile the project into a binary. With PlatformIO there’s a single button you can click to do this. PlatformIO doesn’t quite work in my setup, at least not the way it’s advertised. I.e. I installed it from the VSCode add-ons list, I get the little ant/alien head icon added to the left bar, but it never works.
So I ended up having to compile it myself. Still using PlatformIO, but from the terminal directly. That looks like this:
$cd ./Marlin
$pio run --target clean

Processing STM32G0B1RE_btt (platform: ststm32@17.1.0; board: marlin_STM32G0B1RE; framework: arduino)
---------------------------------------------------------------------------------------------------------------------------------------------
Verbose mode can be enabled via `-v, --verbose` option
Removing .pio/build/STM32G0B1RE_btt
Done cleaning
======================================================== [SUCCESS] Took 0.96 seconds ========================================================

Environment      Status    Duration
---------------  --------  ------------
STM32G0B1RE_btt  SUCCESS   00:00:00.961
======================================================== 1 succeeded in 00:00:00.961 ========================================================

*********************************************************************************************************************************************
We found 1.07MB of unnecessary PlatformIO system data (temporary files, unnecessary packages, etc.).
Use `pio system prune --dry-run` to list them or `pio system prune` to save disk space.
I had tried a few things first, and it ended up creating some of the intermediate files in folders. There was an error I had to fix along the way. The pio version having superseded what Marlin 2.0.9.7 was built for, and needed to force an older version in one of the libraries (which I can’t find right now, and will dig into later. But the error message when searched in google did give me some useful info that resolved the issue).
Either way, existing output files were throwing the compiler off. So the --target clean flag just forces it to delete the .o files and whatnot before starting over.
When it’s all done, you’ll have a firmware.bin file available. PlatformIO throws that into a subfolder of the root directory you chose at the beginning. Marlin-2.0.9.7/pio/build/STM32G0B1RE_btt/firmware.bin. If you have a different architecture, the last folder will be named after the chip you are using.
Installation
The installation on this board is easy. The bootloader is installed from the factory. Just put firmware.bin in the root directory of the SD card, and turn on power.
Resources
Here are all of the files that I used. To save resources, I’m not including the actual Marlin firmware v2.0.9.7 which you can get from the github repo. I am including the 5x config files that we modified in their correct directories, along with the two firmware files I ended up creating. The only difference between the two is the inversion of the logic for the z stop.
Hopefully this allows you to create your own firmware if mine doesn’t work for you for whatever reason. If not, shoot me an e-mail and let me know what you’re looking for. I’m willing to try it out and send you a file back. Worst case scenario, it still doesn’t work.
There are also sites out there which will let you send features/settings to them, and someone will compile for you. But they charge a decent amount of money for it from what I’ve seen. I don’t see much sense in that, as long as requests from the community are reasonably easy for me to accomplish.