This project was completed during a cold snap we, and the rest of North America, experienced around the turn of the year. I wanted to present a lot of data to quantify how much money a project like this could save me. But unfortunately I didn’t have a reliable way to log temperatures in various places of my house at the time. So ultimately the data is useless for before/after comparisons. Since then, I have acquired some ESP microcontrollers and have good data logging capabilities, but at the time I only had one arduino and a laptop with a serial monitor running.
Step 1: Math
I have a fireplace (two, actually). It is cold. It is drafty. It makes the room it’s in unpleasant. The room the wood burning fireplace is in happens to be in the room where I work when I’m working from home. This room had a number of issues, so I’m not entirely sure if there’s a smoking gun, or if the problems in here are the combination of everything. This room regularly is 3-6º colder than the thermostat setpoint, and the thermostat is in this room, just a few feet away! The heater just can’t keep up in this room.
The steel/glass surface of our fireplace was regularly 20+ degrees colder than the inside air temperature (not the setpoint, the temp of this room). So let’s do some math.
$$ E=htA\Delta T $$
The convection coefficient between carbon steel and air is about $$ h_{steel-air}=25.3W/(m^2)K \approx h_{glass-air} $$ The exposed portion of the fireplace is $$ A=(36.5in)(32.5in) =8.24ft^2=0.77m^2 $$ The temperature difference one random morning was 17ºF (9.4 kelvin). 71ºF setpoint, 70.2ºF room temp, 53.3ºF fireplace surface temp, and 44ºF outside temp. Yes that’s right, on a relatively warm winter morning with the sun hitting that wall directly, the fireplace was only 9º warmer than outside, and almost 20º colder than inside the house.
Ideally, the fireplace temperature when not being used should be close to the inside air temperature. Hell, I would even accept it being closer to inside than outside. Yet here we are…
So our power loss is $$ hA\Delta T = (25.3W/m^2K)(0.76m^2)(9.4K)=67.57W $$ $$ 1.62kWh/day = 48.65kWh/mo = $4.78/mo$$ This is conservative in a few ways:
- It was only 44ºF outside, and gets colder regularly
- Convection and conduction are great, but even more energy is lost by drafts dumping cold air directly into the living space. I don’t have a good way to measure mass air flow, but there was tons of air drafting through the fireplace before.
- It’s even colder at night, so the cost is a function of time
- There is an entire second fireplace in this house that is also constructed just as poorly. Although the drafts are not as bad, the wall insulation is marginally attached to the studs.
- A more pronounced temperature gradient between indoor/outdoor will make the drafts worse as pressure differential increases through those orifices.
- We’re neglecting the surface area of the drywall/etc. that is also colder than it should be.
- Our power provider raised rates just a few days after this cold snap (permanent rate hikes)
- Our power provider charges more per kWh after your expected usage quota has been reached.
Bar napkin math tells me we’re spending potentially 10-20% of our monthly utility bill to combat this one problem. *We also use a heat pump, so it’s not a 1:1 ratio of energy lost to electricity consumed, but I don’t know the SEER of our setup off the top of my head. It’s likely a 4-5:1 ratio depending on many other variables.
Anyways. Let’s start tackling this problem.
Disclaimer: I am a licensed professional engineer working on my own house. I am not your engineer, and you are not my client. I am likely not licensed in the state you’re in, and am not familiar with the building code in your area. This is not a tutorial, it is documentation of what I did for my own records later on, should I need to modify things in the future. Modification of heating/cooling systems and the parts of your home that they interface with could cause serious bodily harm or death. I live outside city limits and don’t need to apply for a permit before doing this work. I’m following the manufacturer’s instructions for the products that I’m using. Any variation from those instructions is done so only if I feel like I have a thorough understanding of the engineering implications of what may result (if you’re not sure, assume the worst). I have no idea what specific equipment you’re using in your home, you should contact a licensed engineer in your jurisdiction (or the manufacturer of your fireplace) to review and approve any plans outside of the building code that you’re governed by. Failure to do so may result in a structural fire, carbon monoxide poisoning, your death, or myriad other things that you don’t want. End of disclaimer*
Step 2: Demolition
I need a way to get into this area. The opening from the attic into this space is too small. I’m not destroying drywall above the mantle and crawling in from the front. This leaves one option: the wall behind the fireplace.
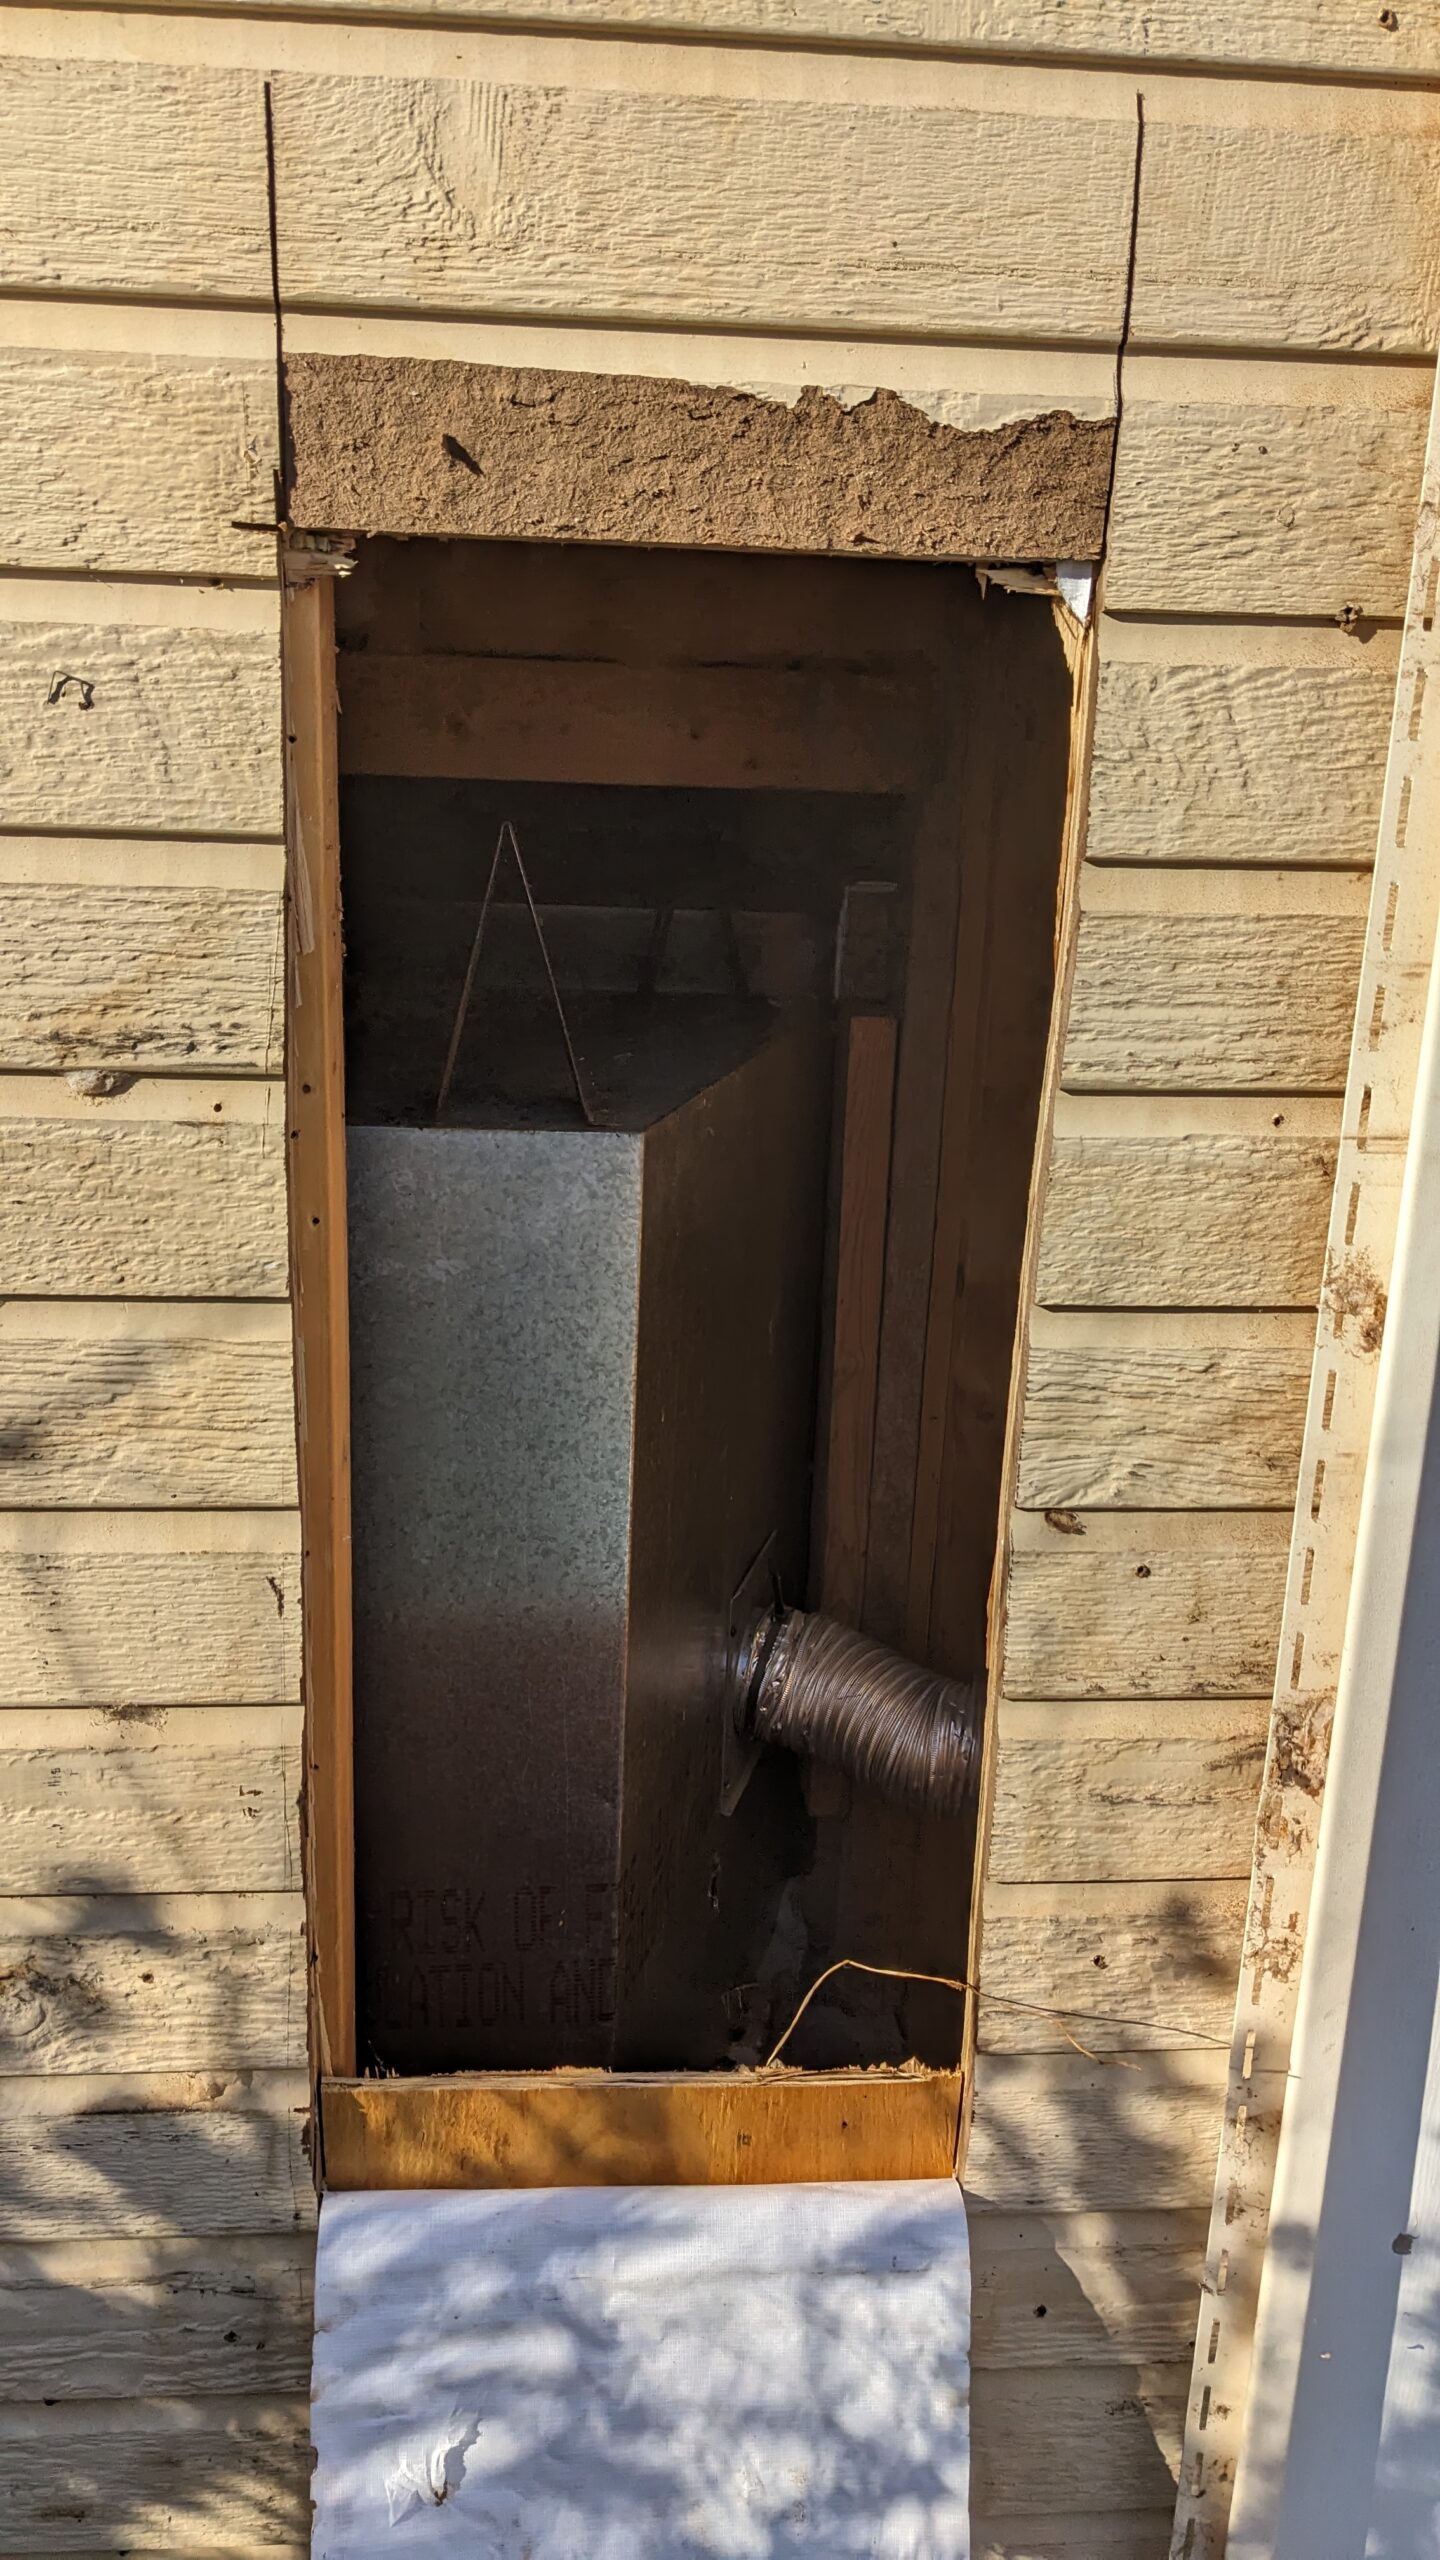
The first step is always to remove the siding. In this case we have R-1 foam underneath the vinyl and on top of the original hardboard siding to remove. Look for siding nails in a vertical row to determine where studs are, and assume 16″ on center before cutting. Use a 4ft or longer level and a square to make sure your hole doesn’t look like garbage (or do, I’m not your boss). Set the depth of cut to the thickness of the siding so you don’t mangle studs/electrical/plumbing.
Step 3: Isolation
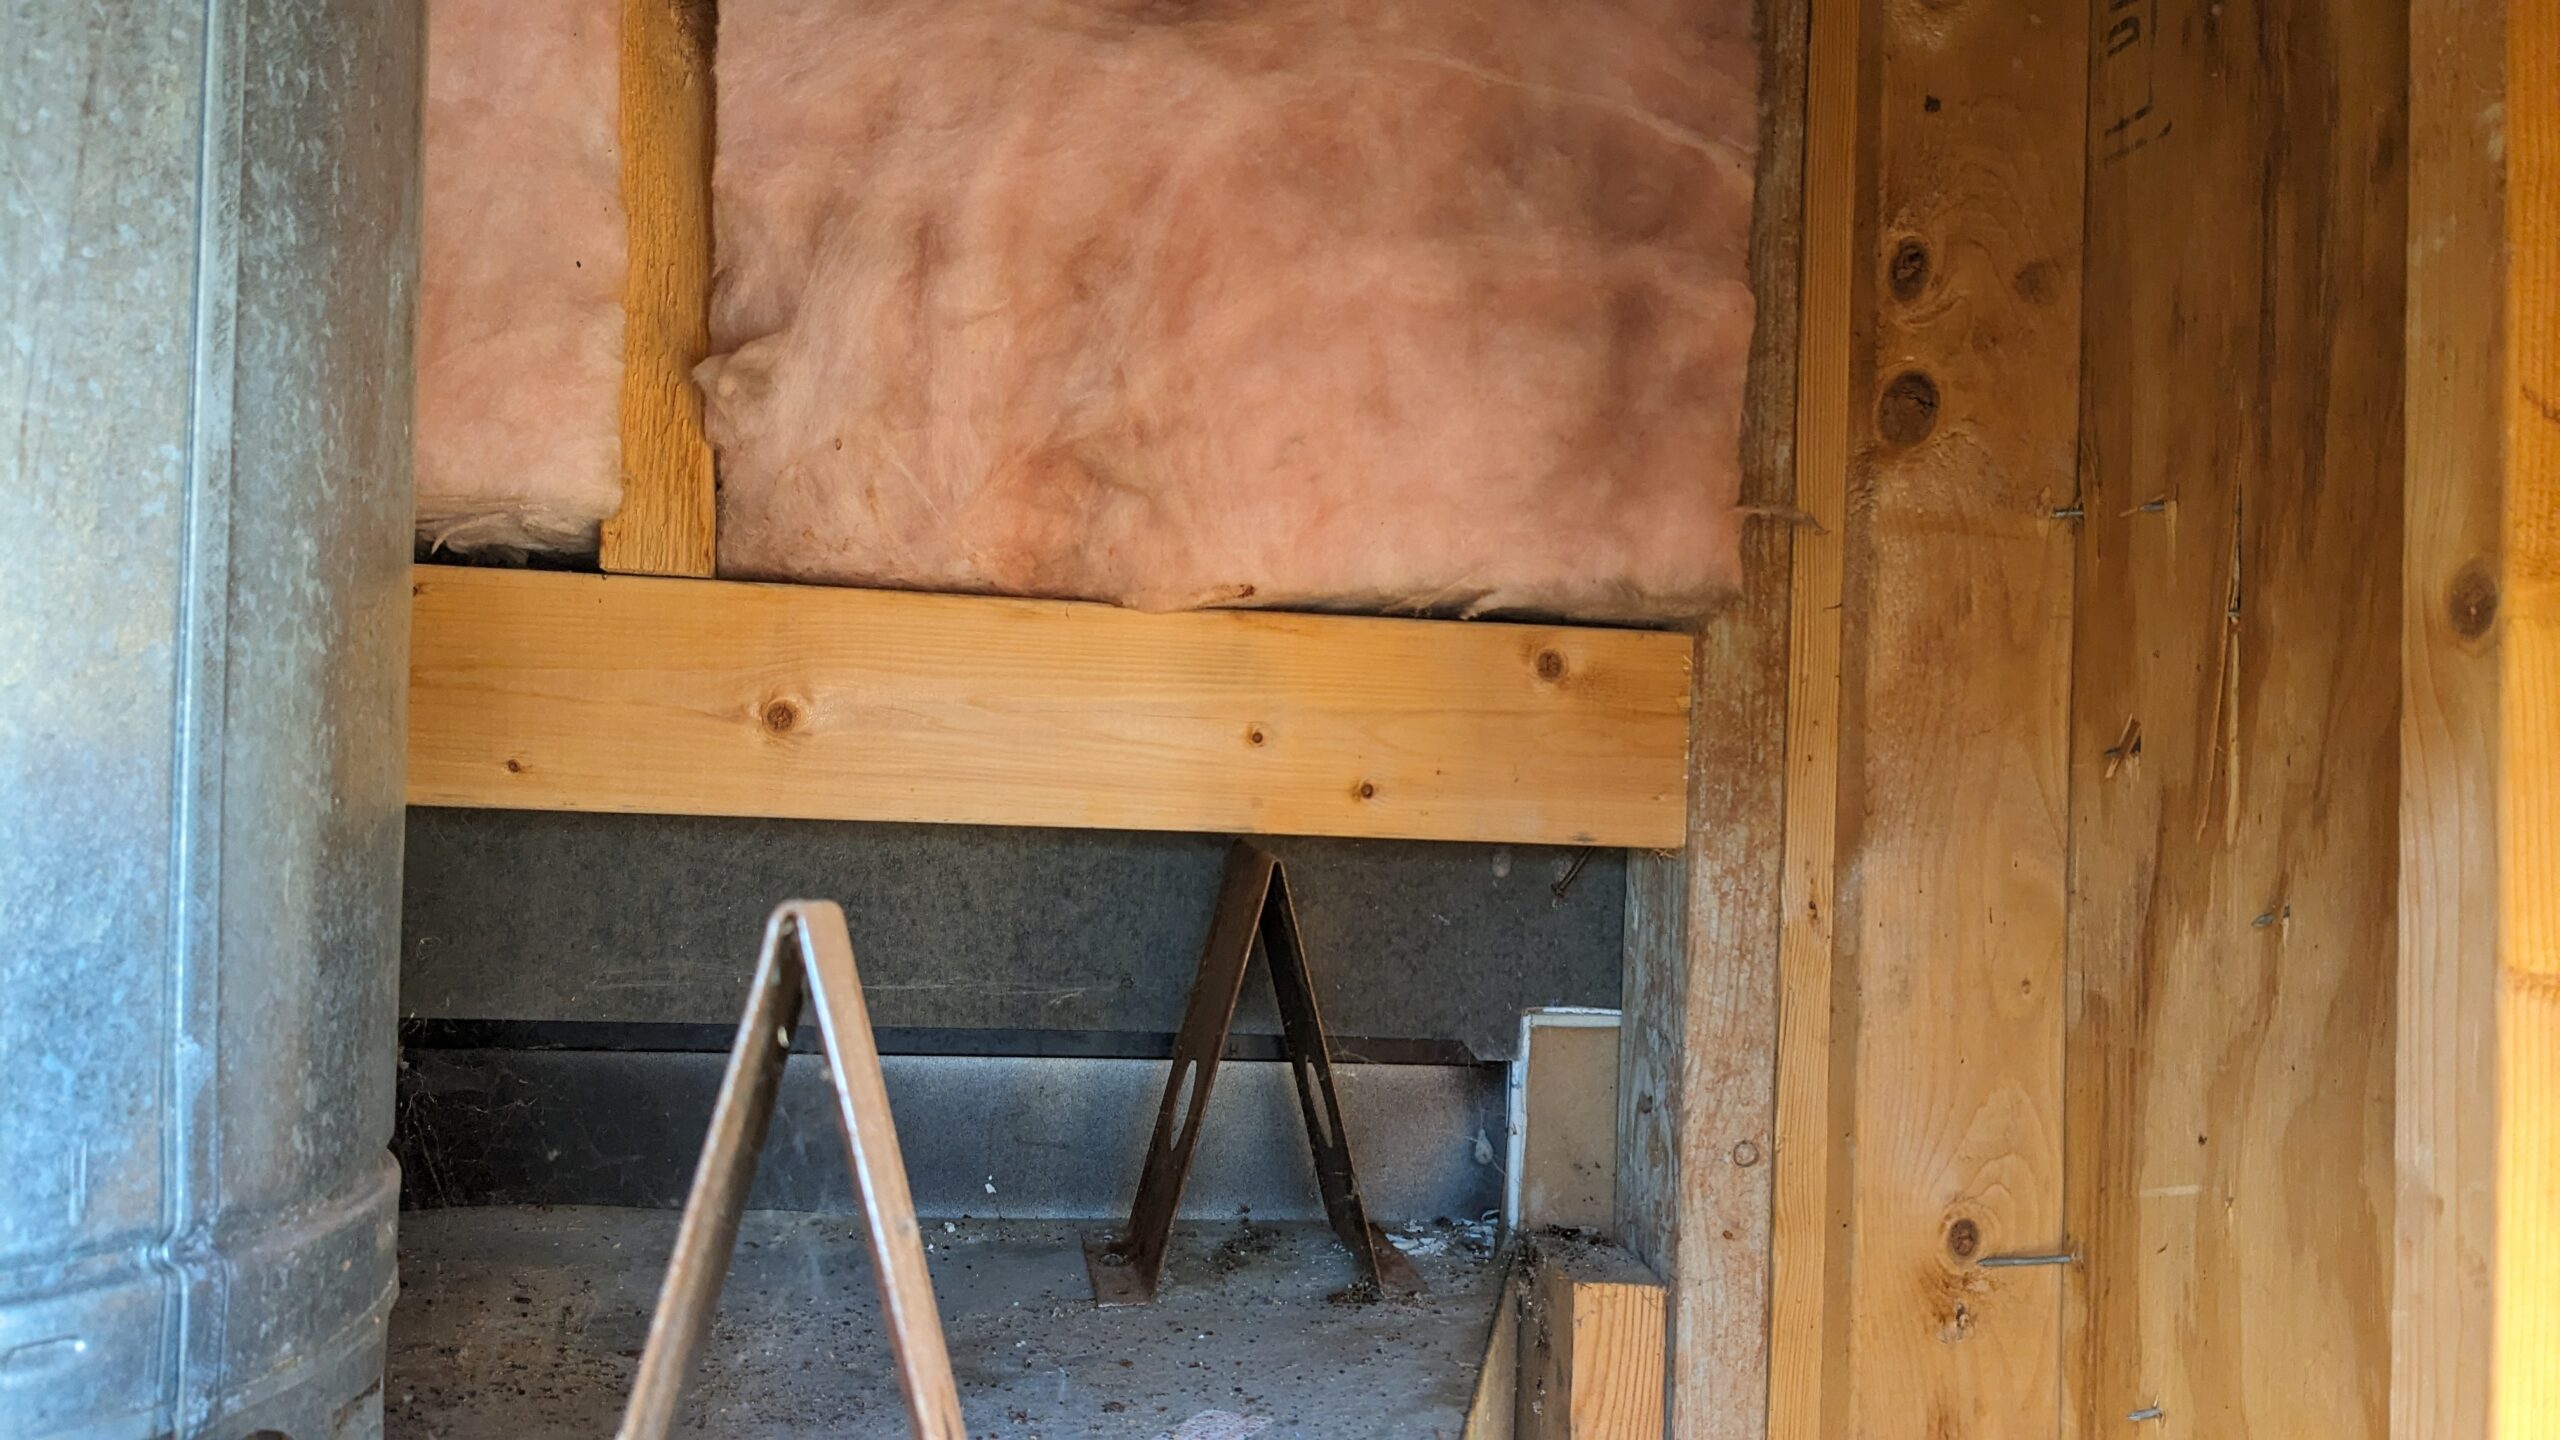
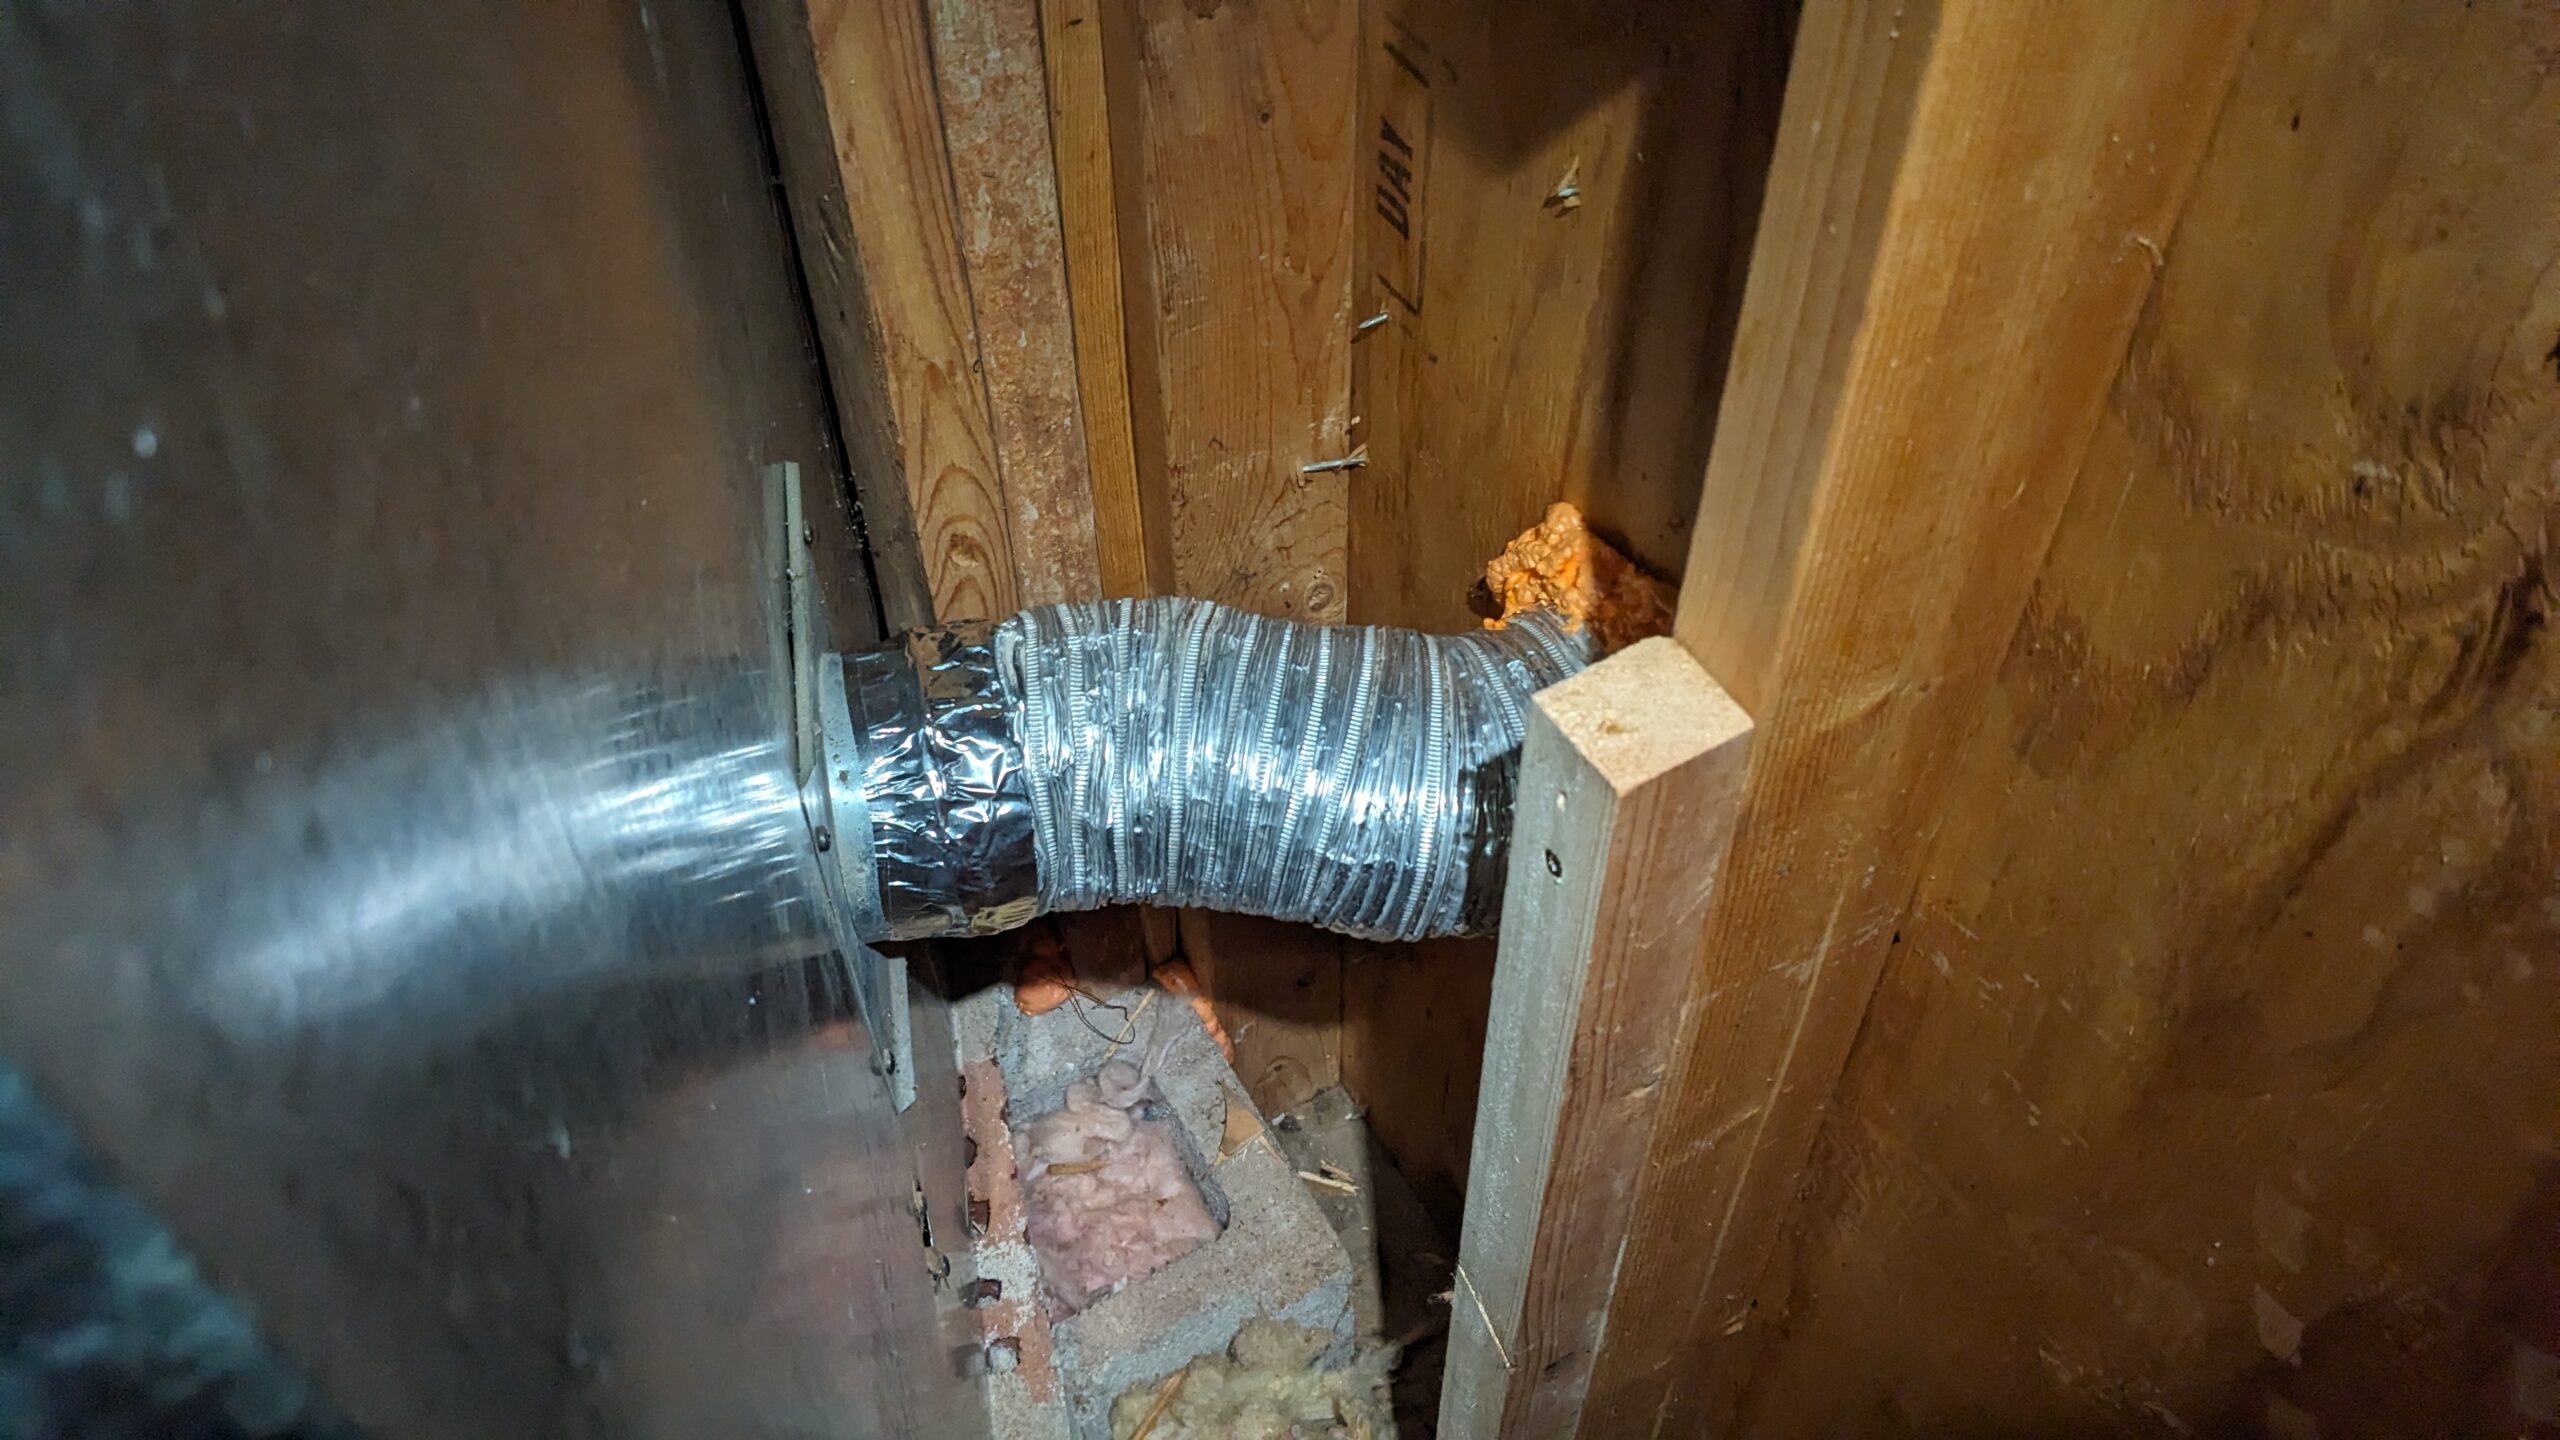
So looking up at the attic shows that it’s wide open, we’re going to close this area off. The middle portion will get 16ga galvanized steel cut to fit around the exhaust pipe and will be nailed to the 2x4s. The open portions on the right and left are small sloped sections of roof, and will be closed off with plywood to prevent cold attic air from mixing freely with the air in this cavity.
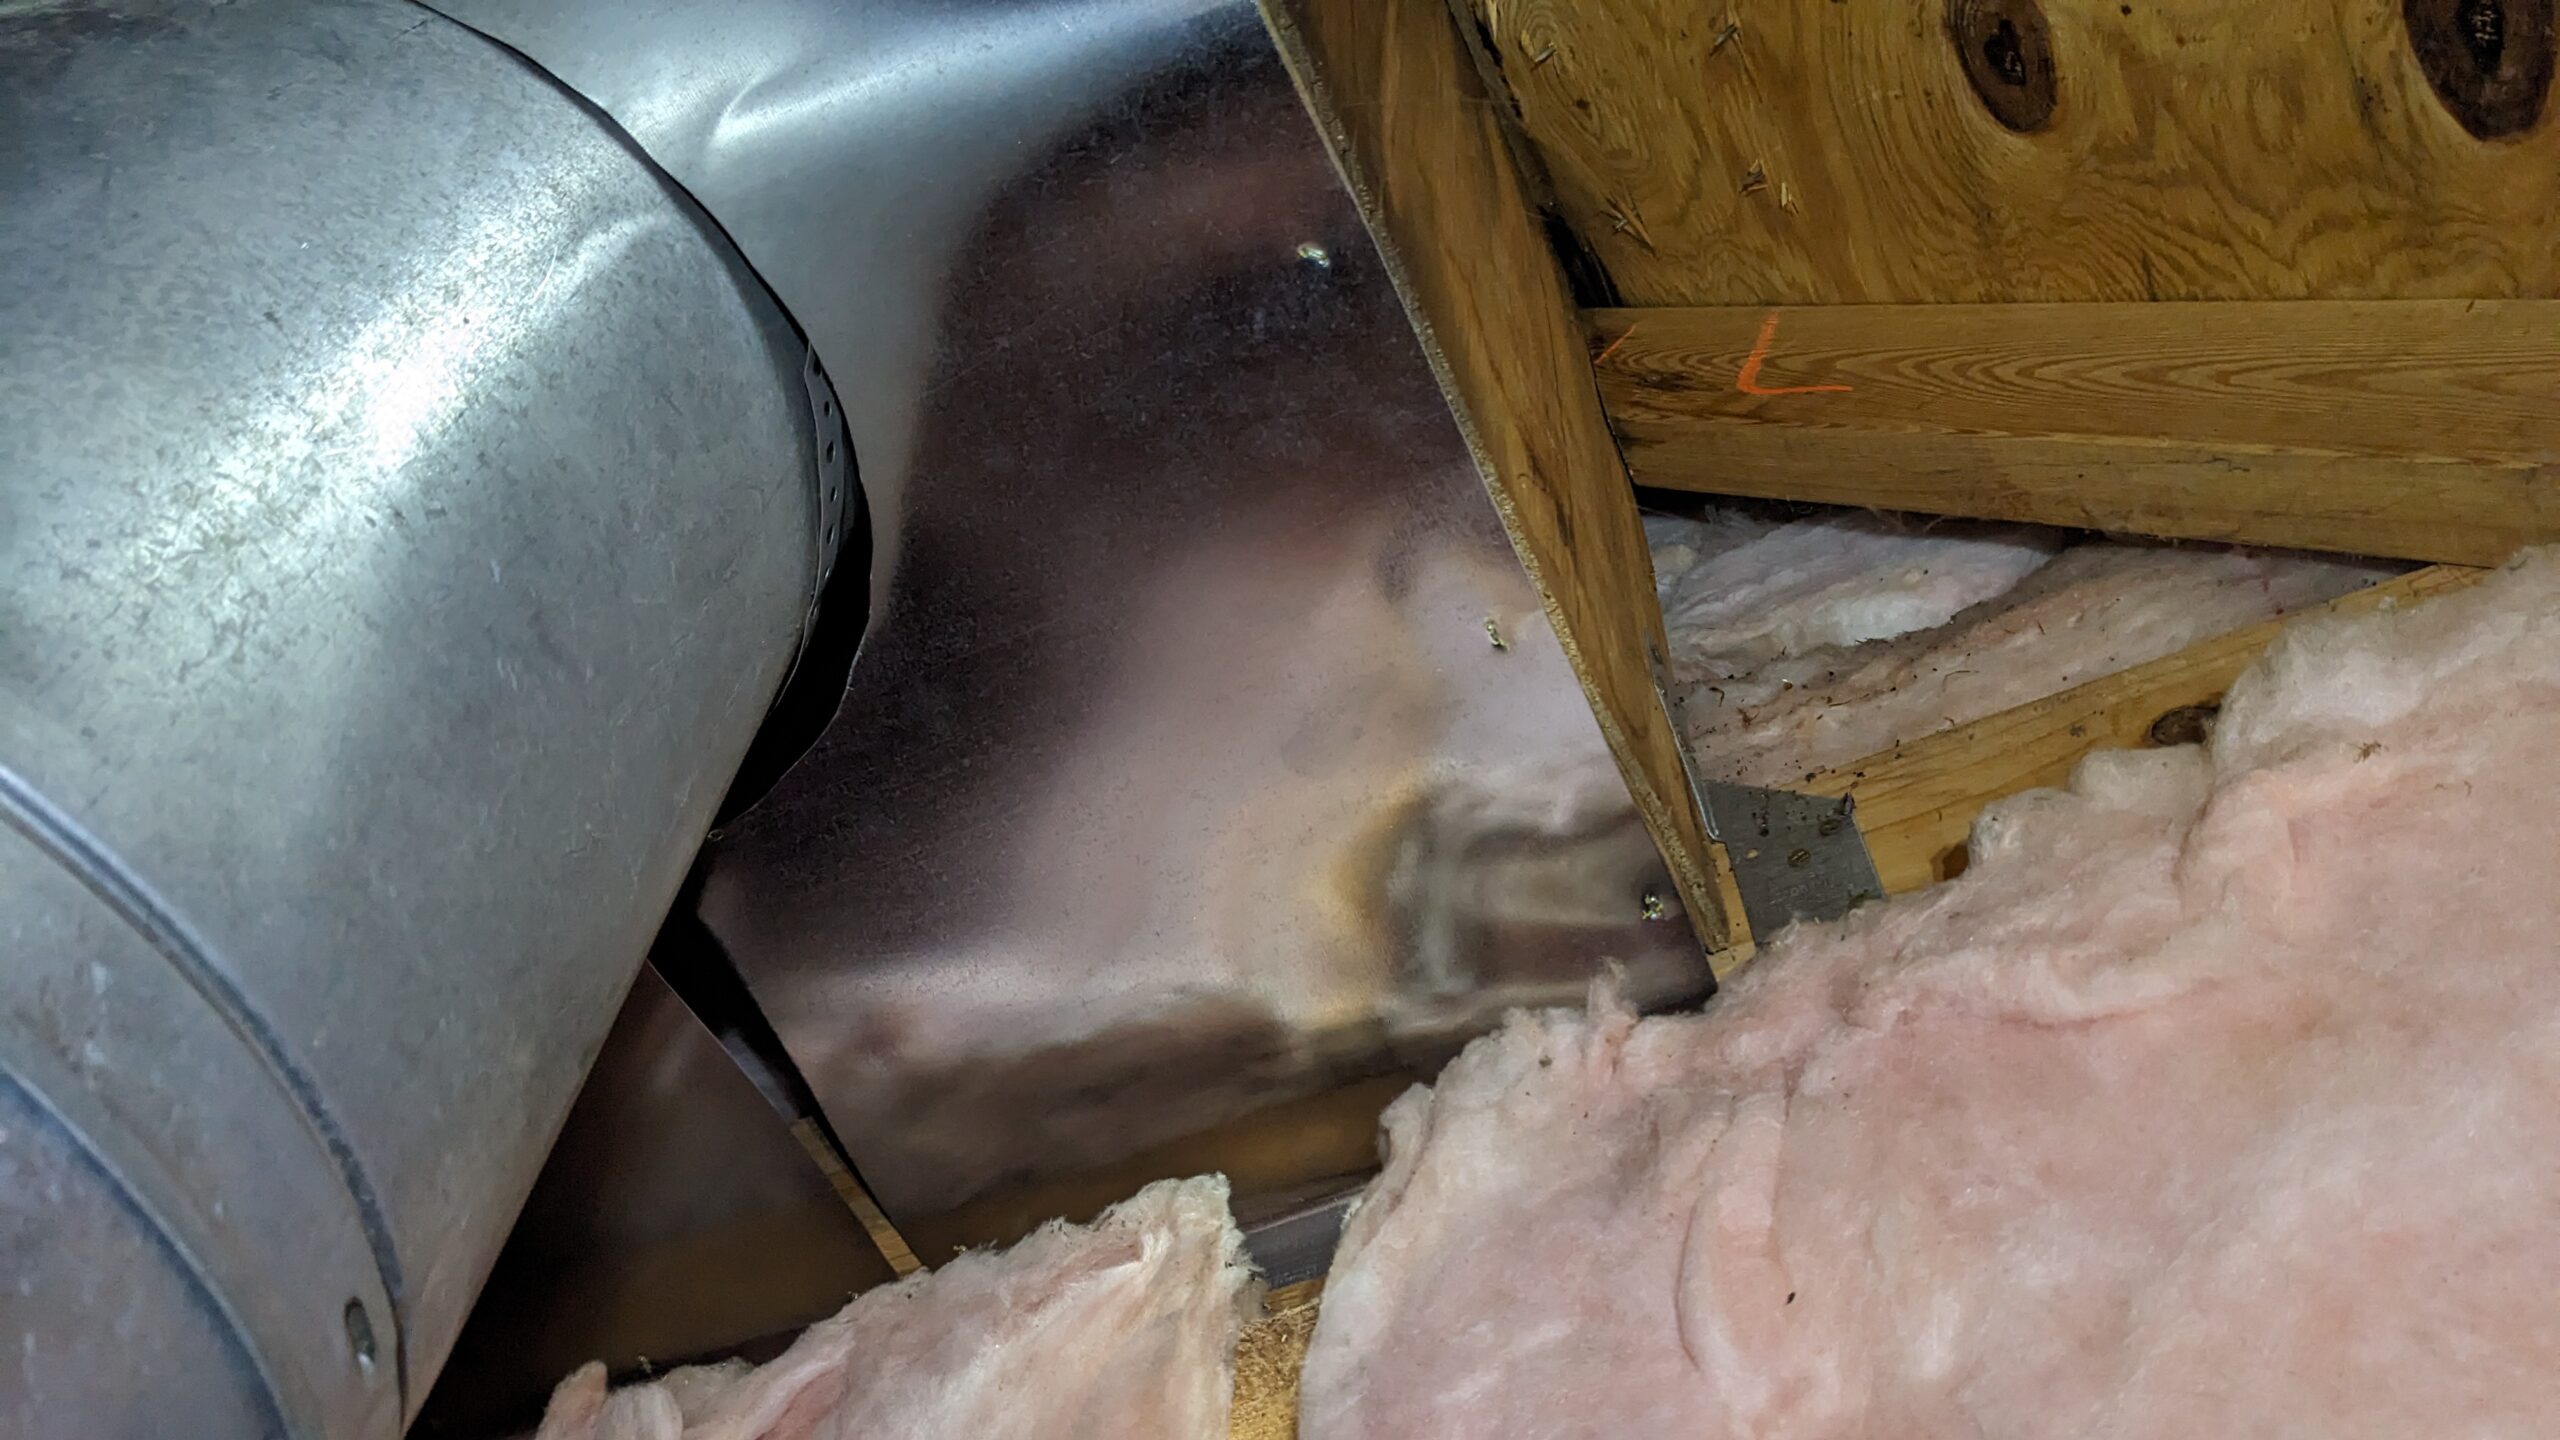
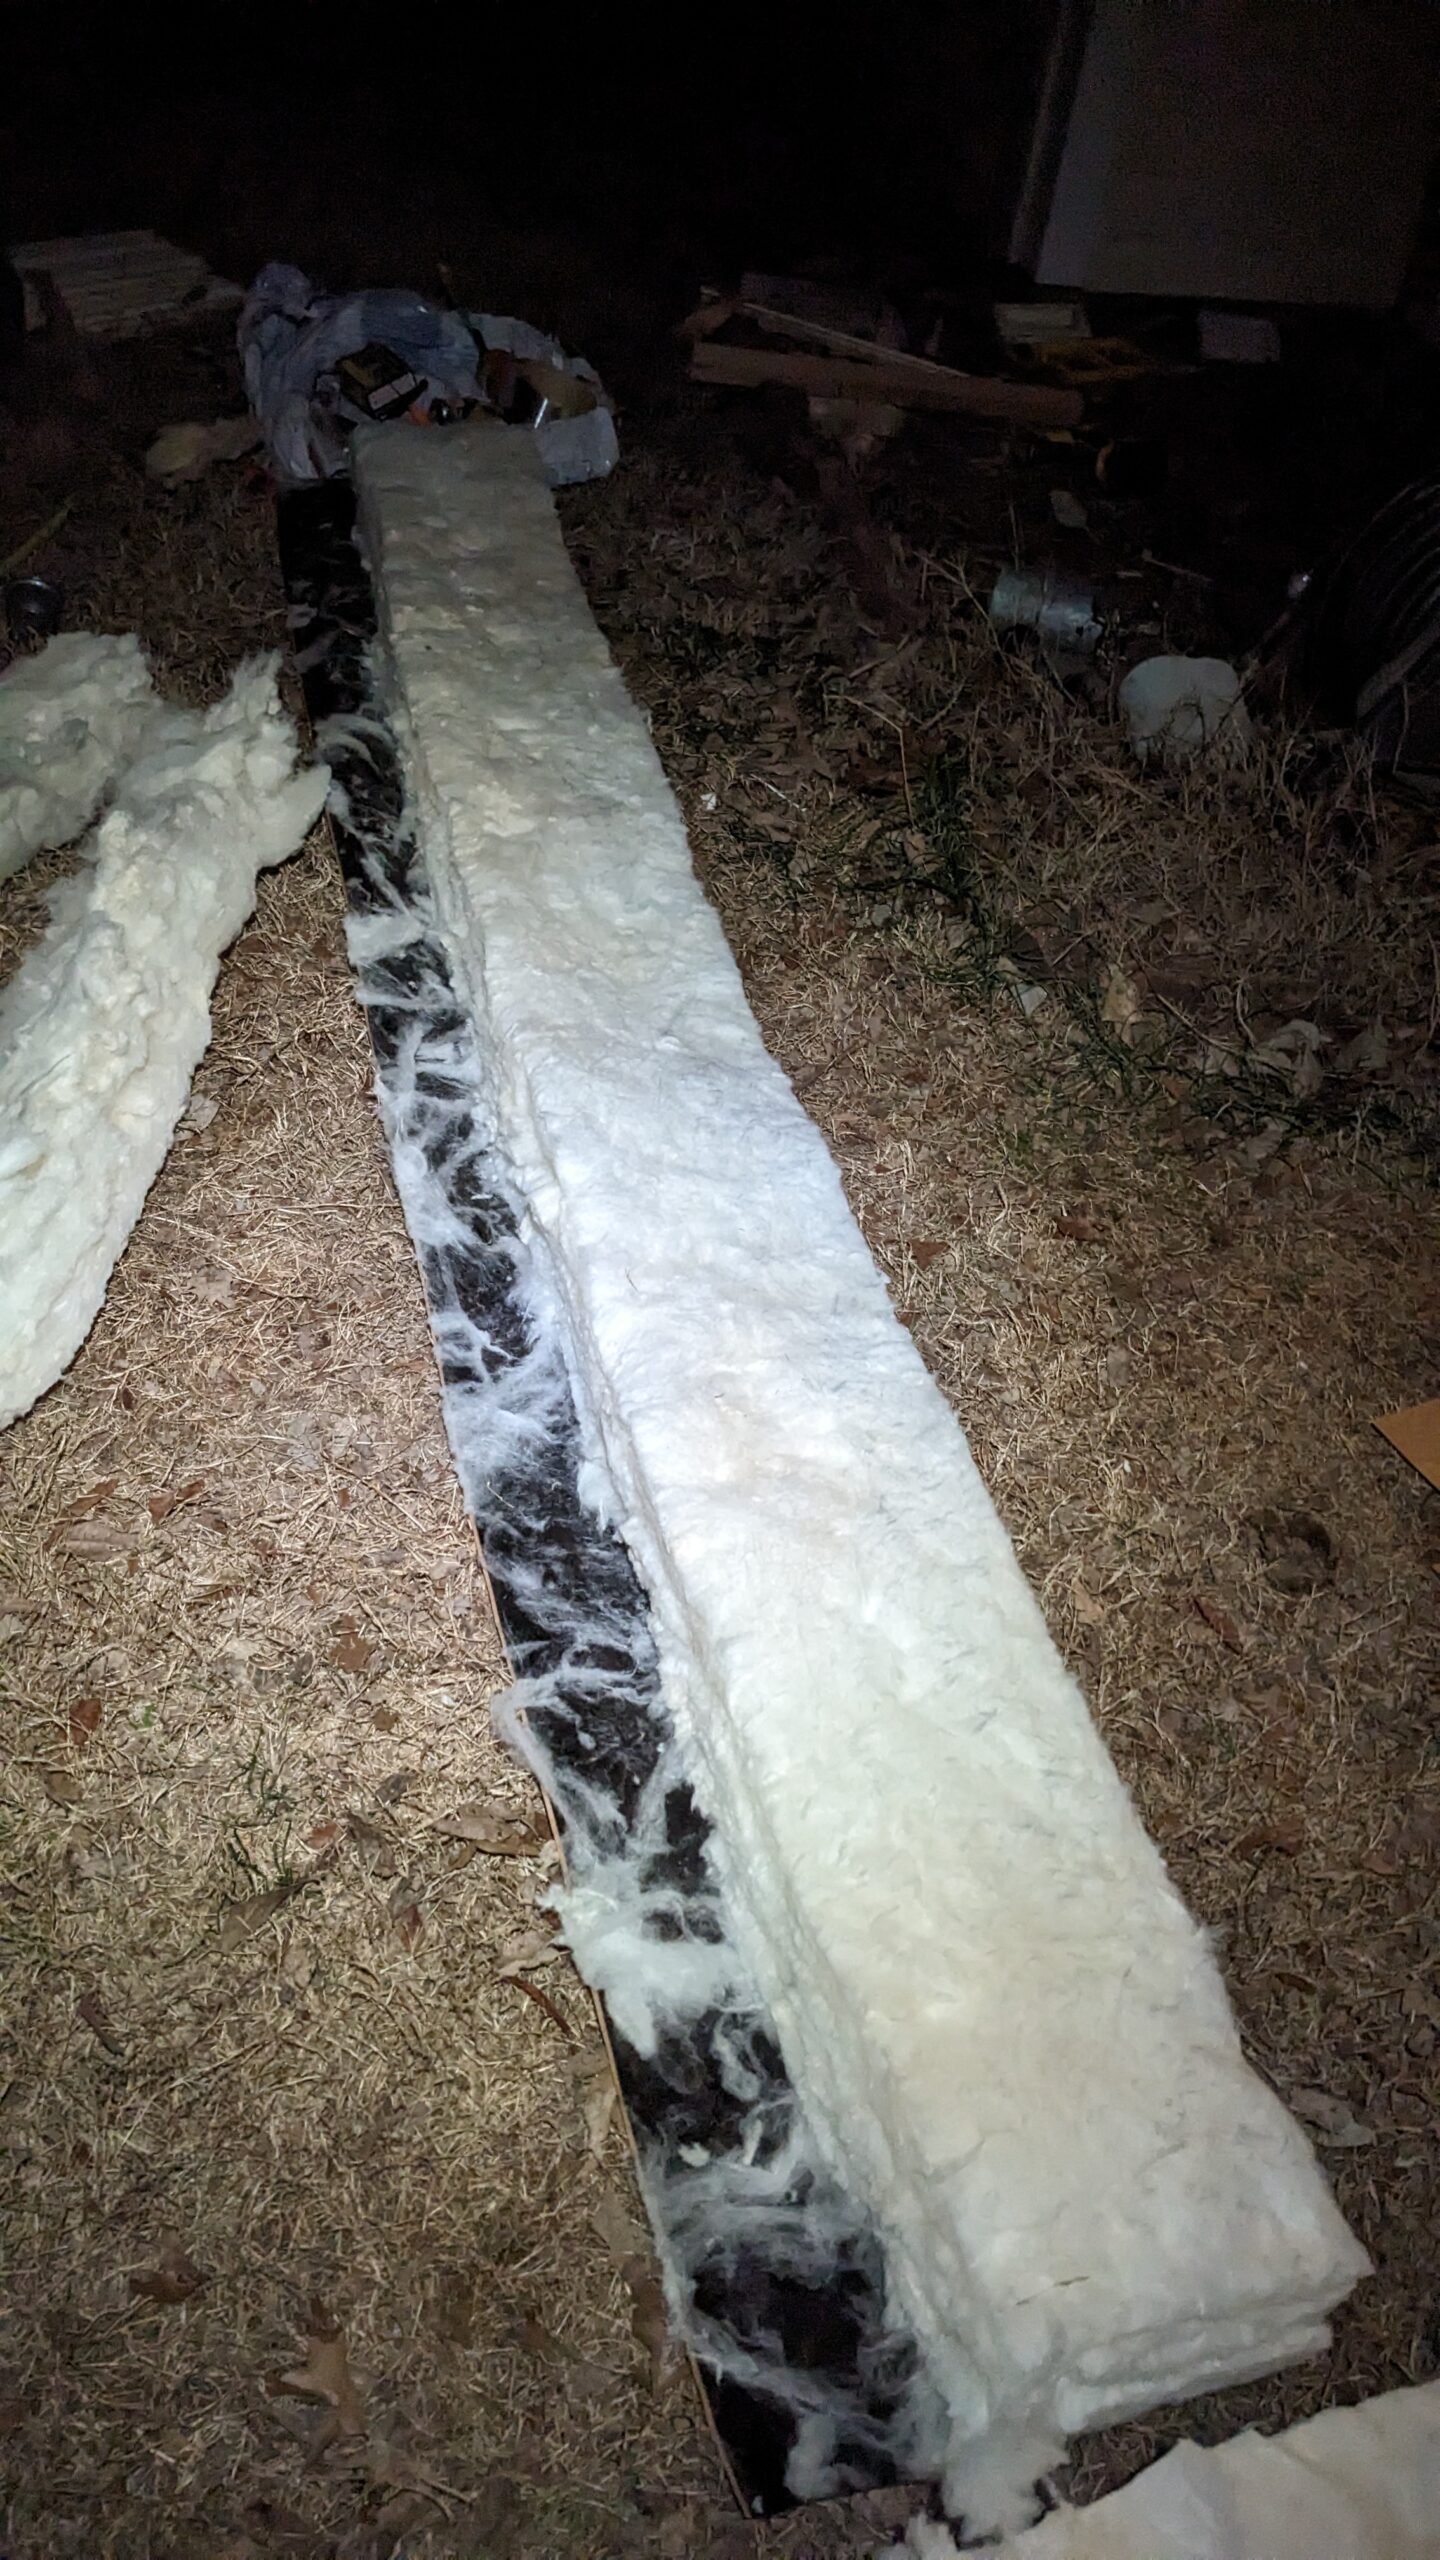
If I insulate the walls of this cavity, but let the attic air mix with it through giant orifices, my insulation is useless. We’re going to seal all of the corners afterwards with fire block foam, and install 2x layers of R-19 unfaced fiberglass insulation on top to match the rest of the attic.
We’ll install some faced R-19 insulation into these walls, and some scraps of unfaced below the fireplace to prevent the cold masonry from cooling the bottom of the firebox as badly.
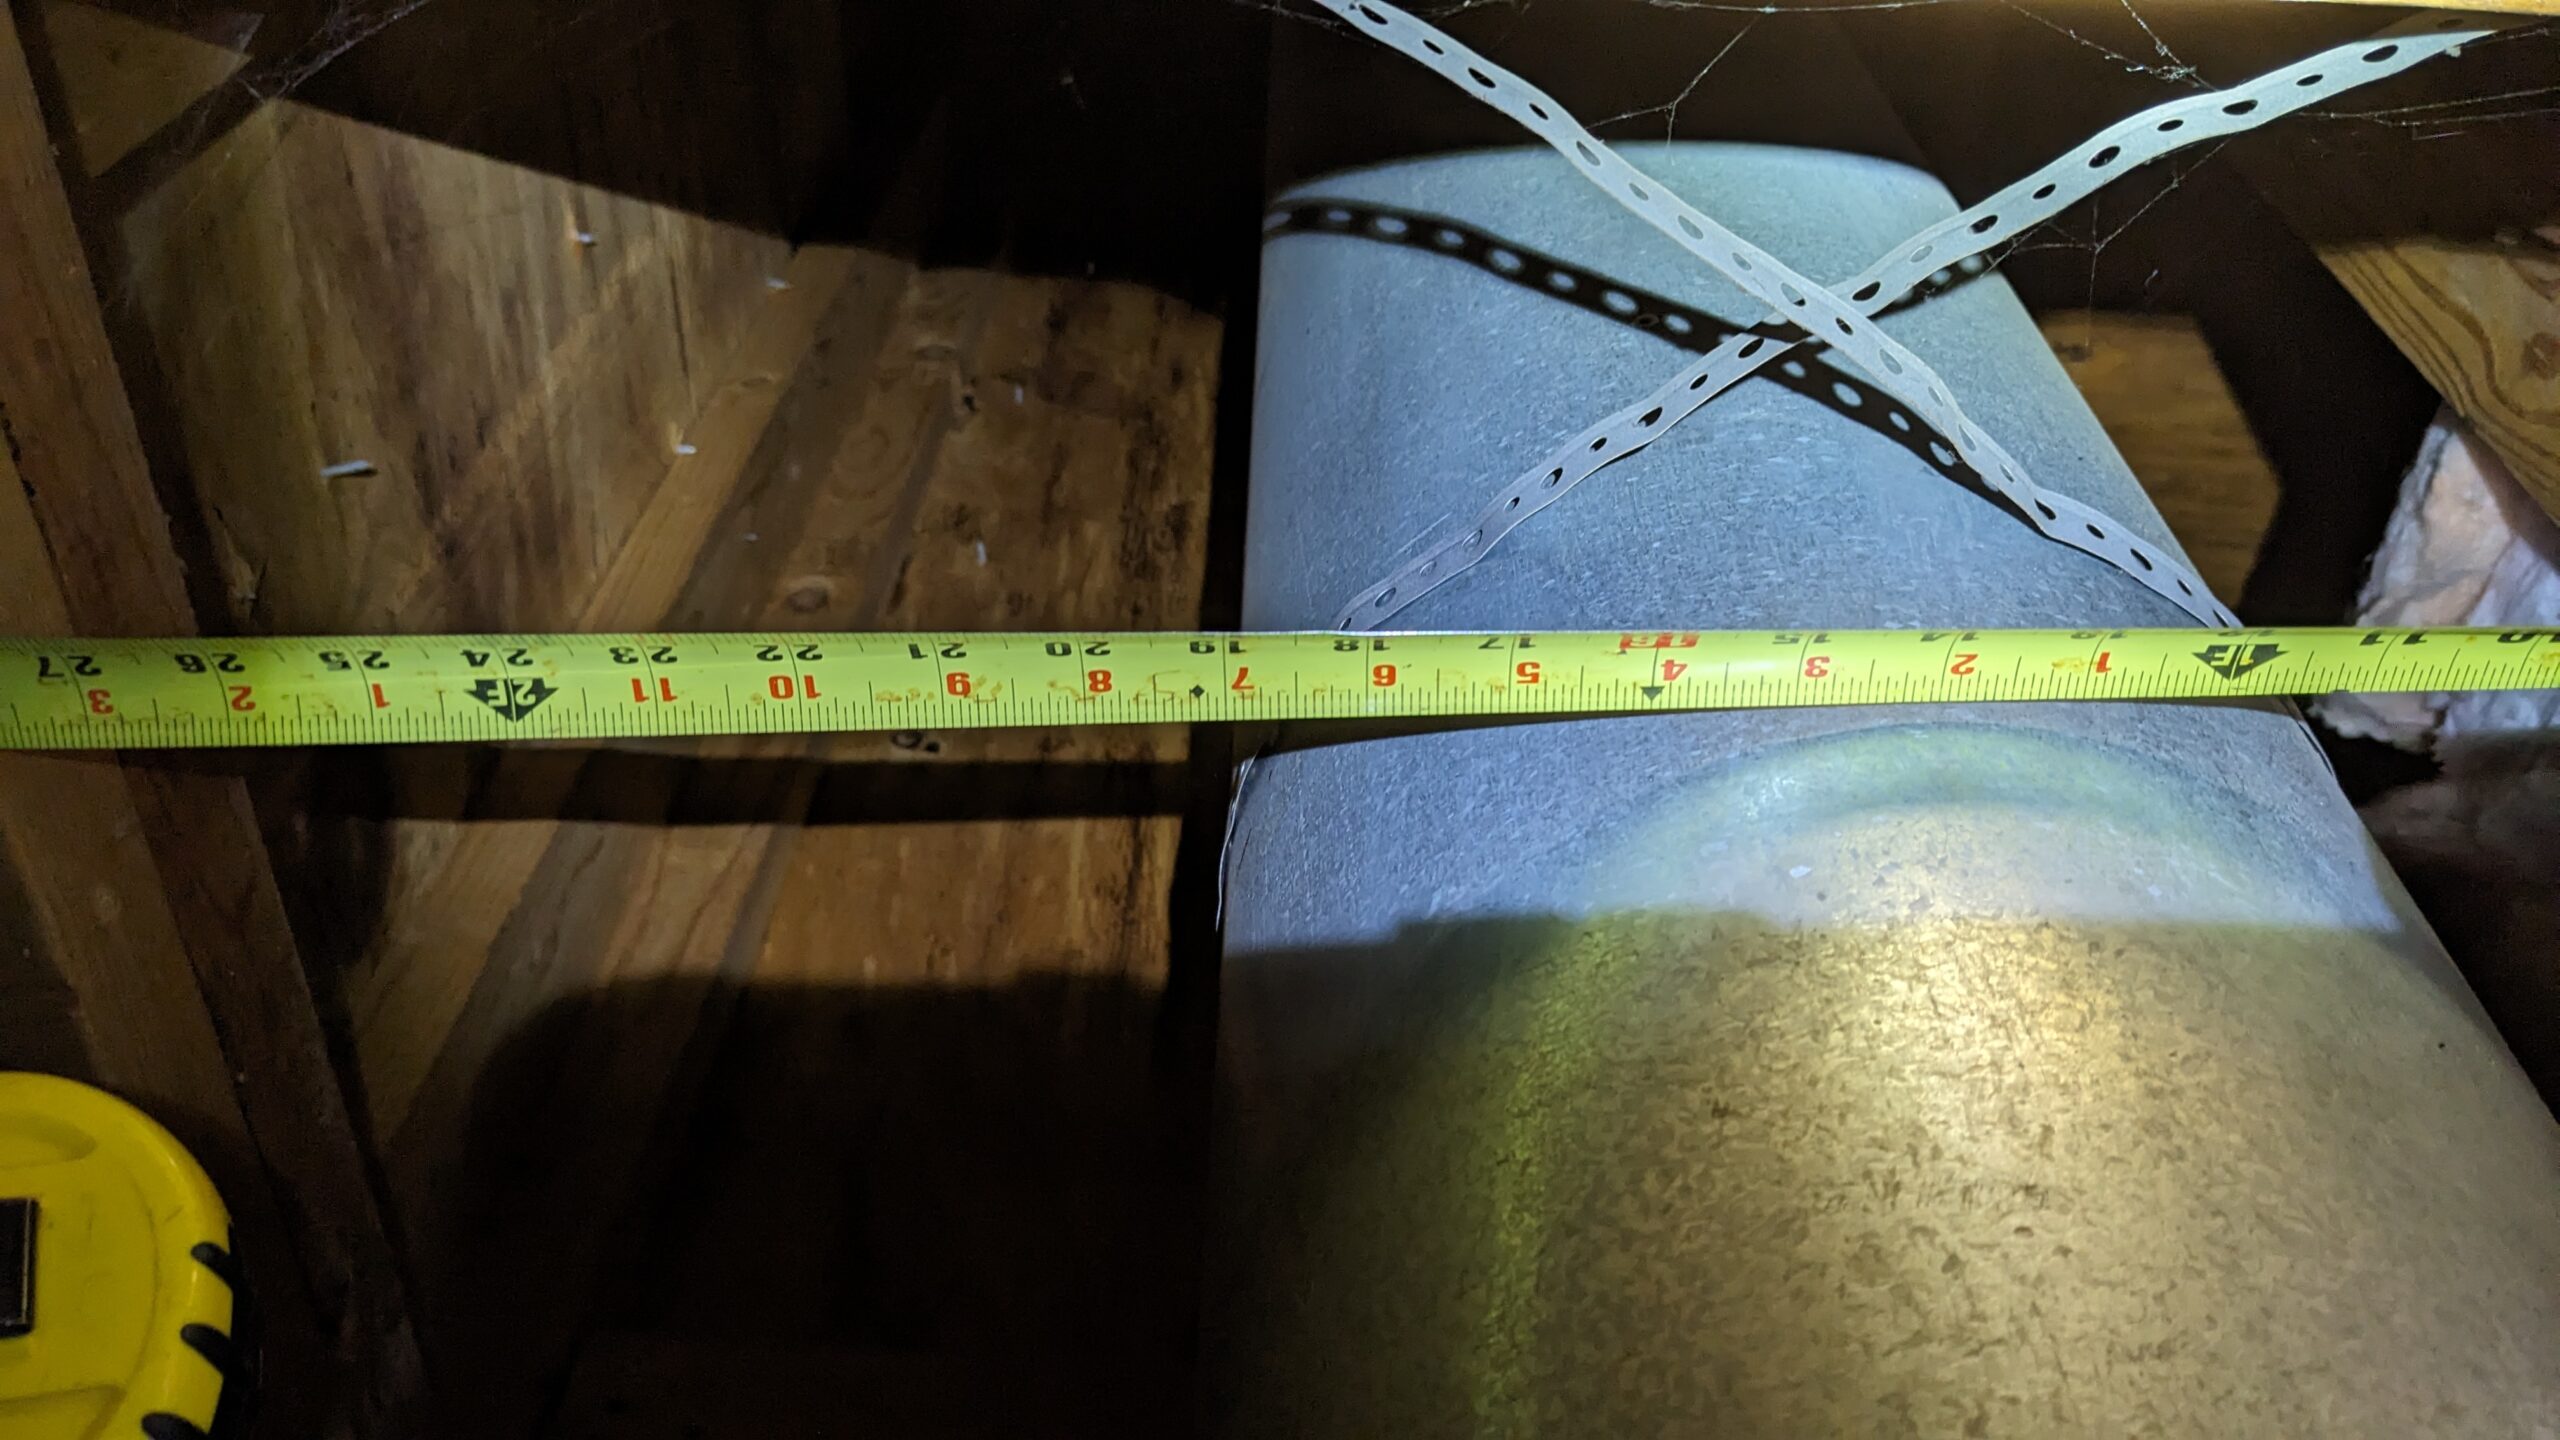
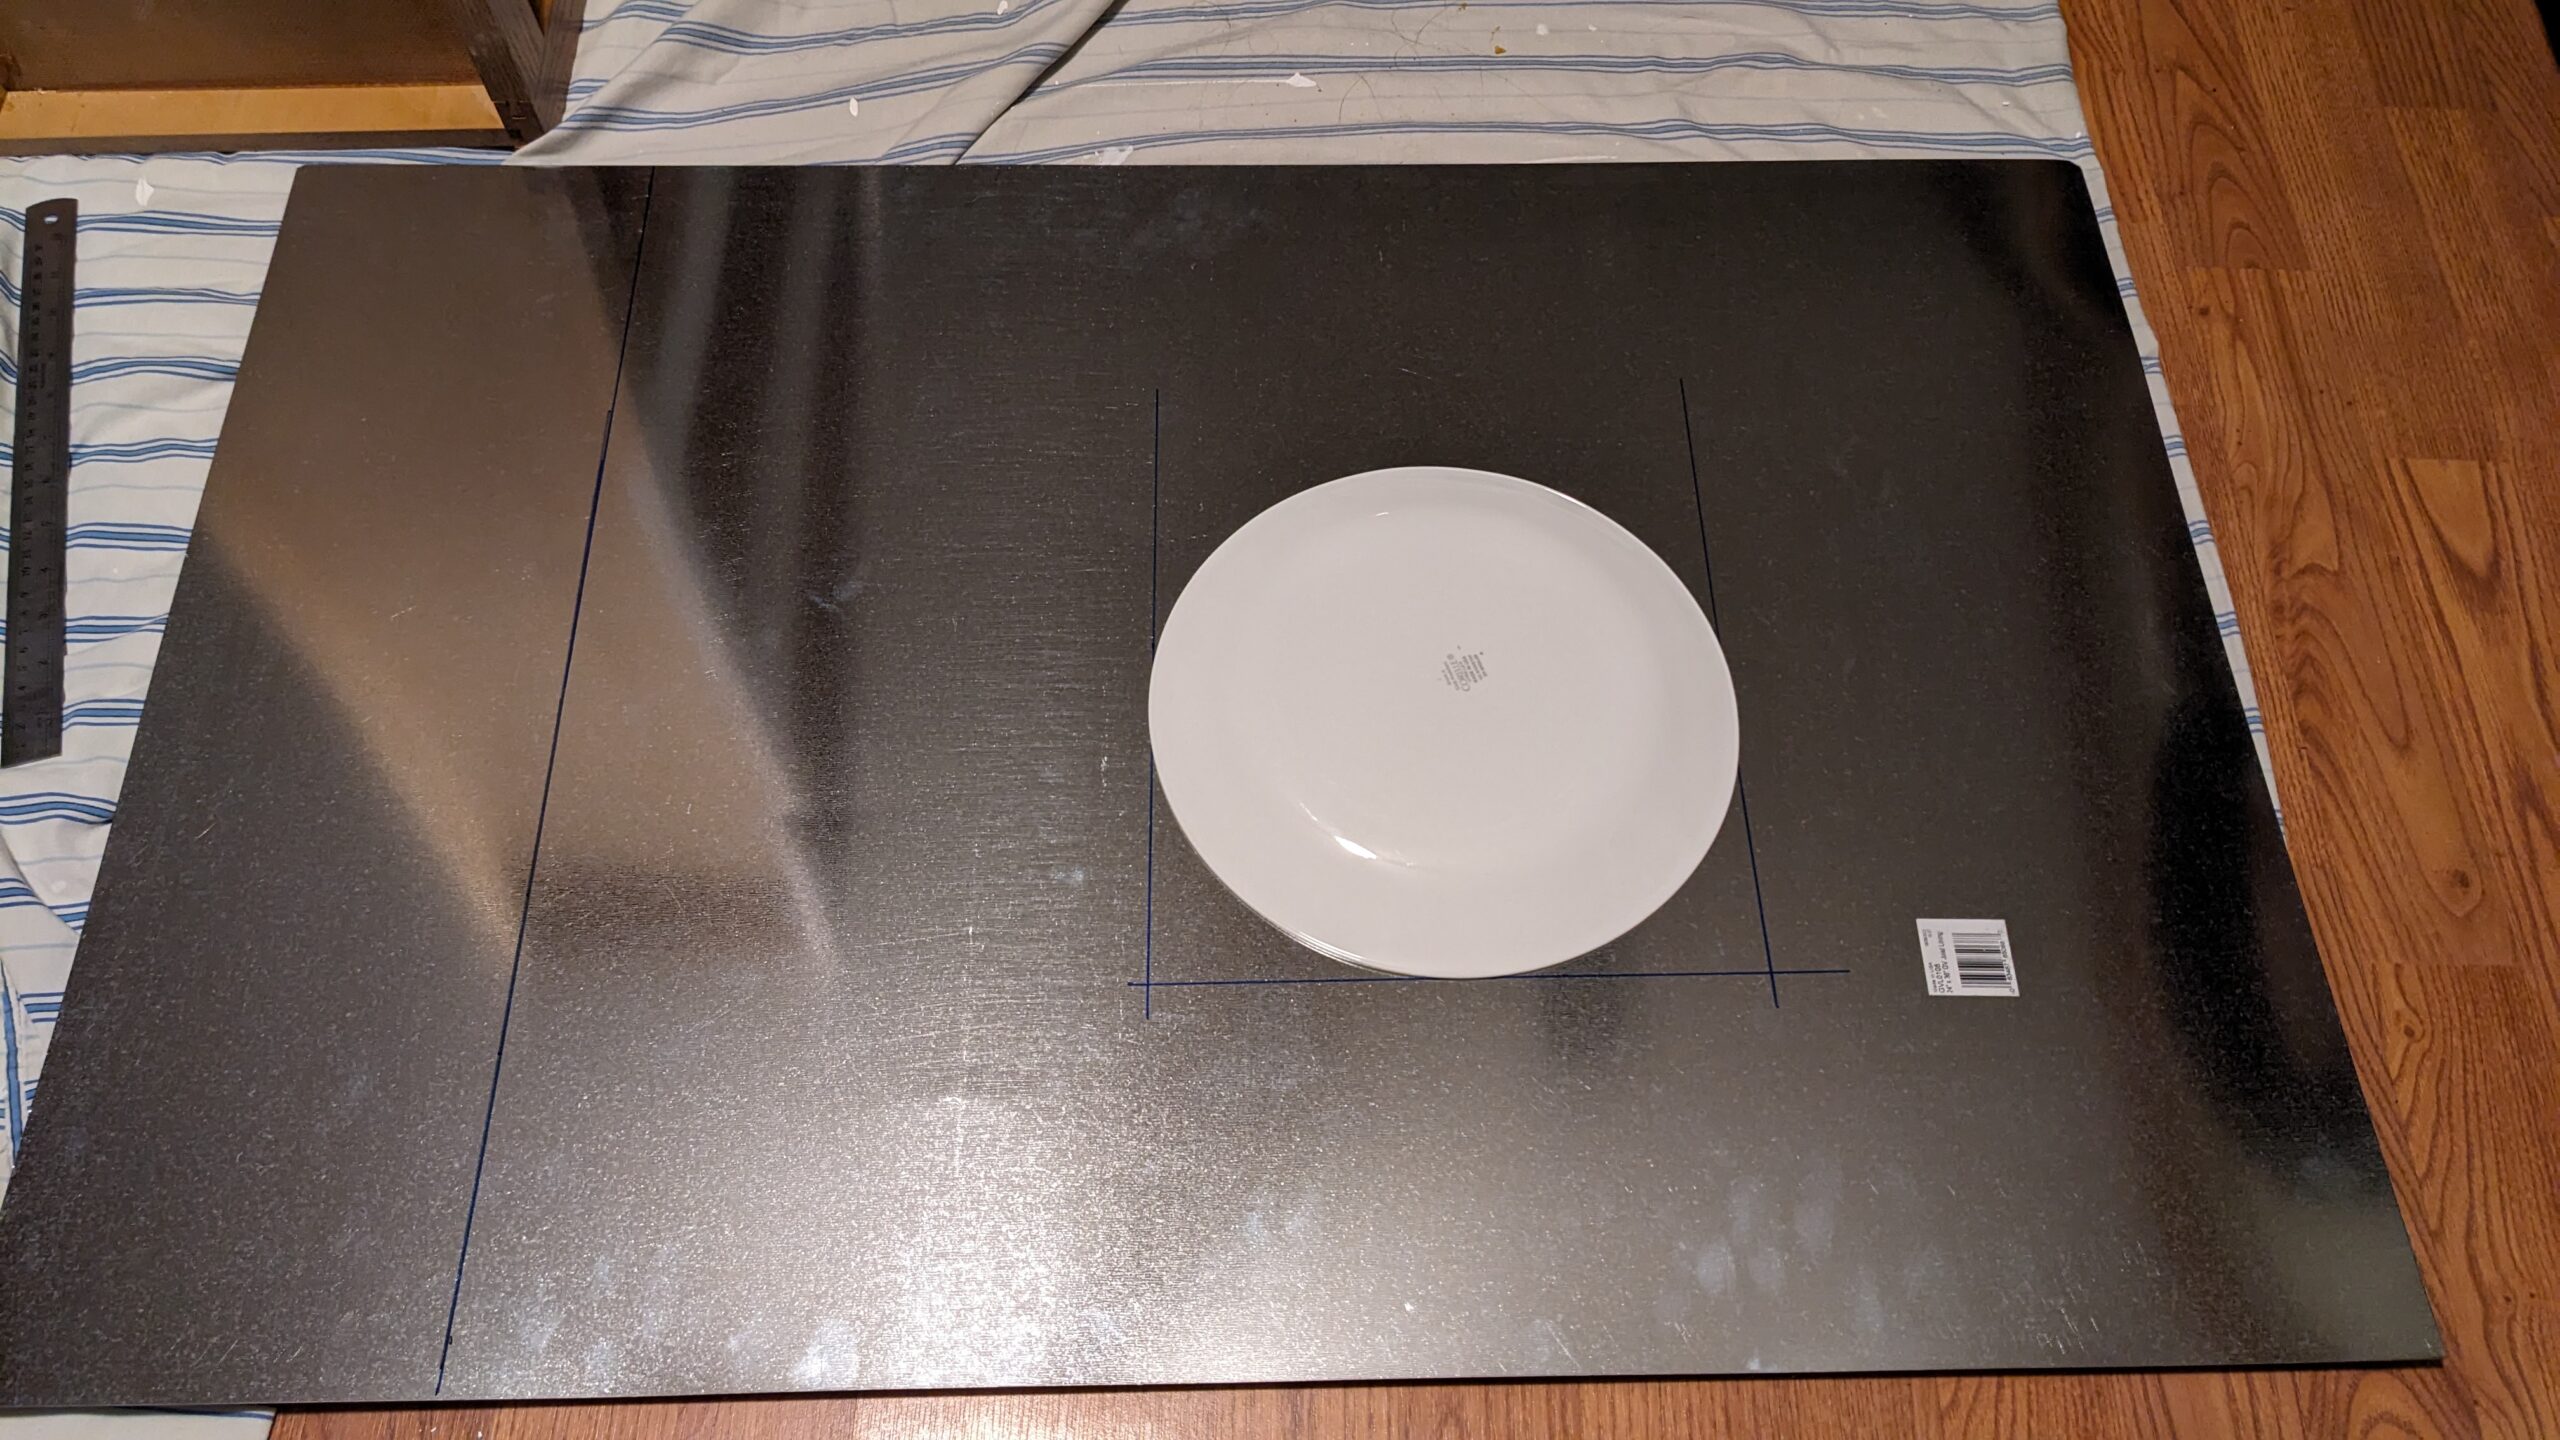
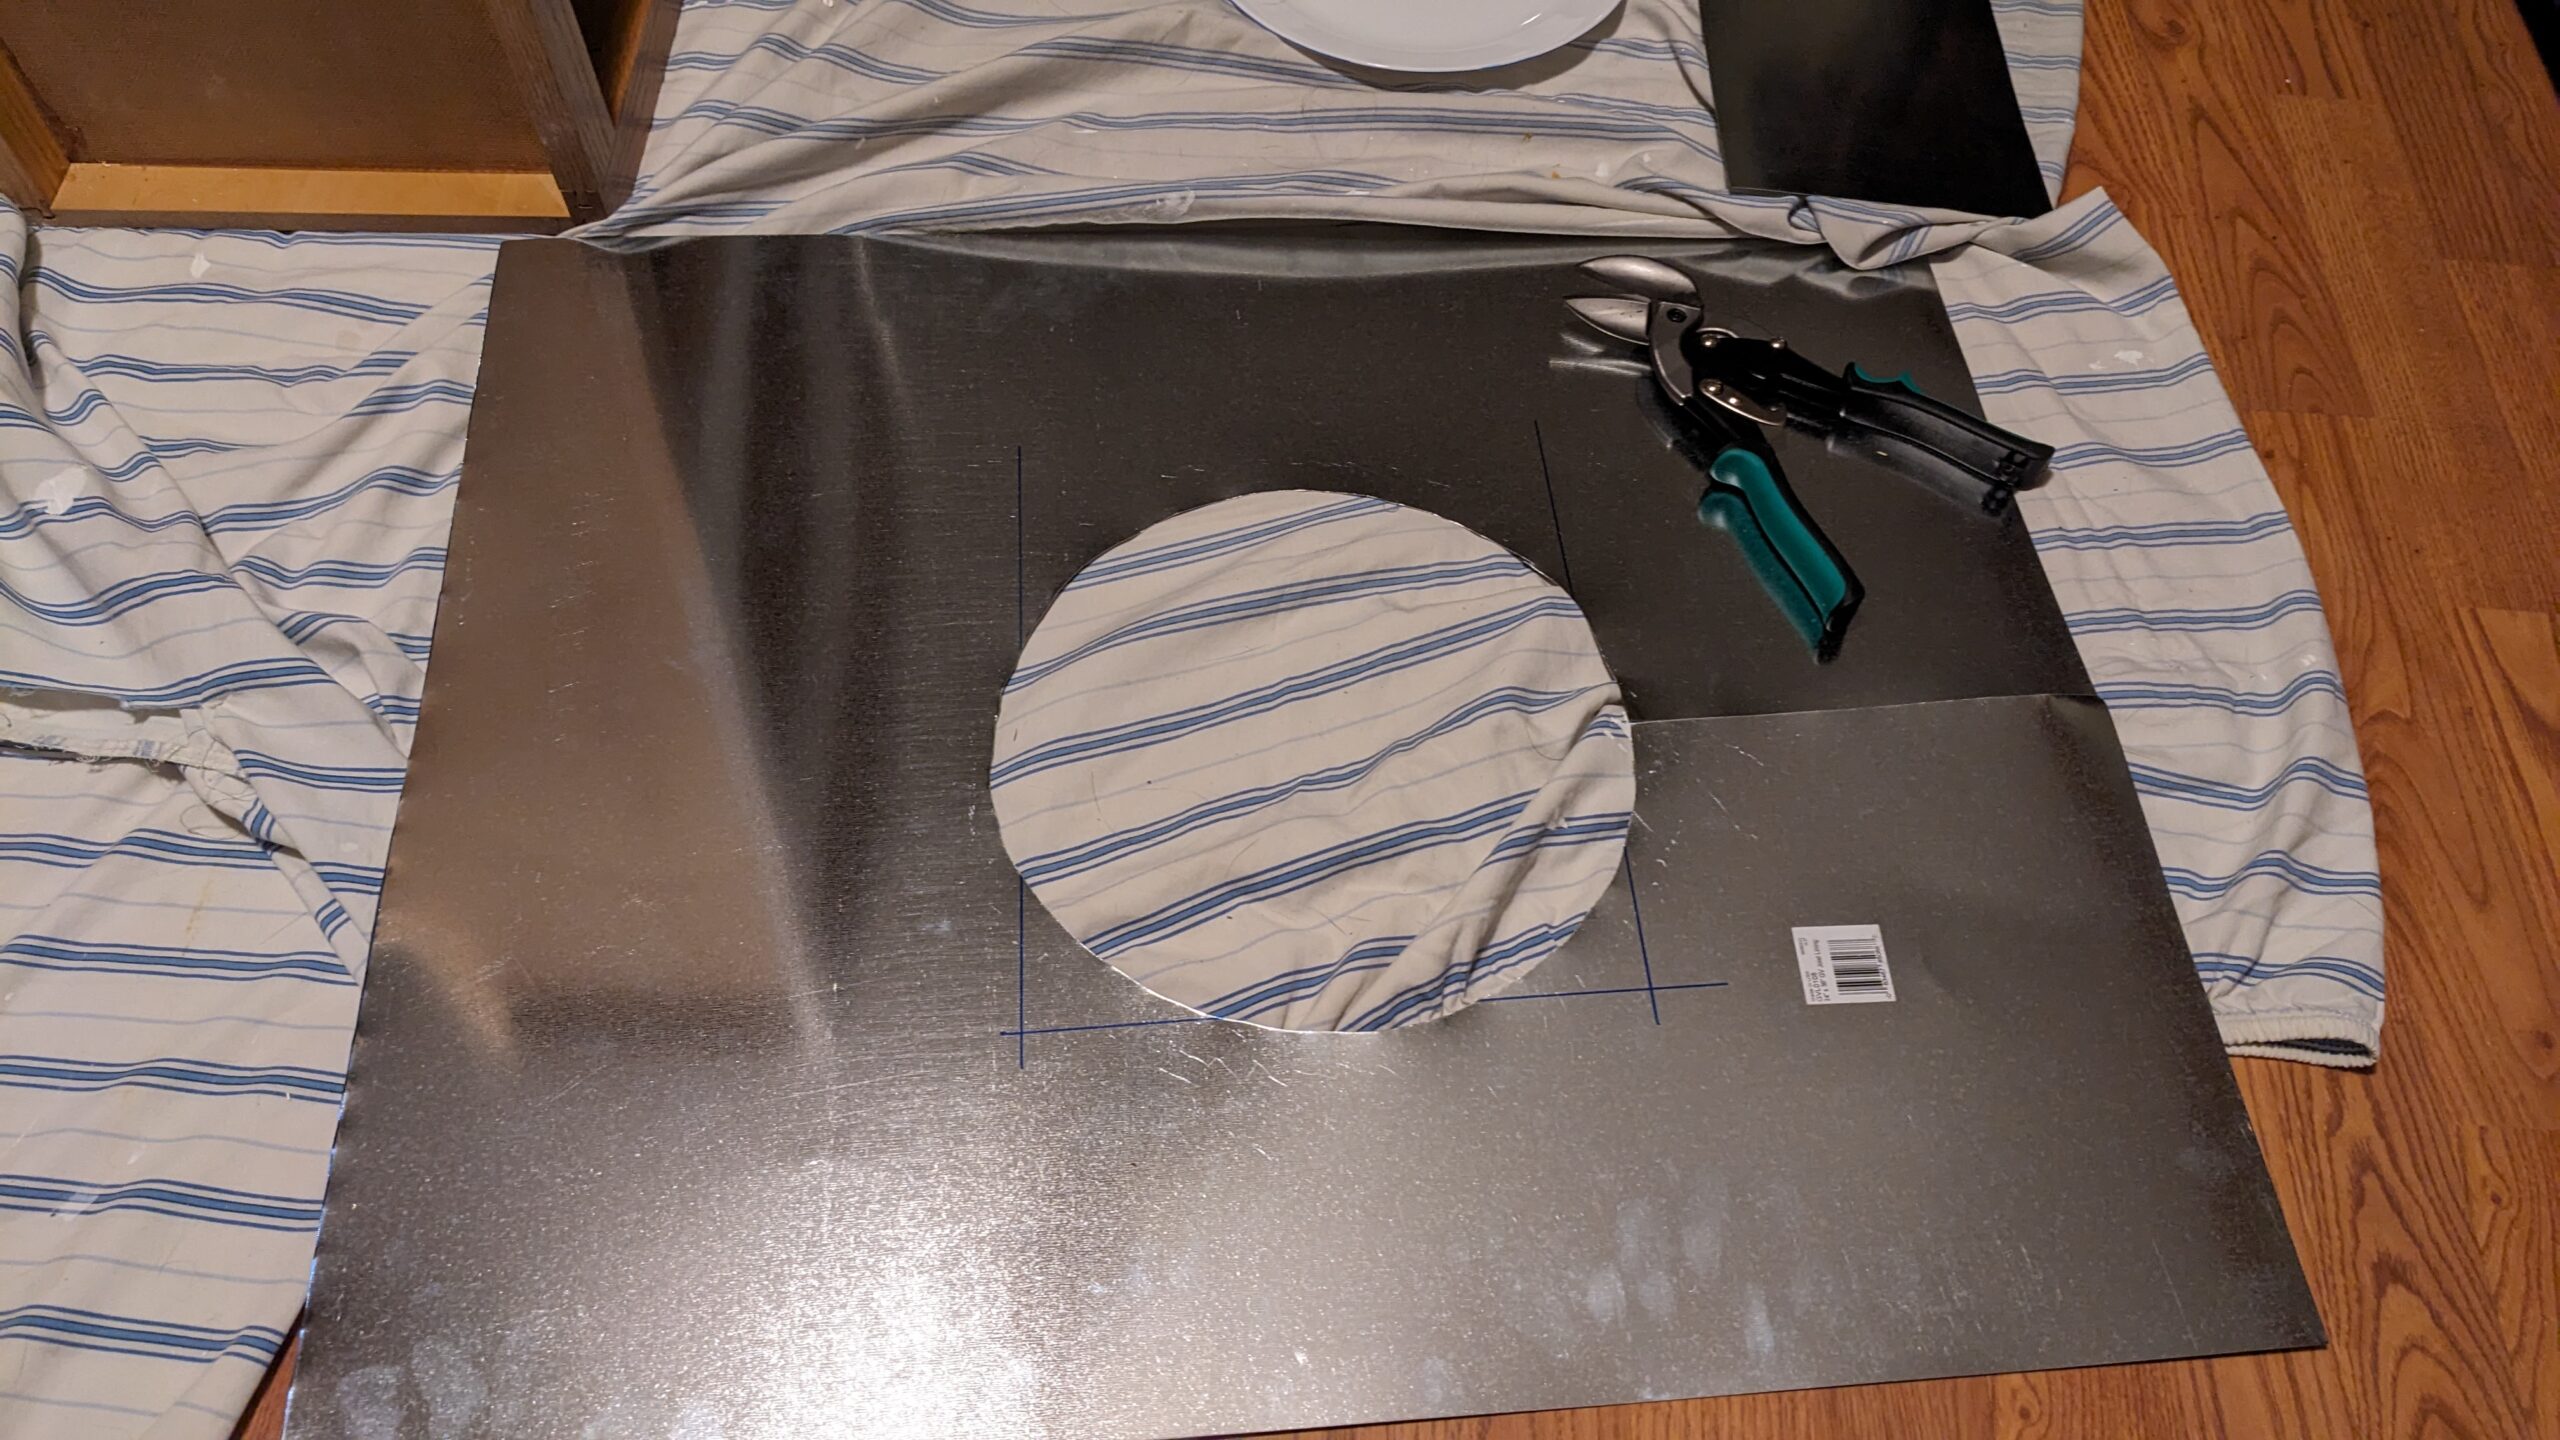
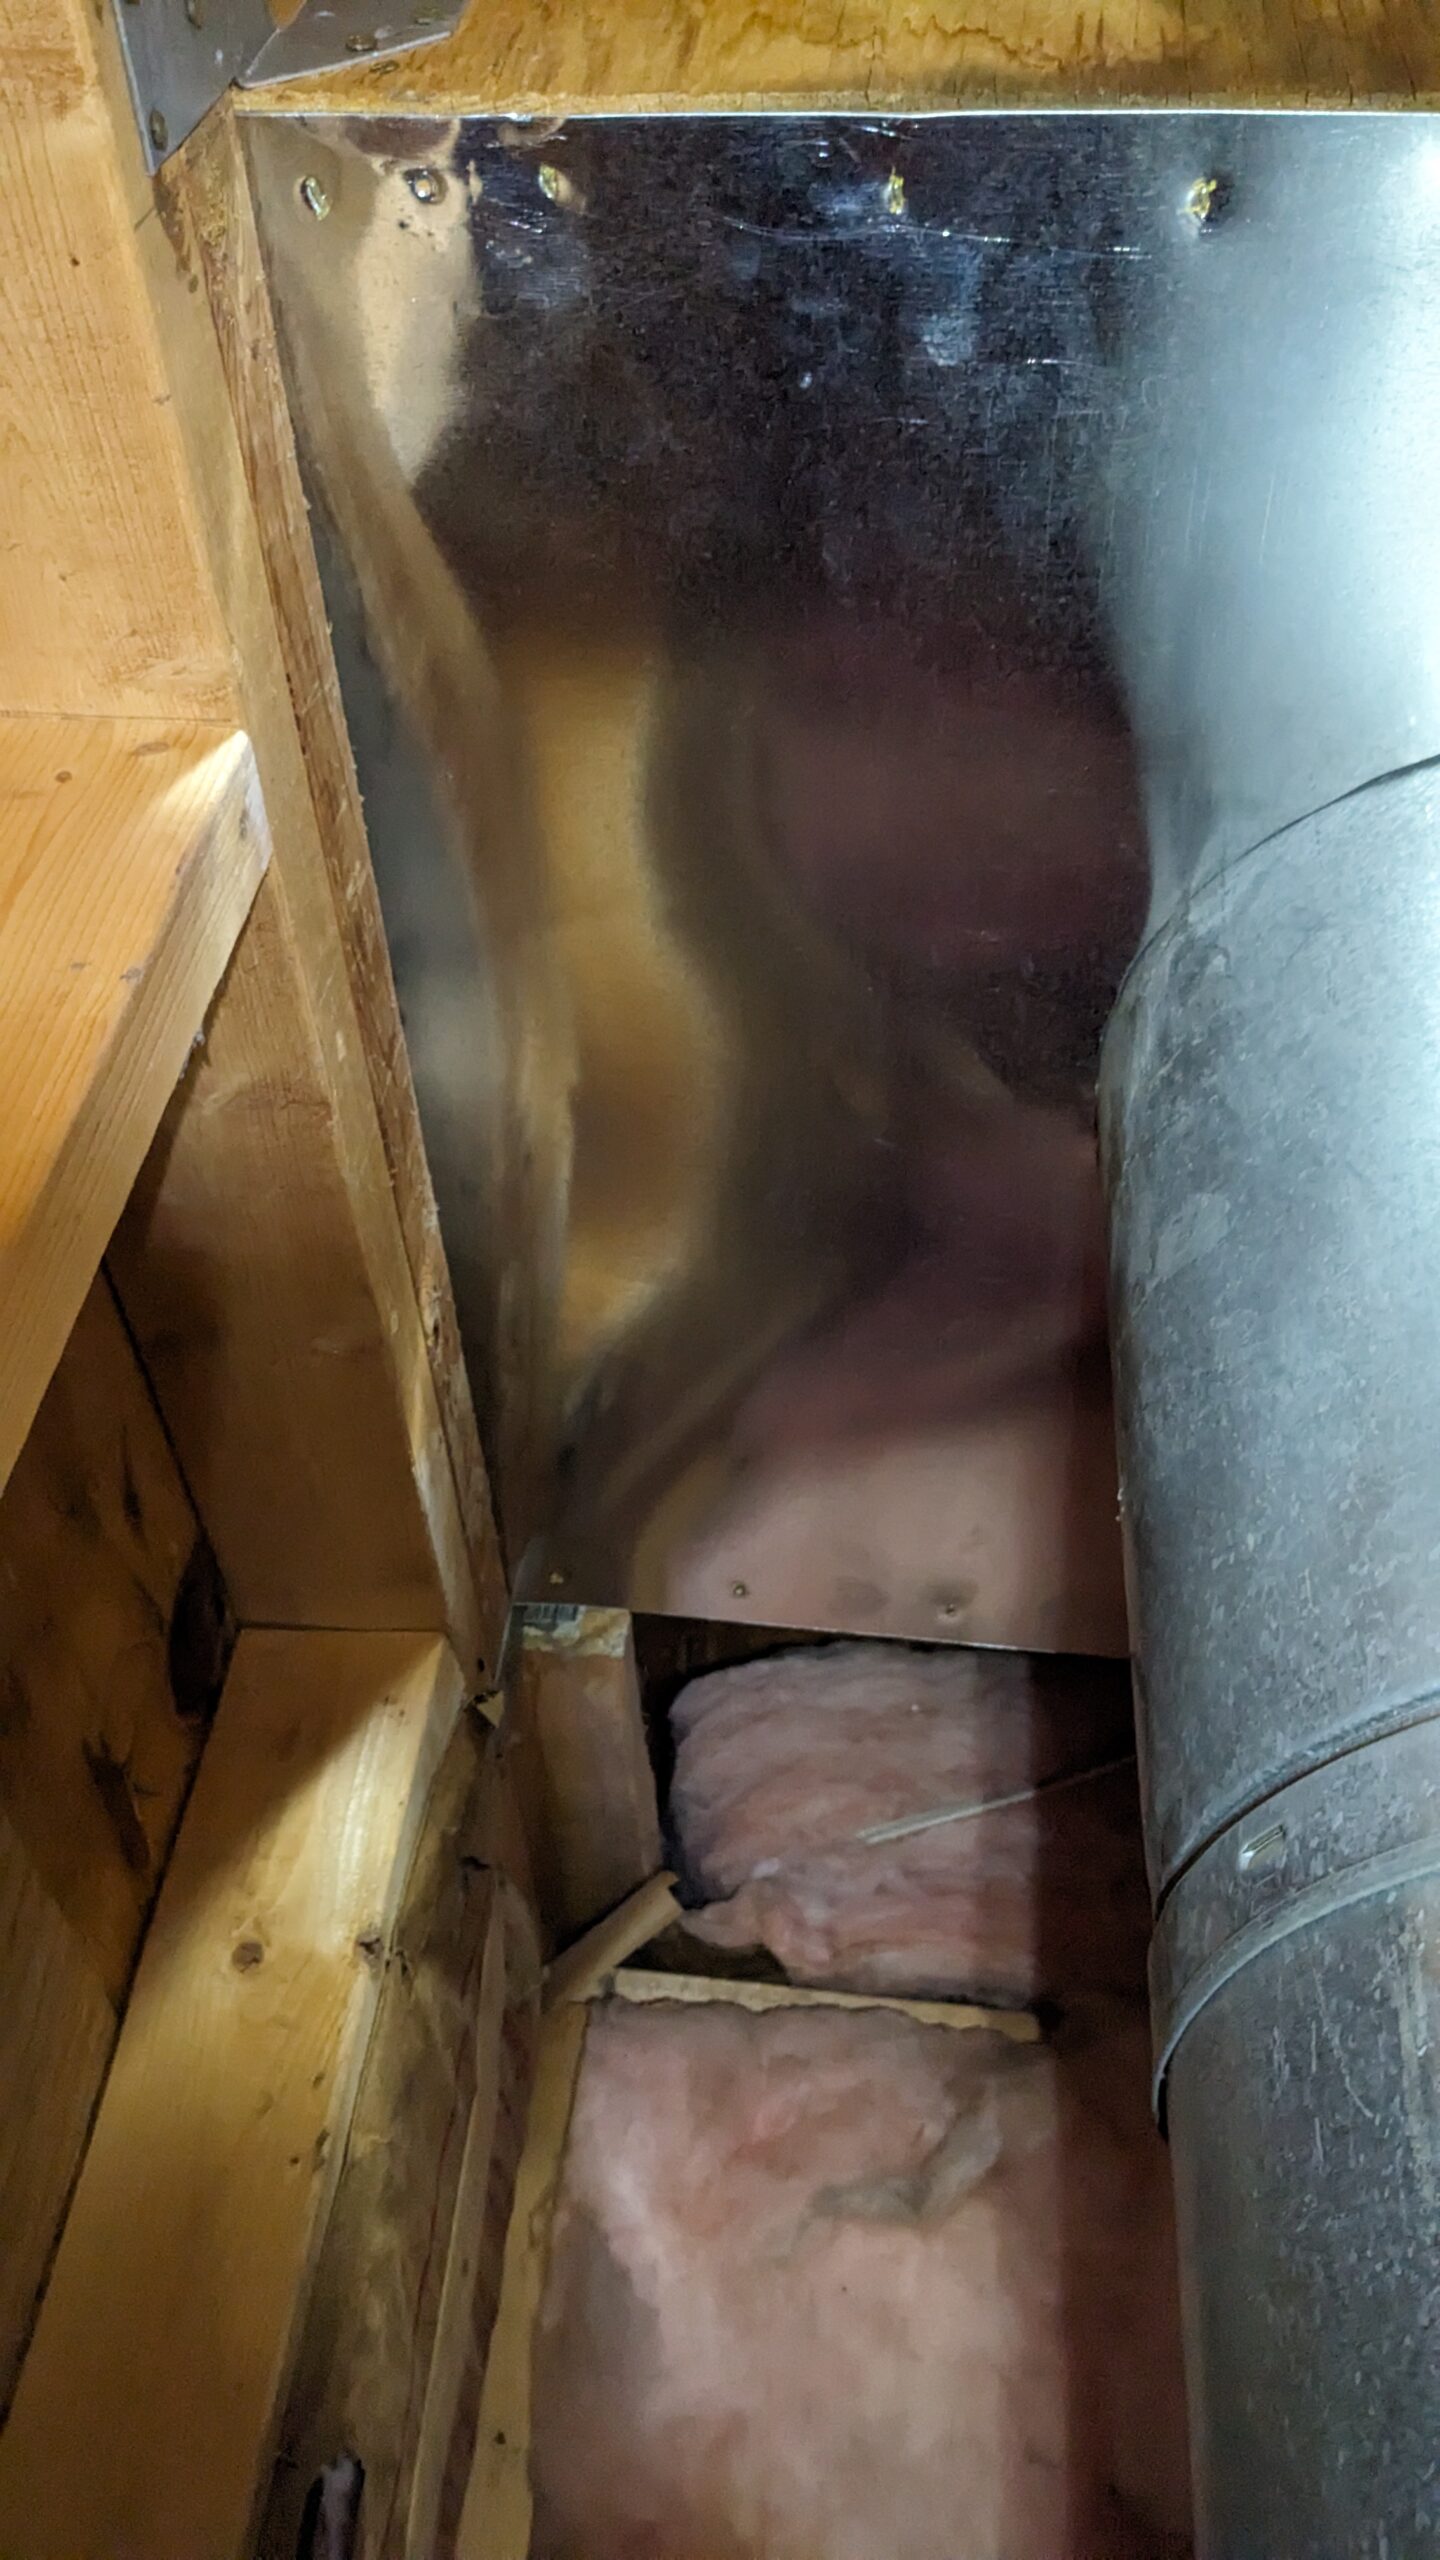
I just bought some flat 16ga sheet steel from the ductwork aisle for a few bucks. Cut it a little big around the pipe to maintain your sanity. Bring the snips with you to tweak the fit after testing it a few times.
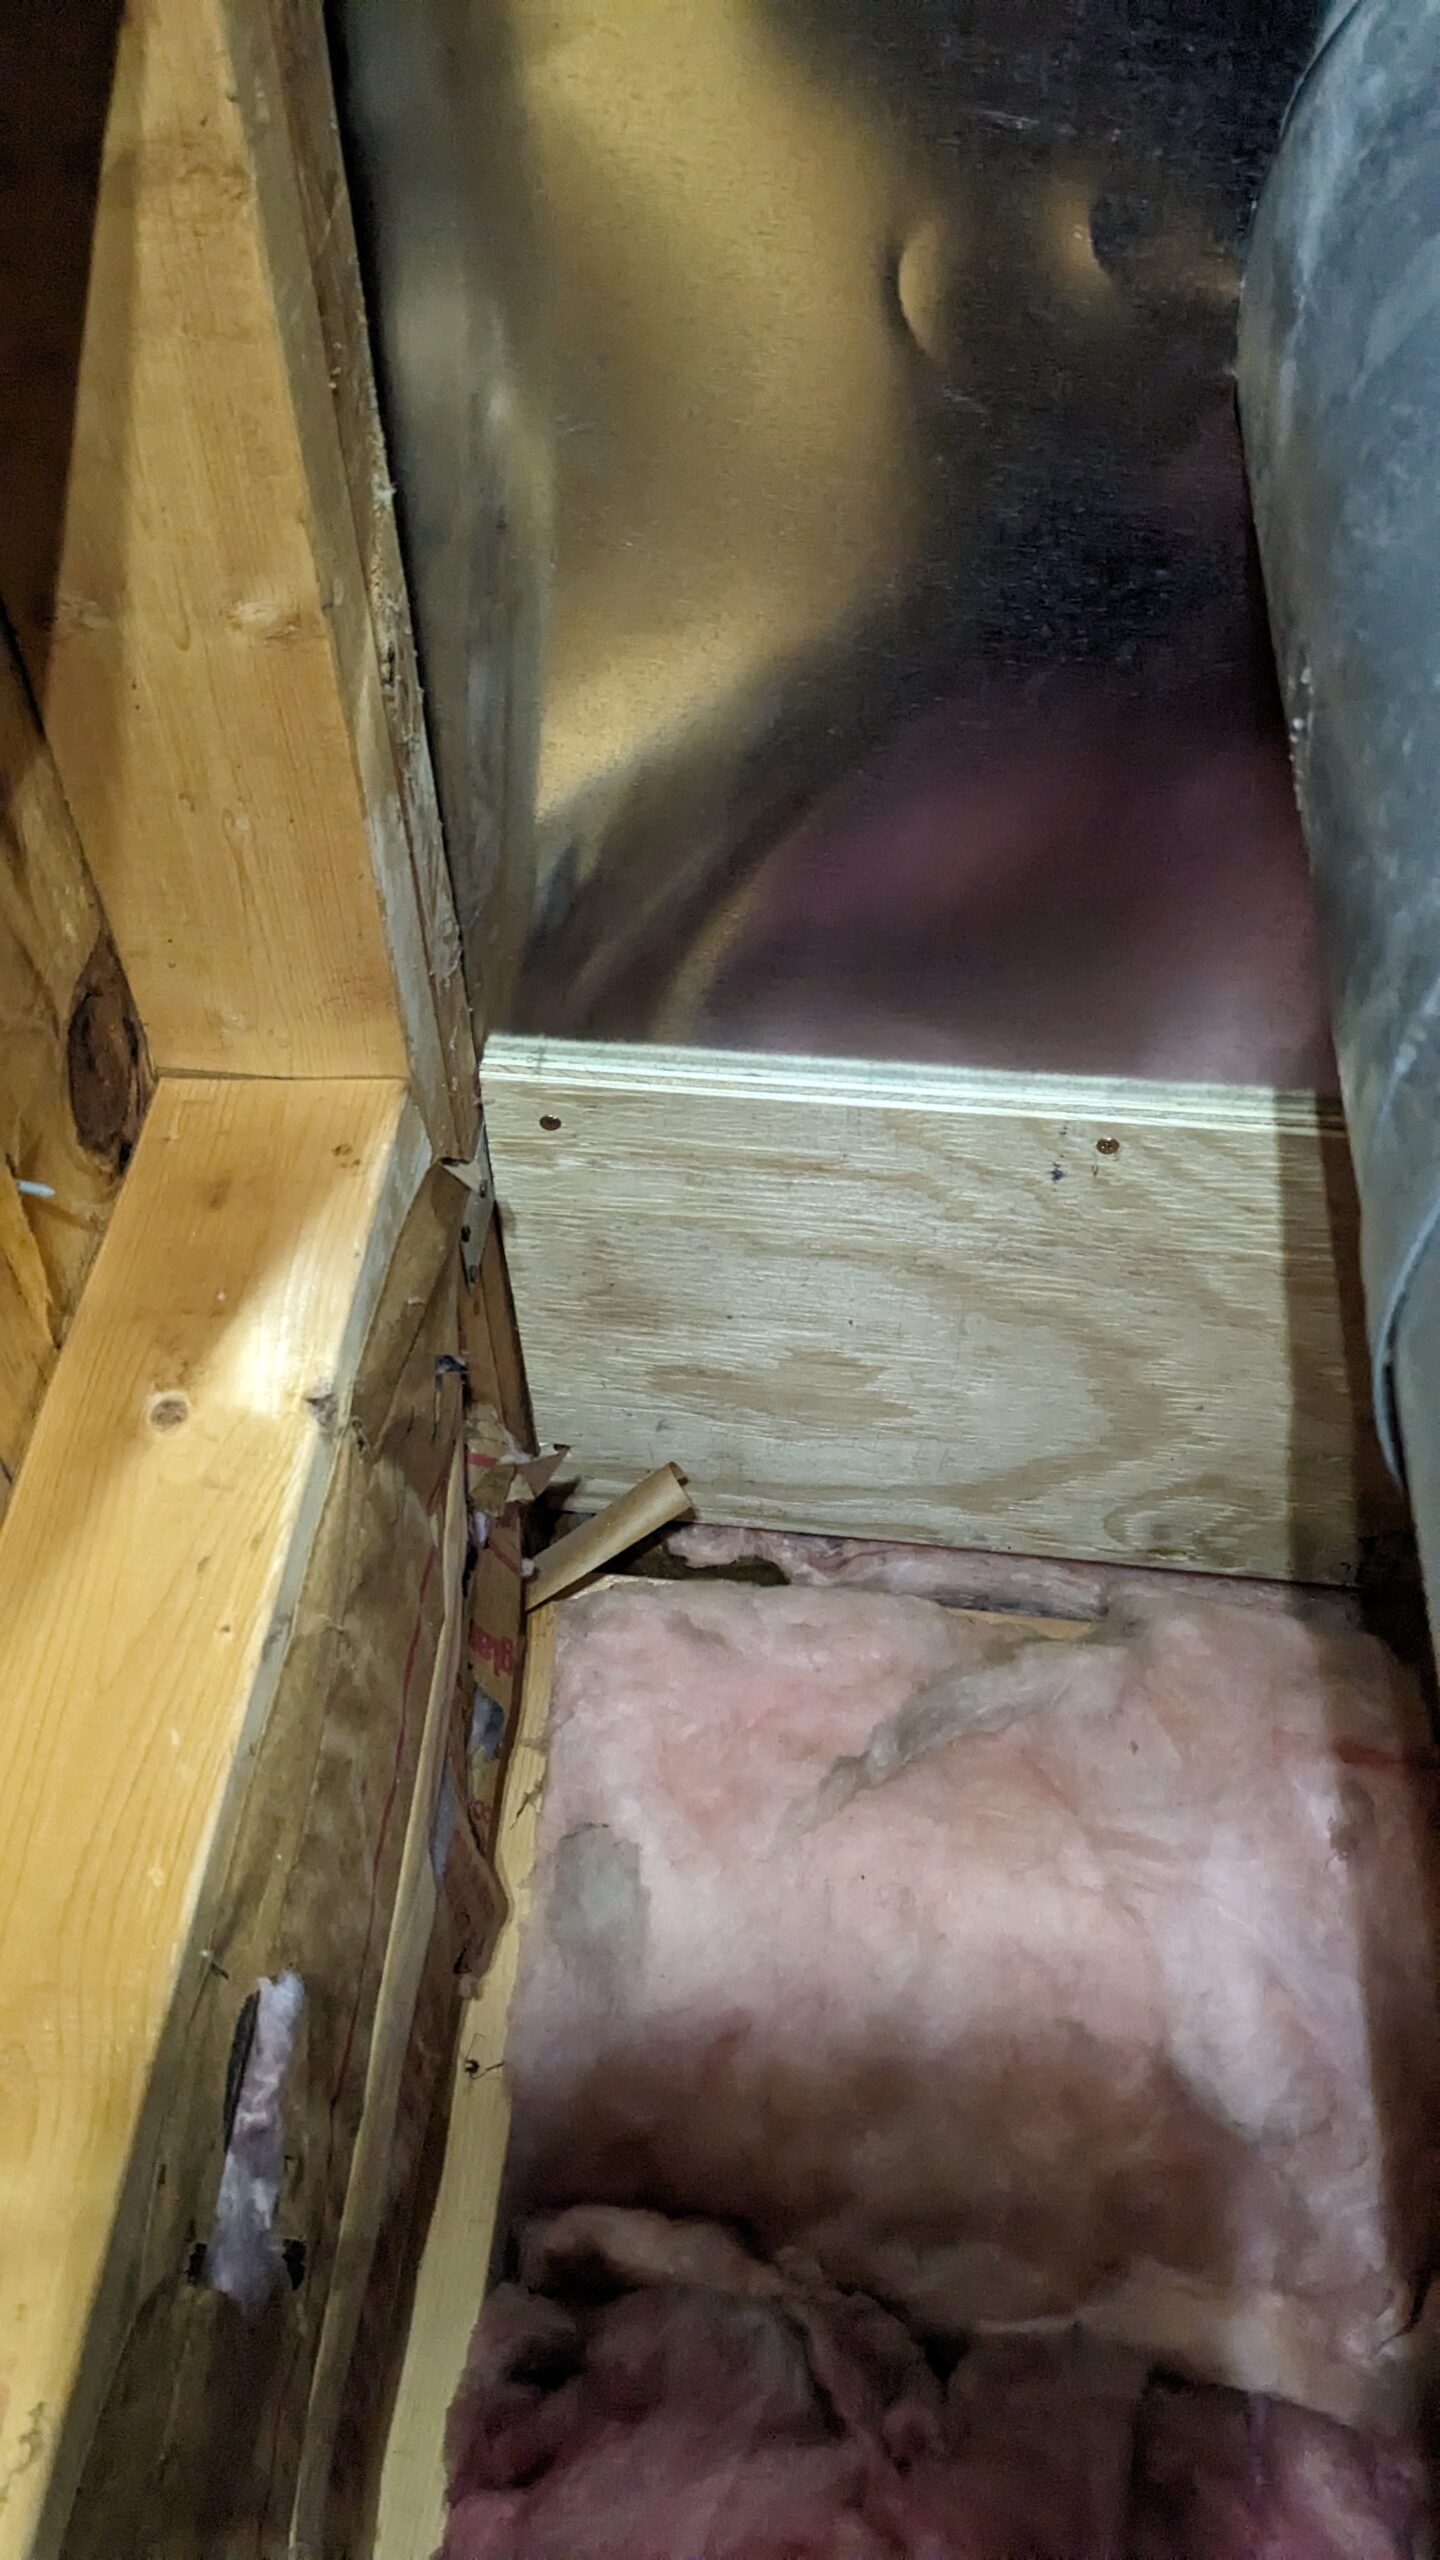

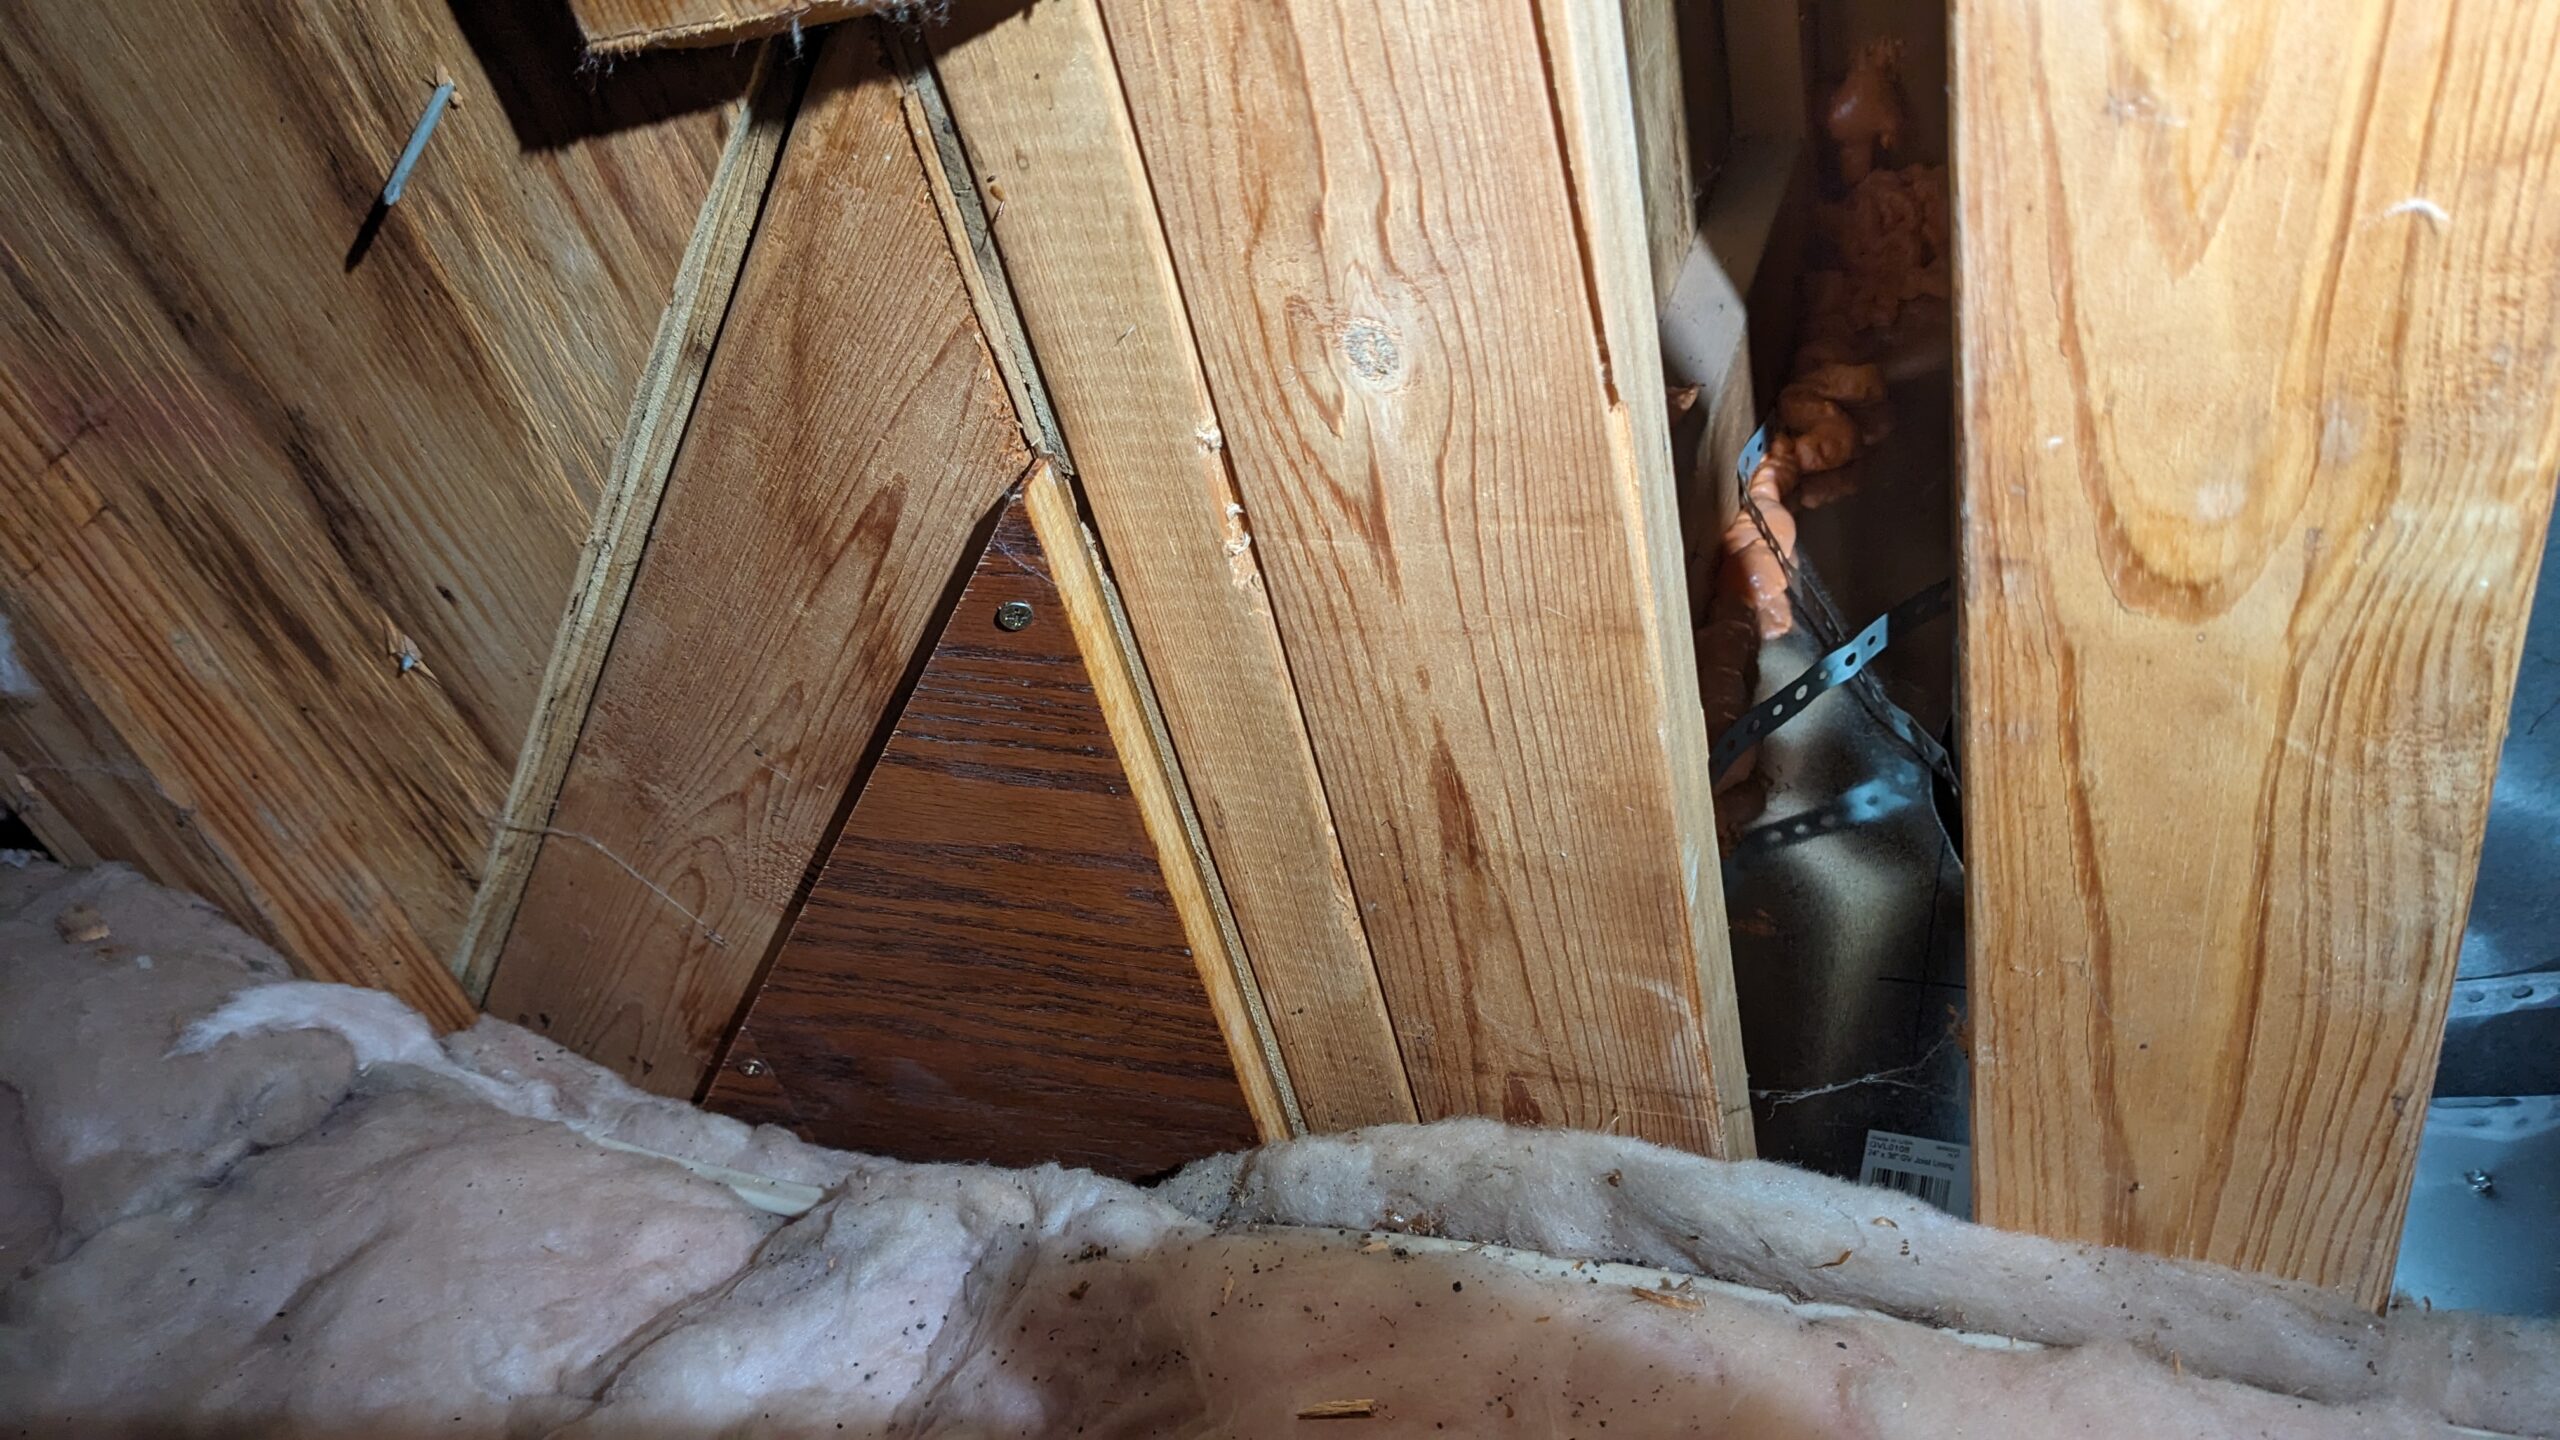
Next I measure/cut/attached plywood to the left/right openings. The right side didn’t have much room for insulation, so it’s closed off to the attic while the small portion of roof is uninsulated. This is less than ideal, but sometimes you have to make concessions when the structure doesn’t work well with what you want to do. At the end you can see the foam used to seal up all of the corners (in the main cavity, from the top side).
Step 4: Ceiling insulation
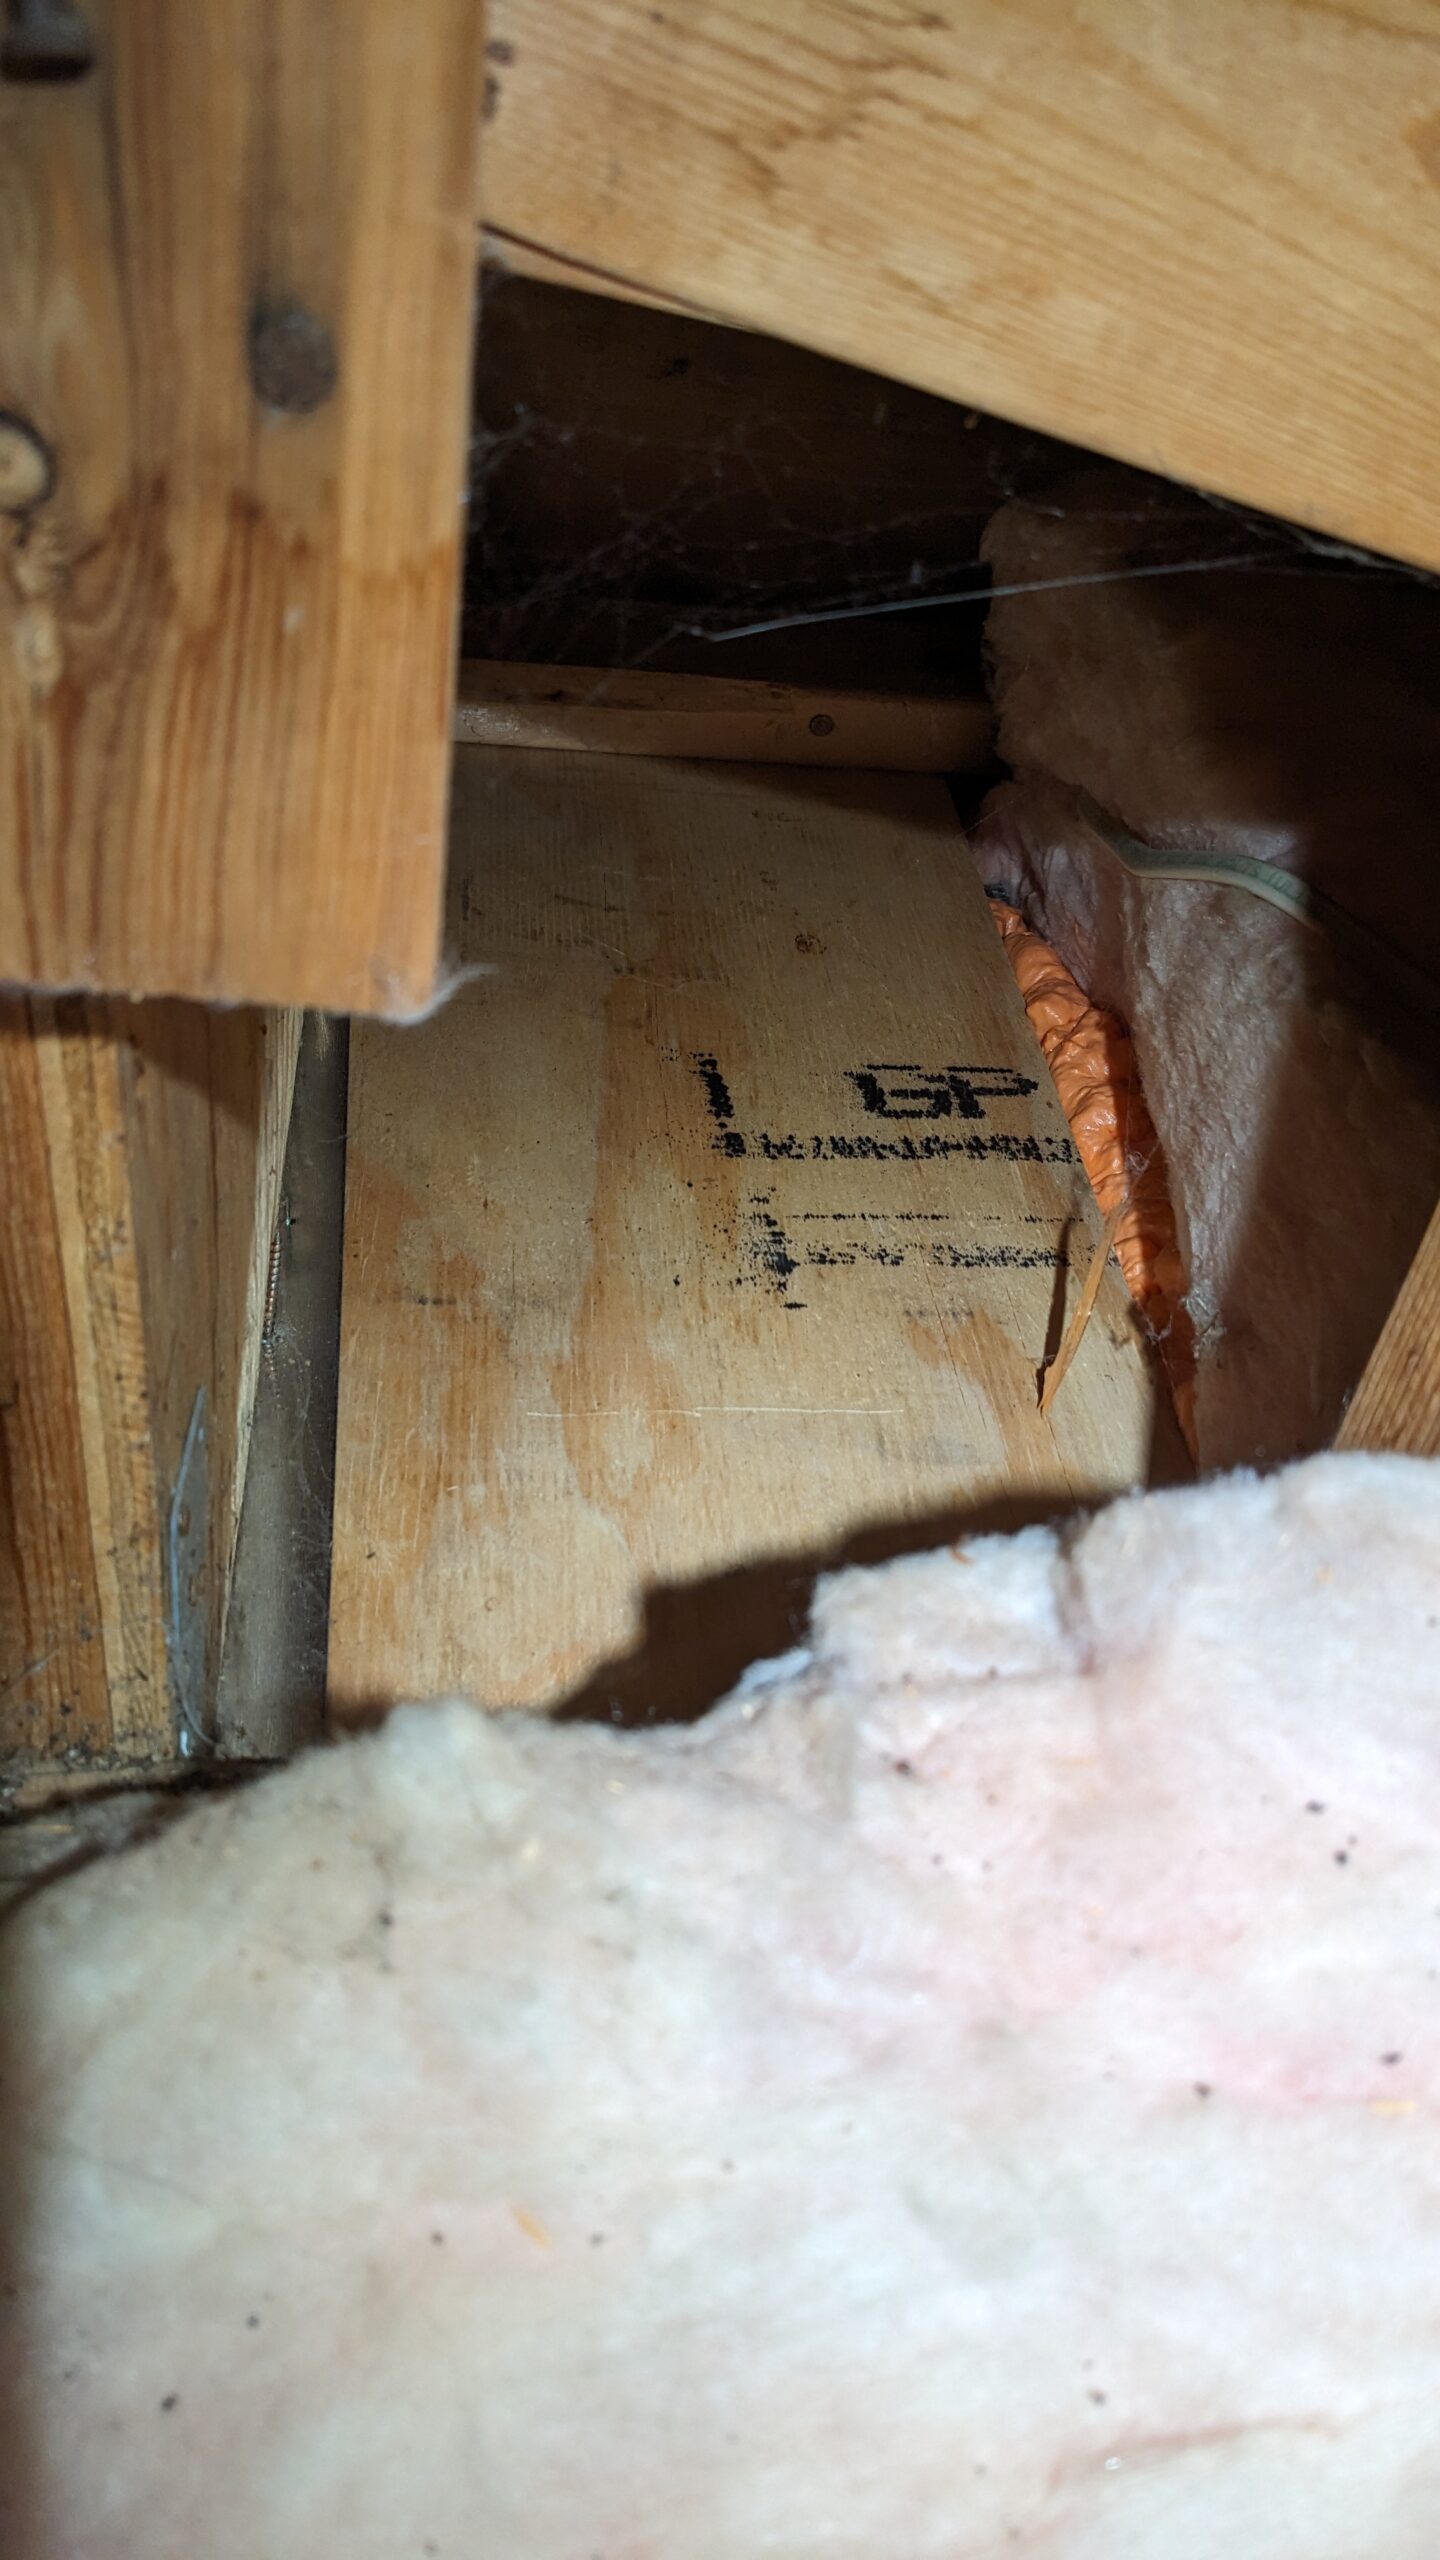
I’m starting by adding unfaced insulation on the top of what I just closed off. 2x layers of R-19 will match the R-38+ that I have in the rest of the attic (a work in progress to be posted soon).
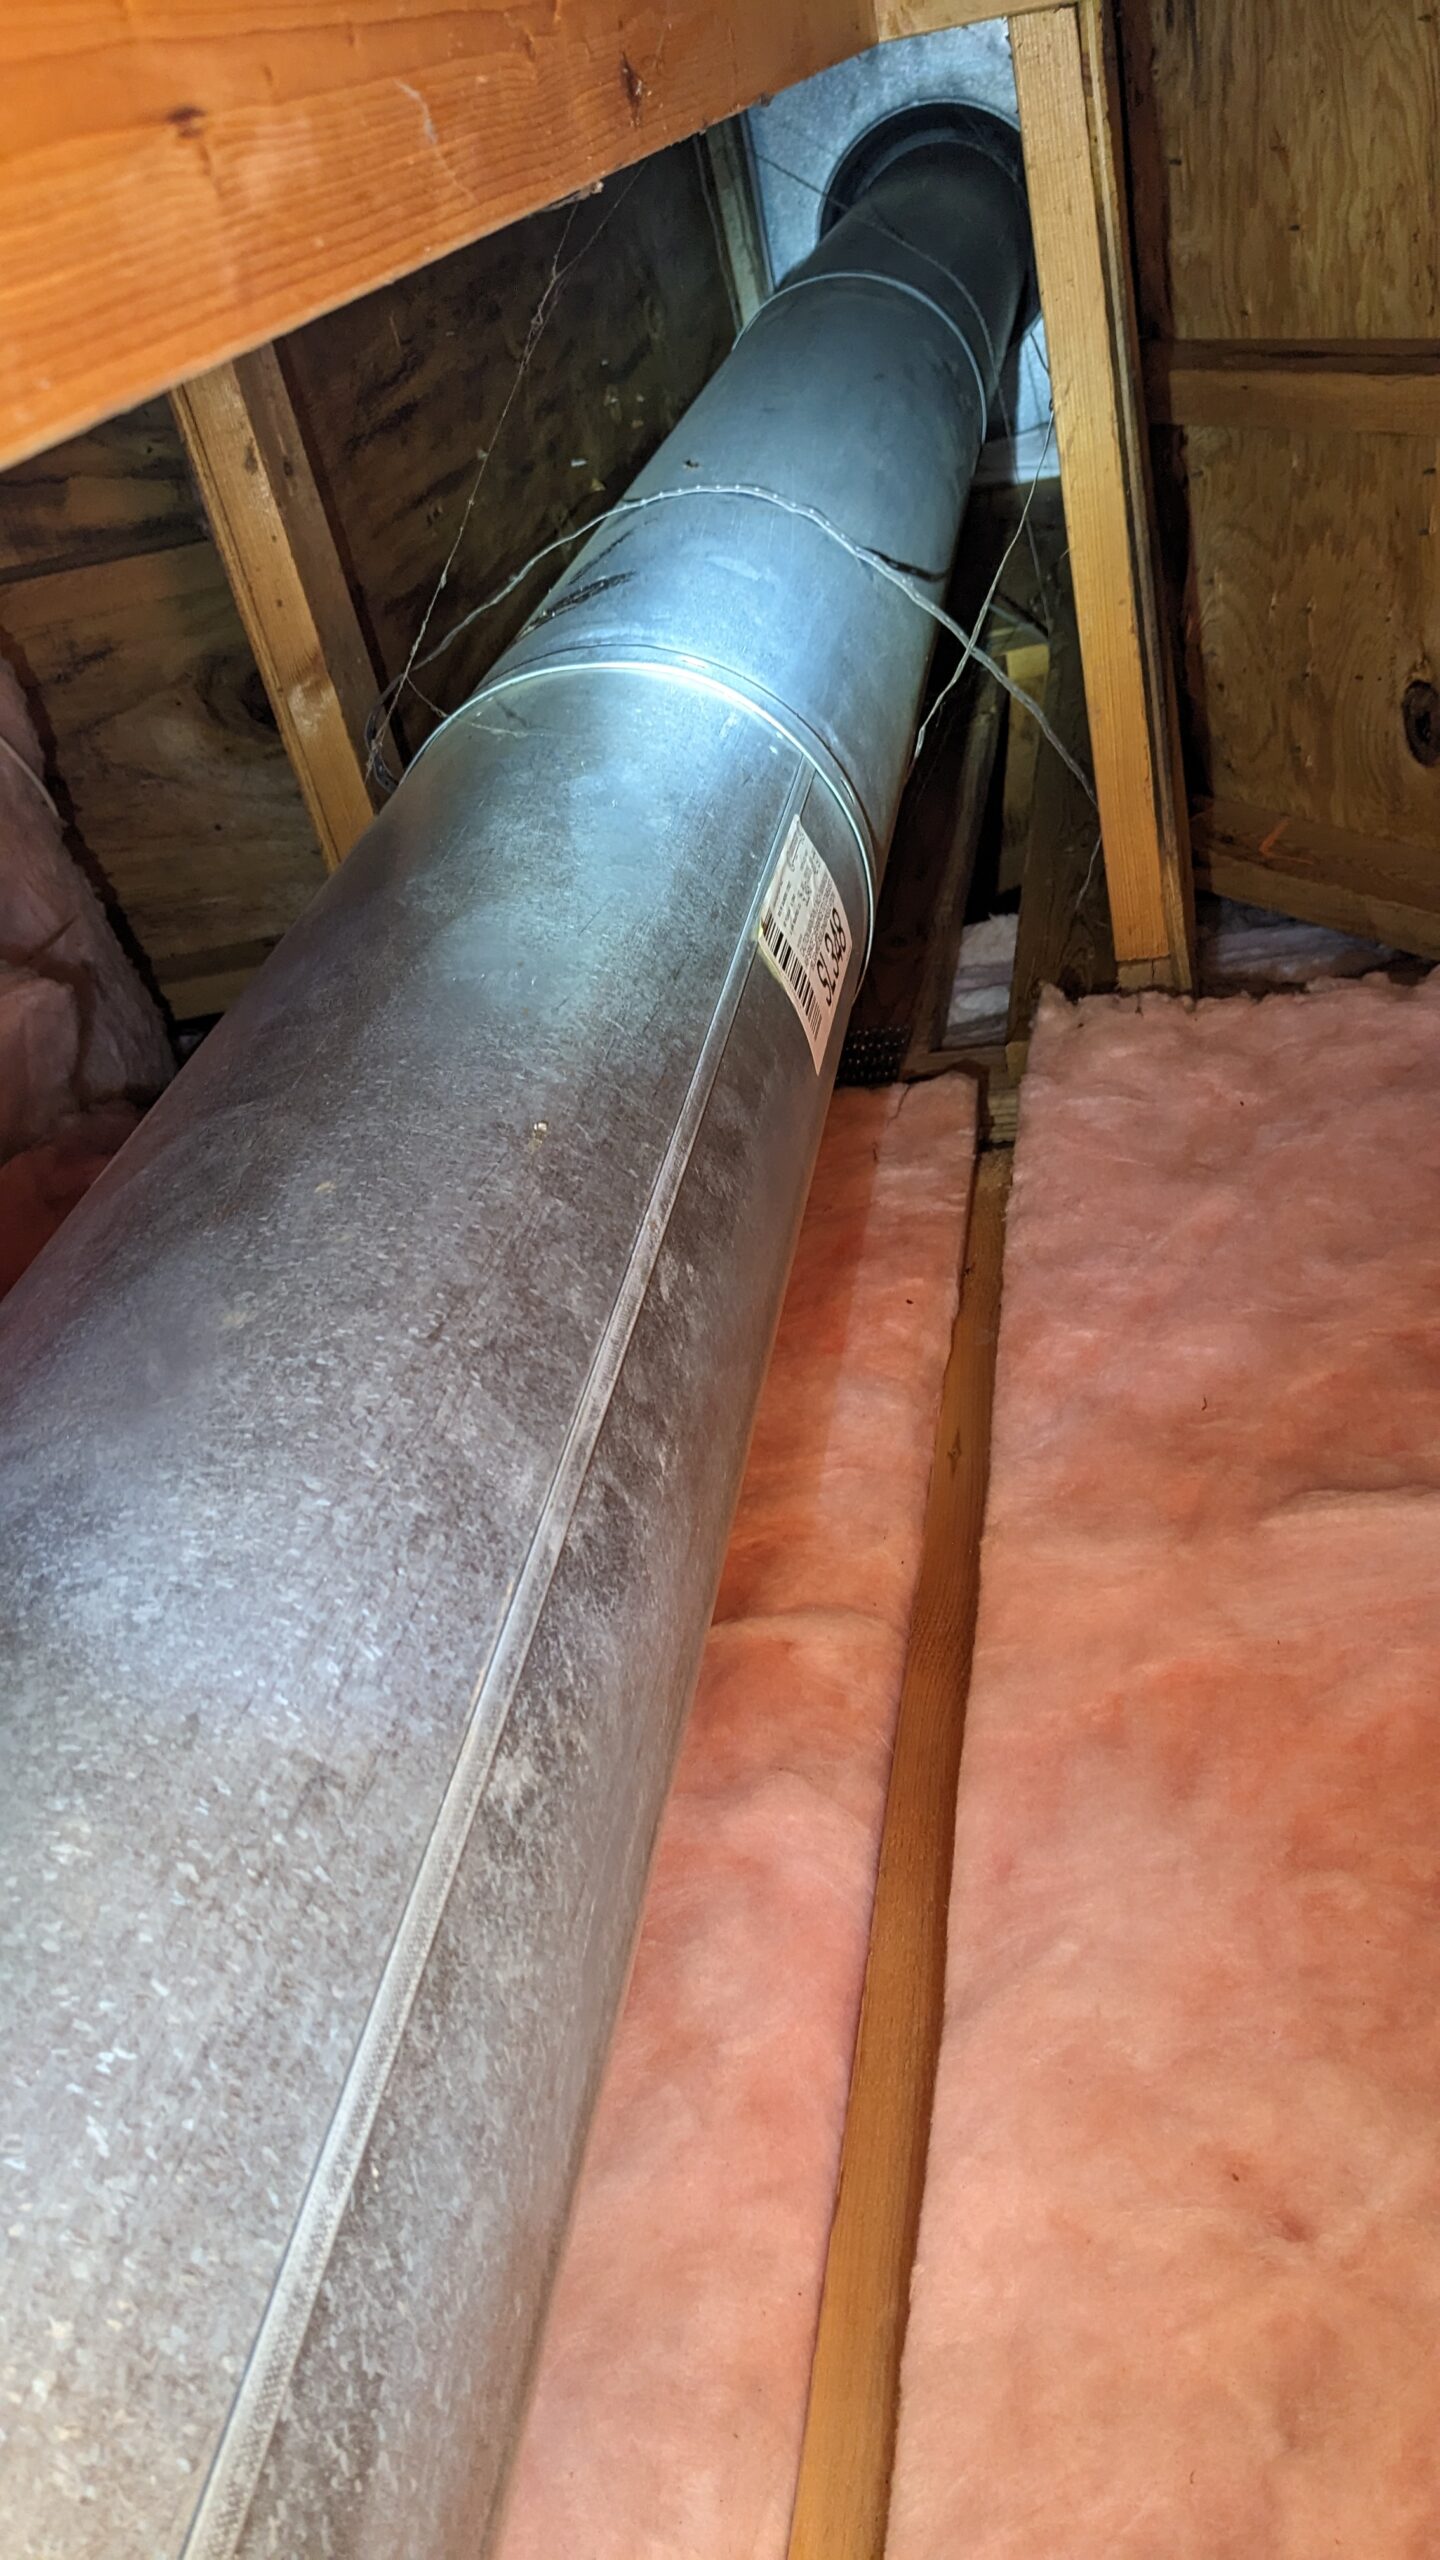
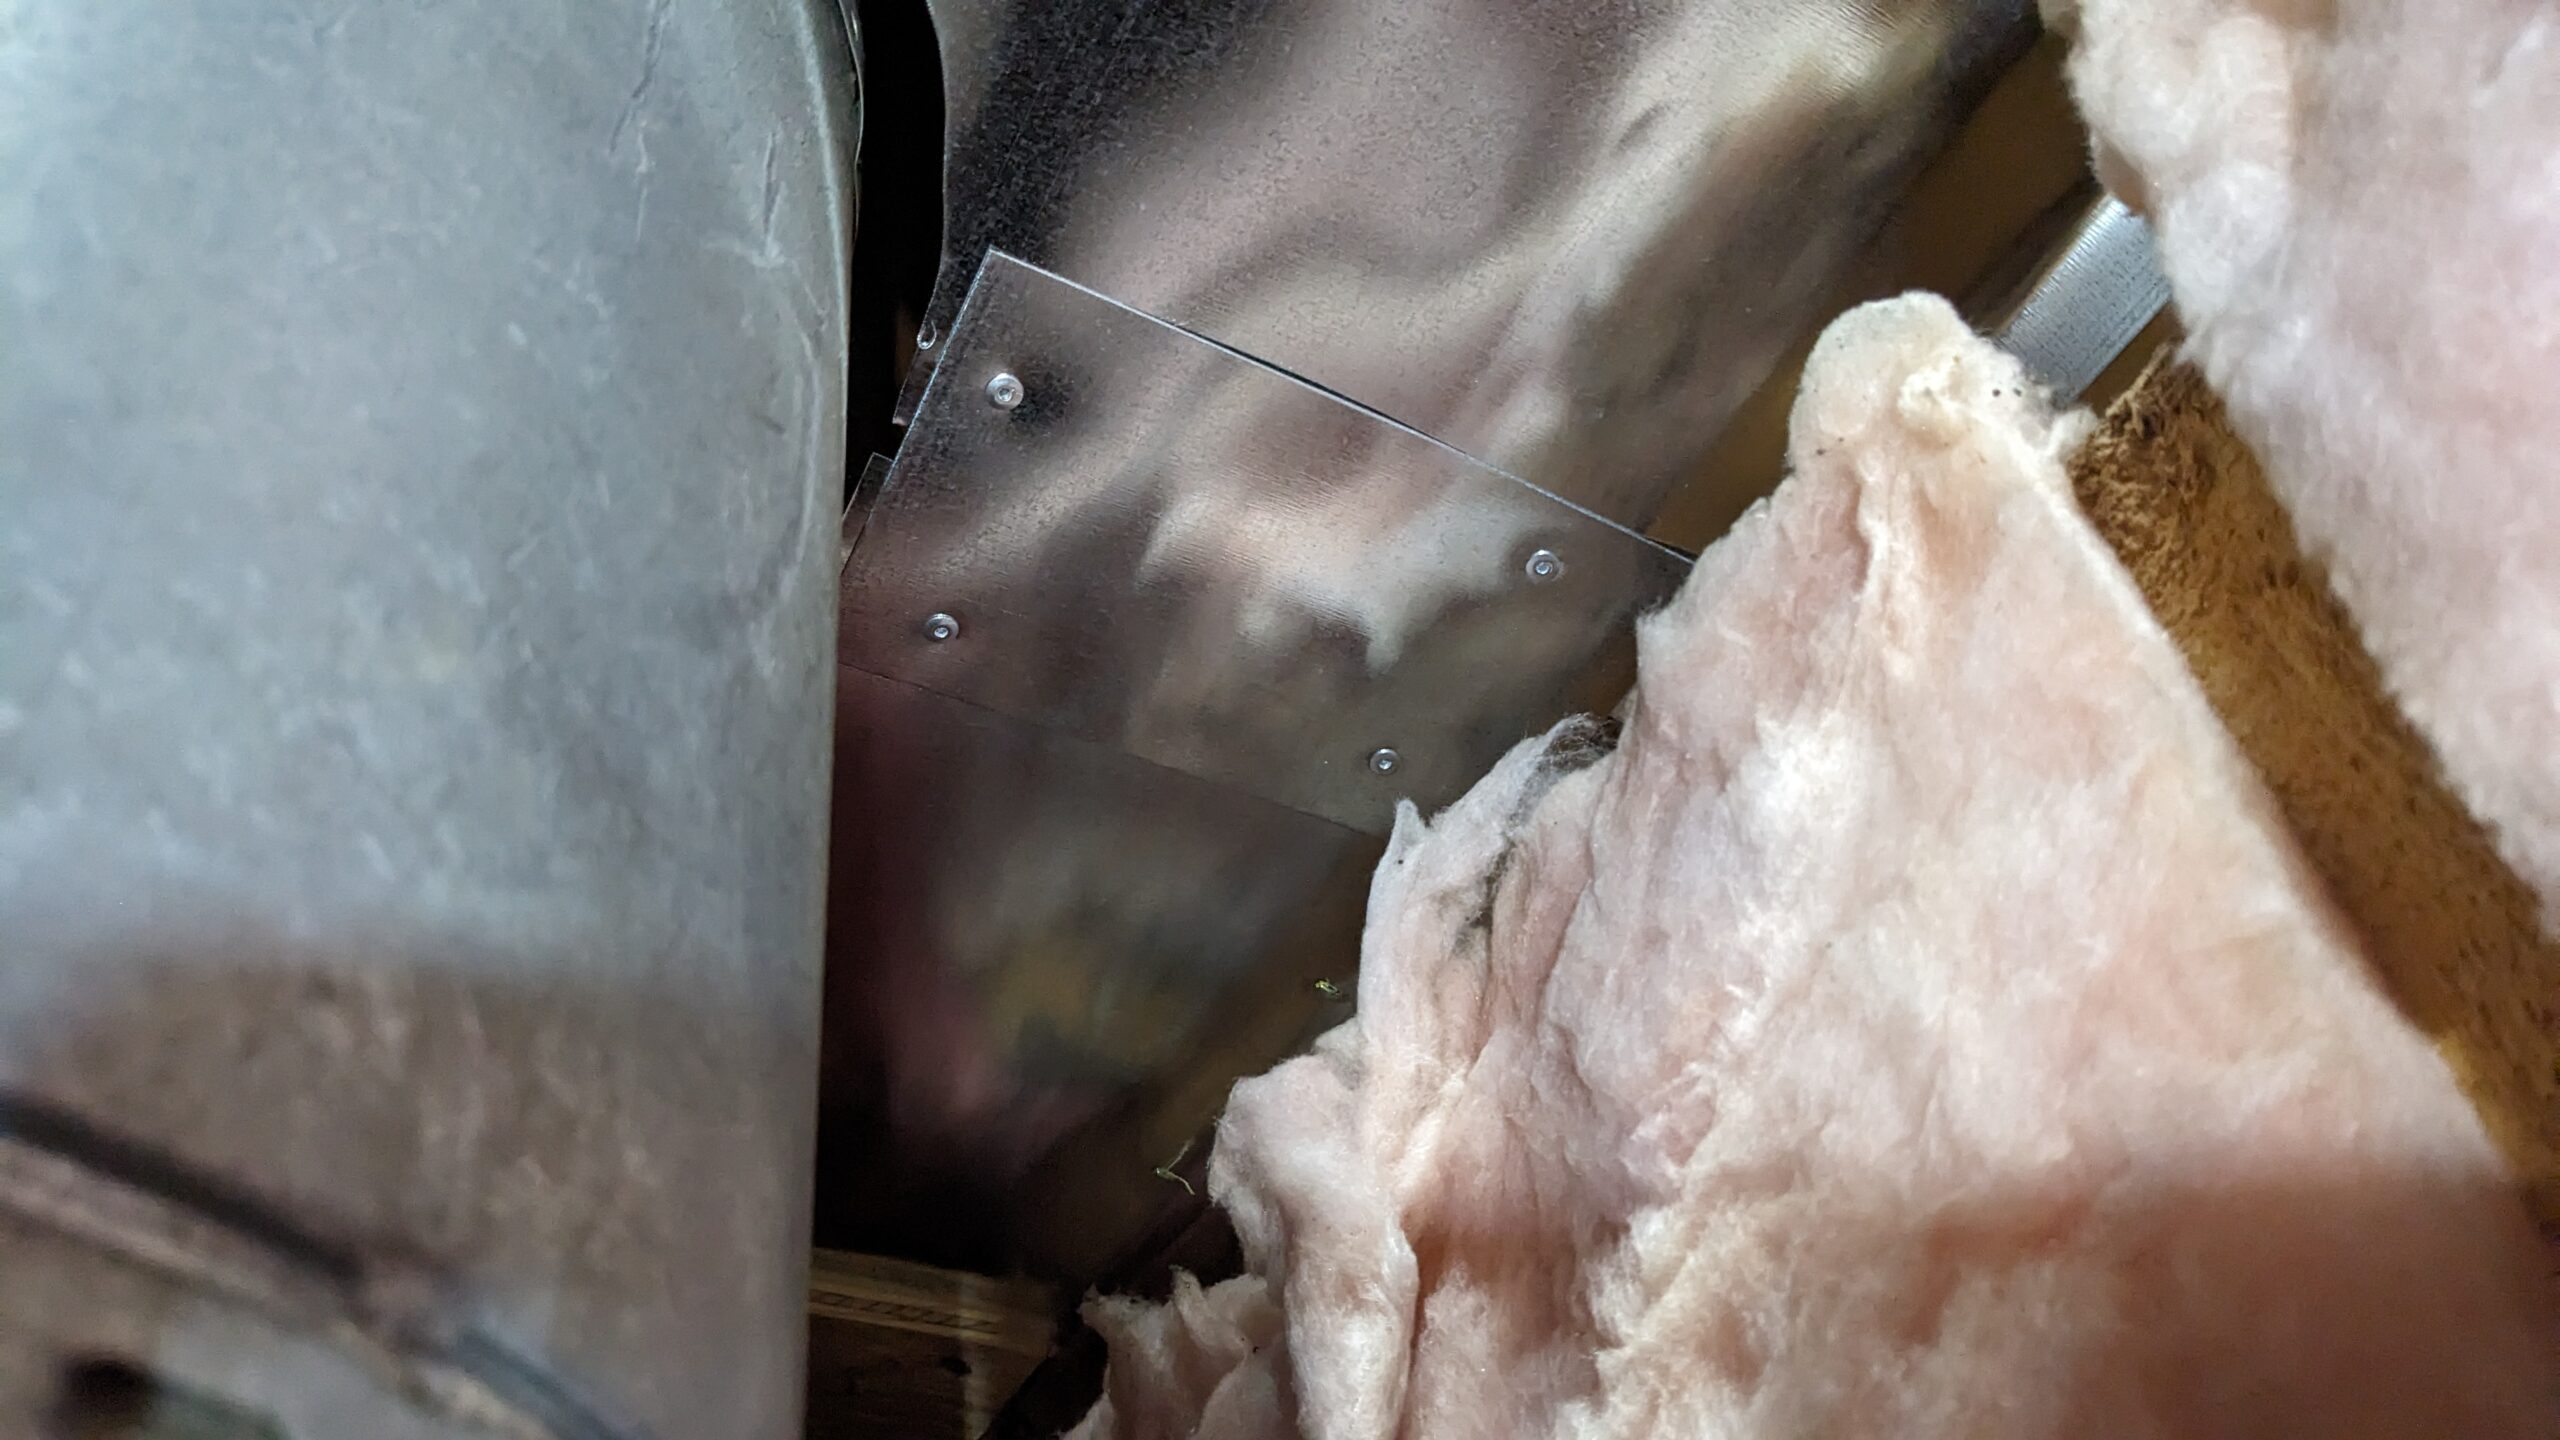
I sliced some R-19 in half the long way, and used it to wrap around the exhaust pipe. Because I cut the hole a little large to ensure that it fit, there was up to a 1″ air gap that would have let cold air mix into the cavity from the top.
This exhaust duct is double walled, and only tested to 1,000ºF, per the manufacturer. The insulation maintains its flame spread index (FSI)/smoke developed index (SDI) up to 1,100ºF. So theoretically the pipe will melt before the insulation combusts. Remember when I said you can burn your house down if you don’t know what you’re doing? This is one of those points. Do NOT do this unless you know how to read data sheets and test reports.
Side quest: Fresh air intake
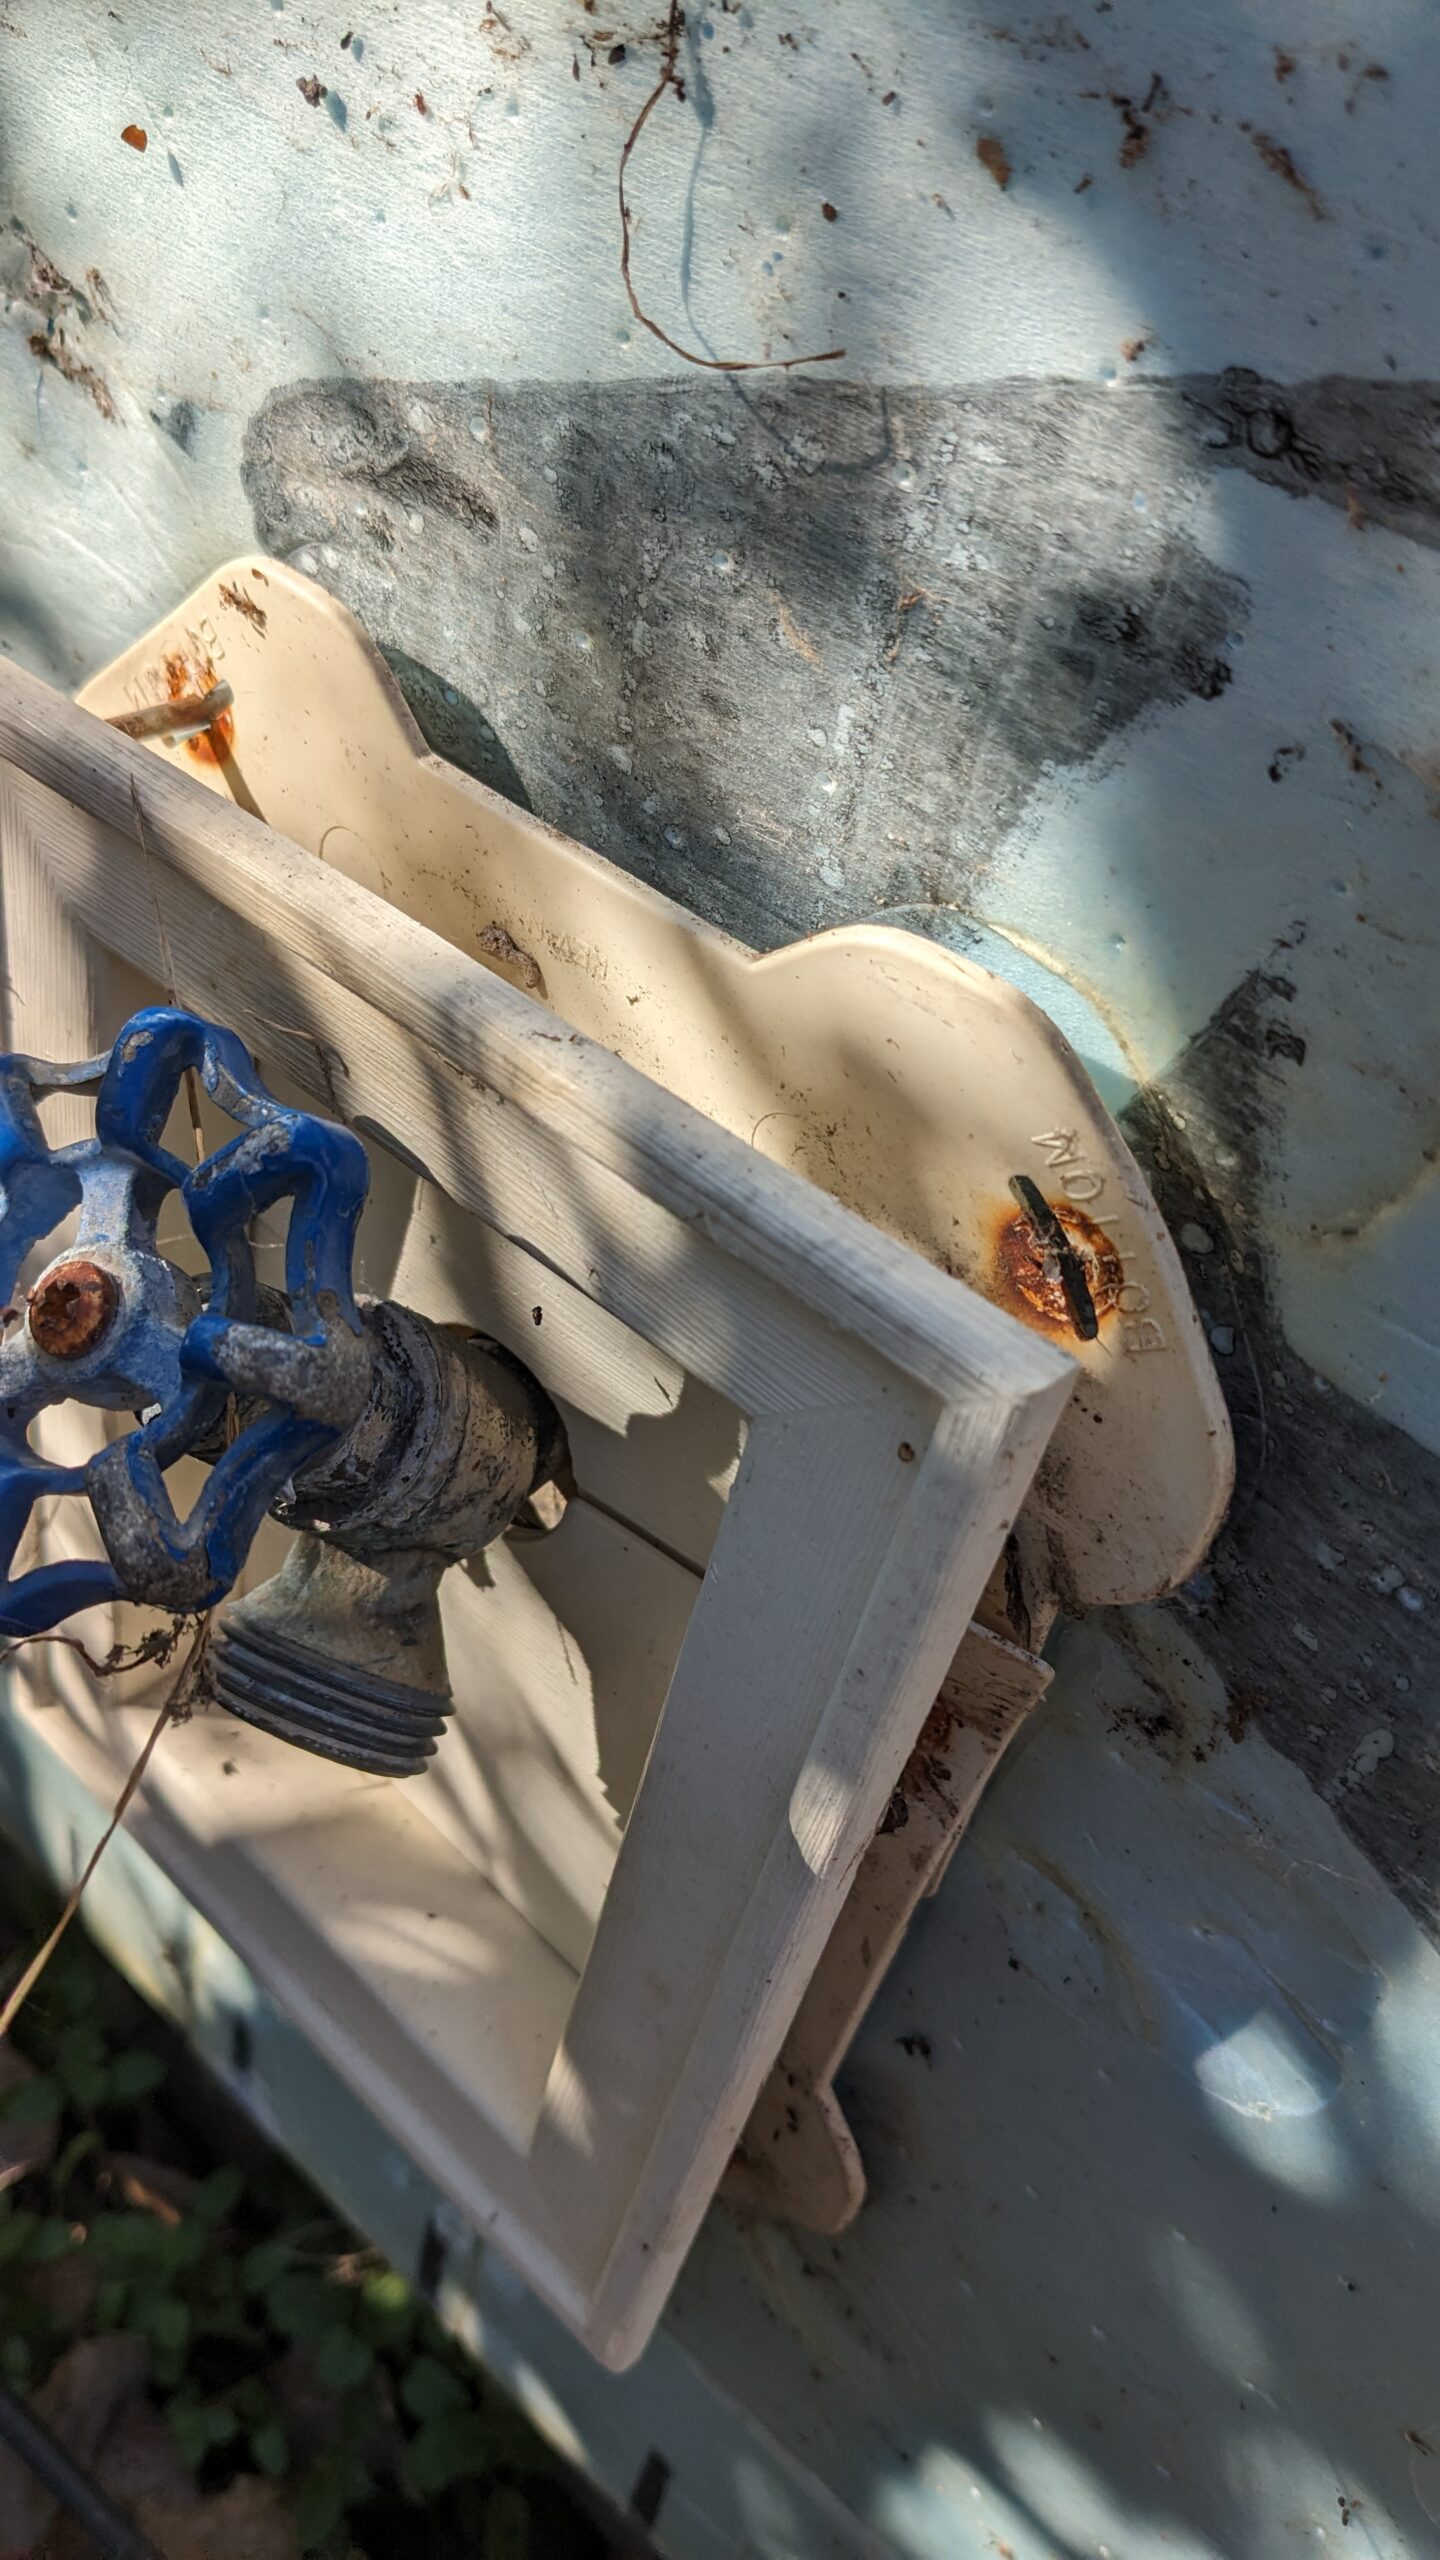
How it started:
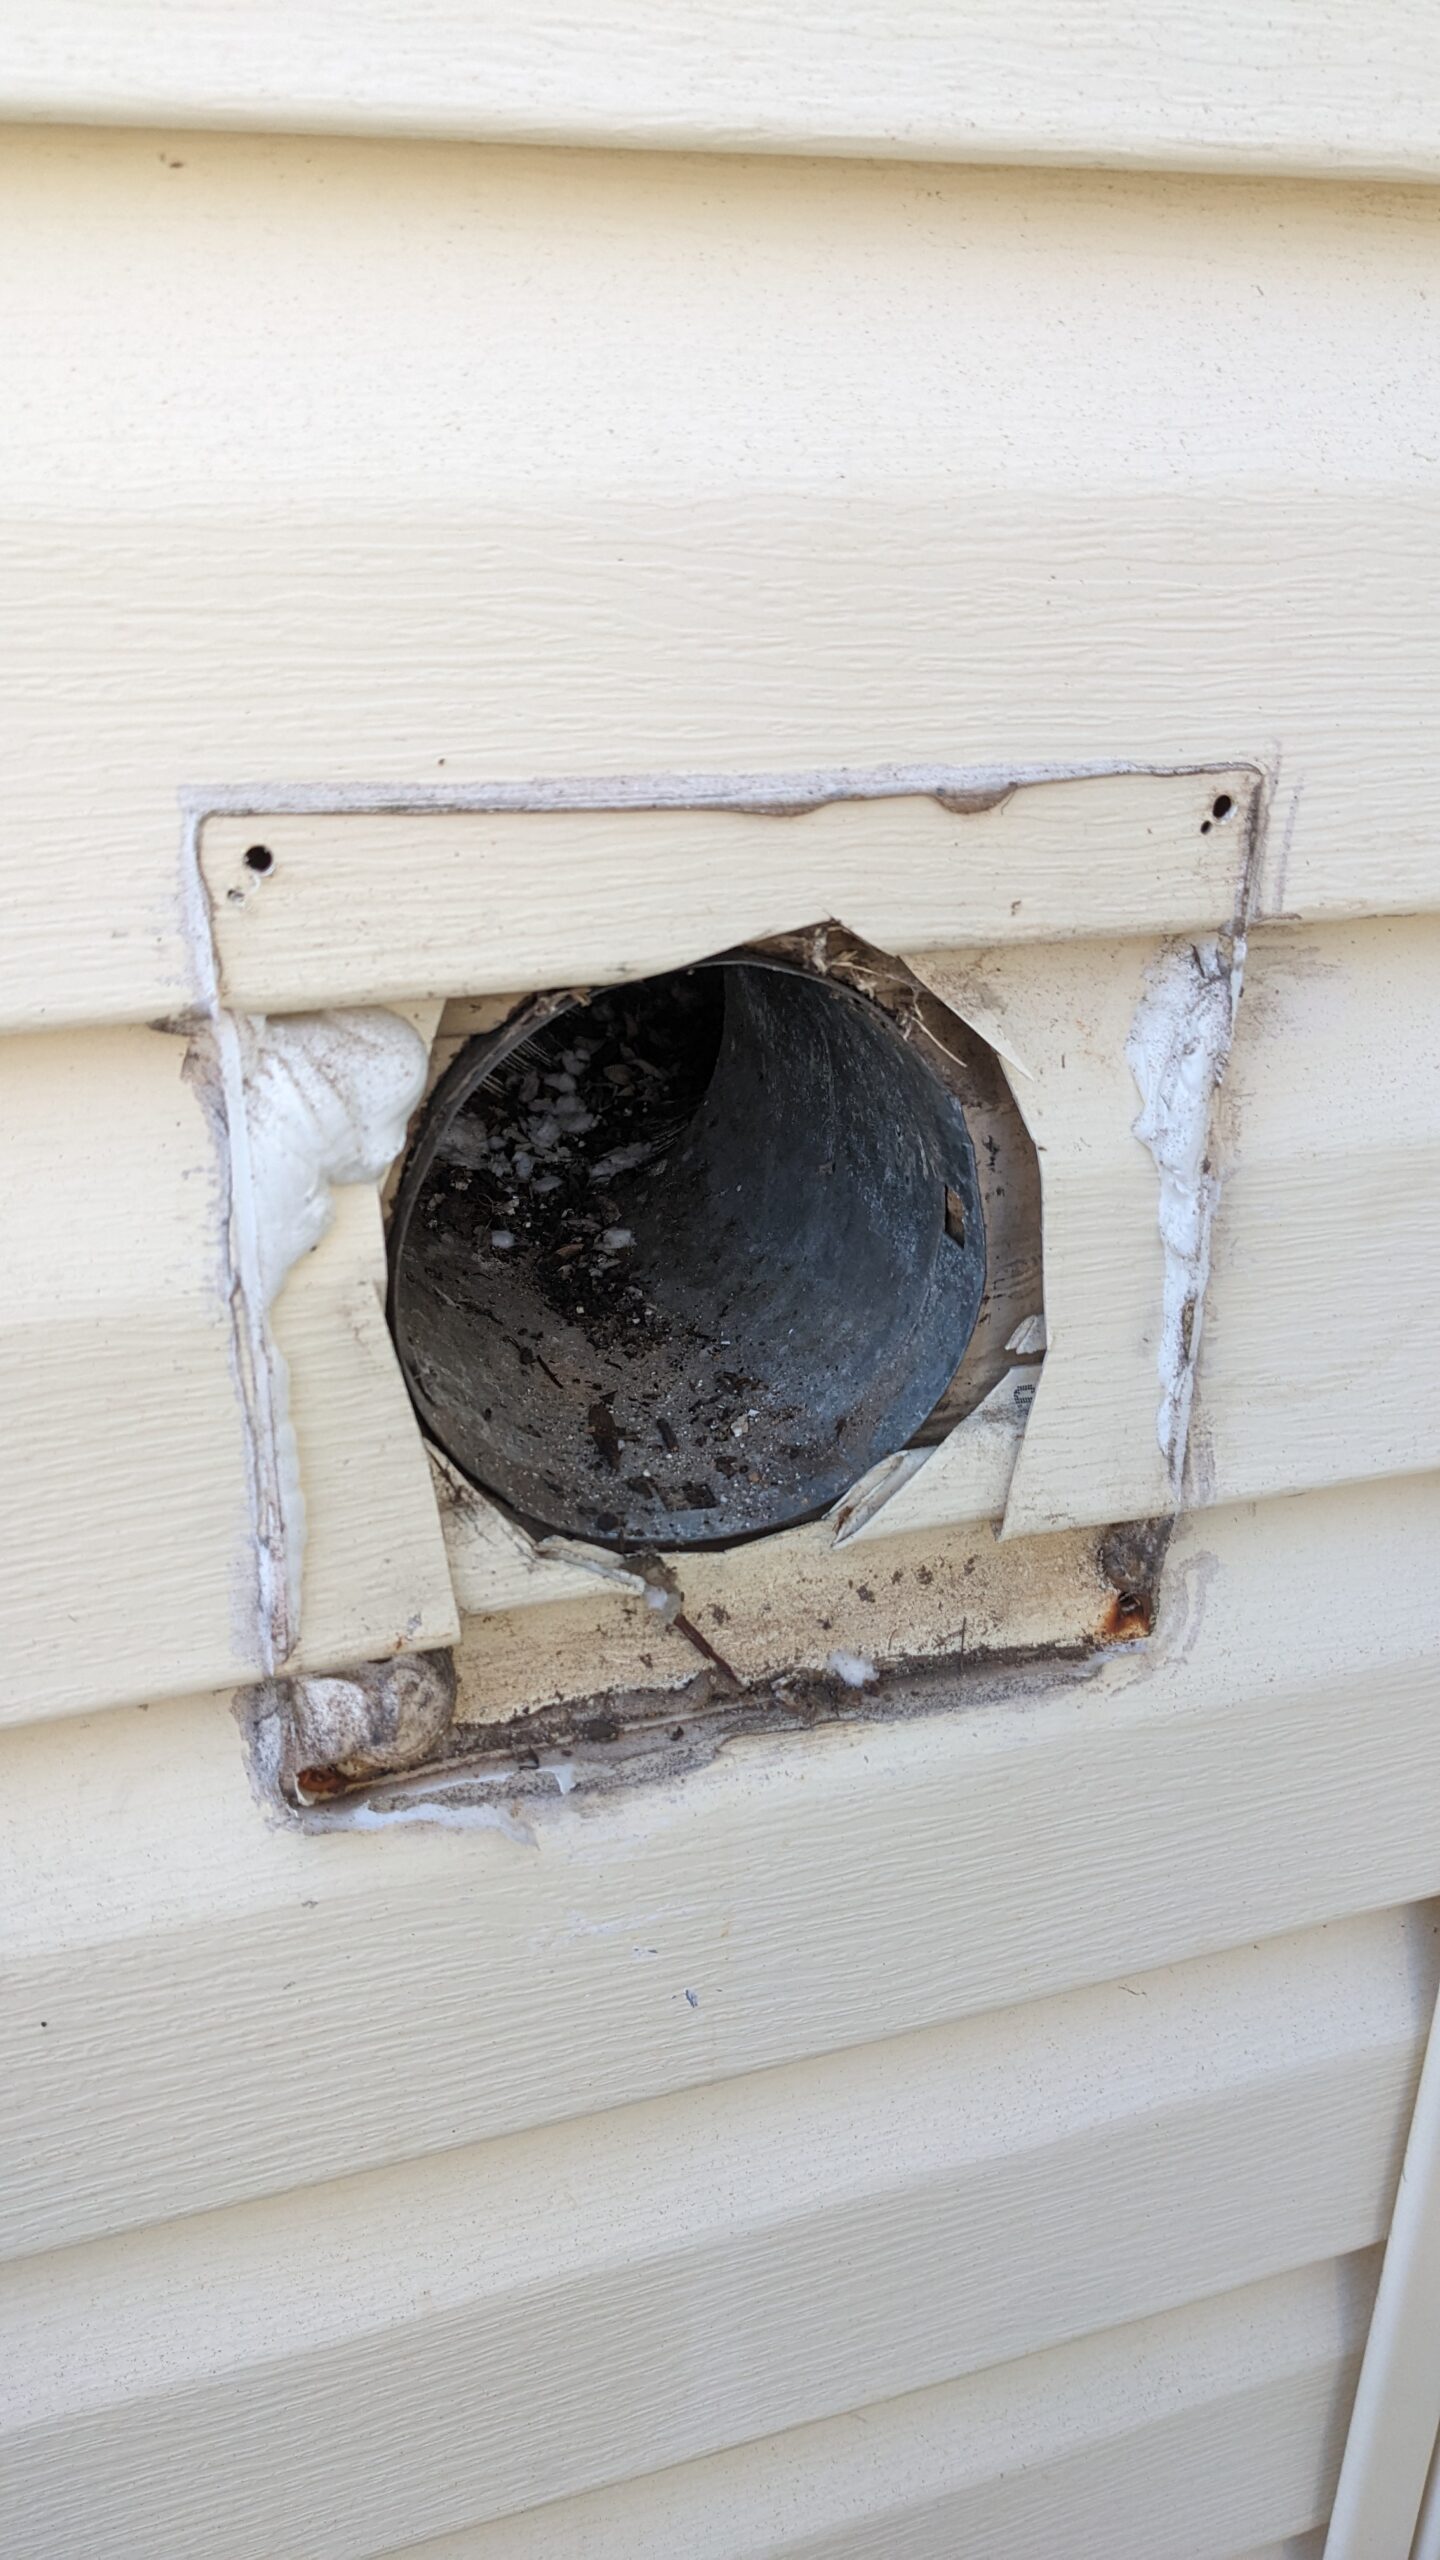
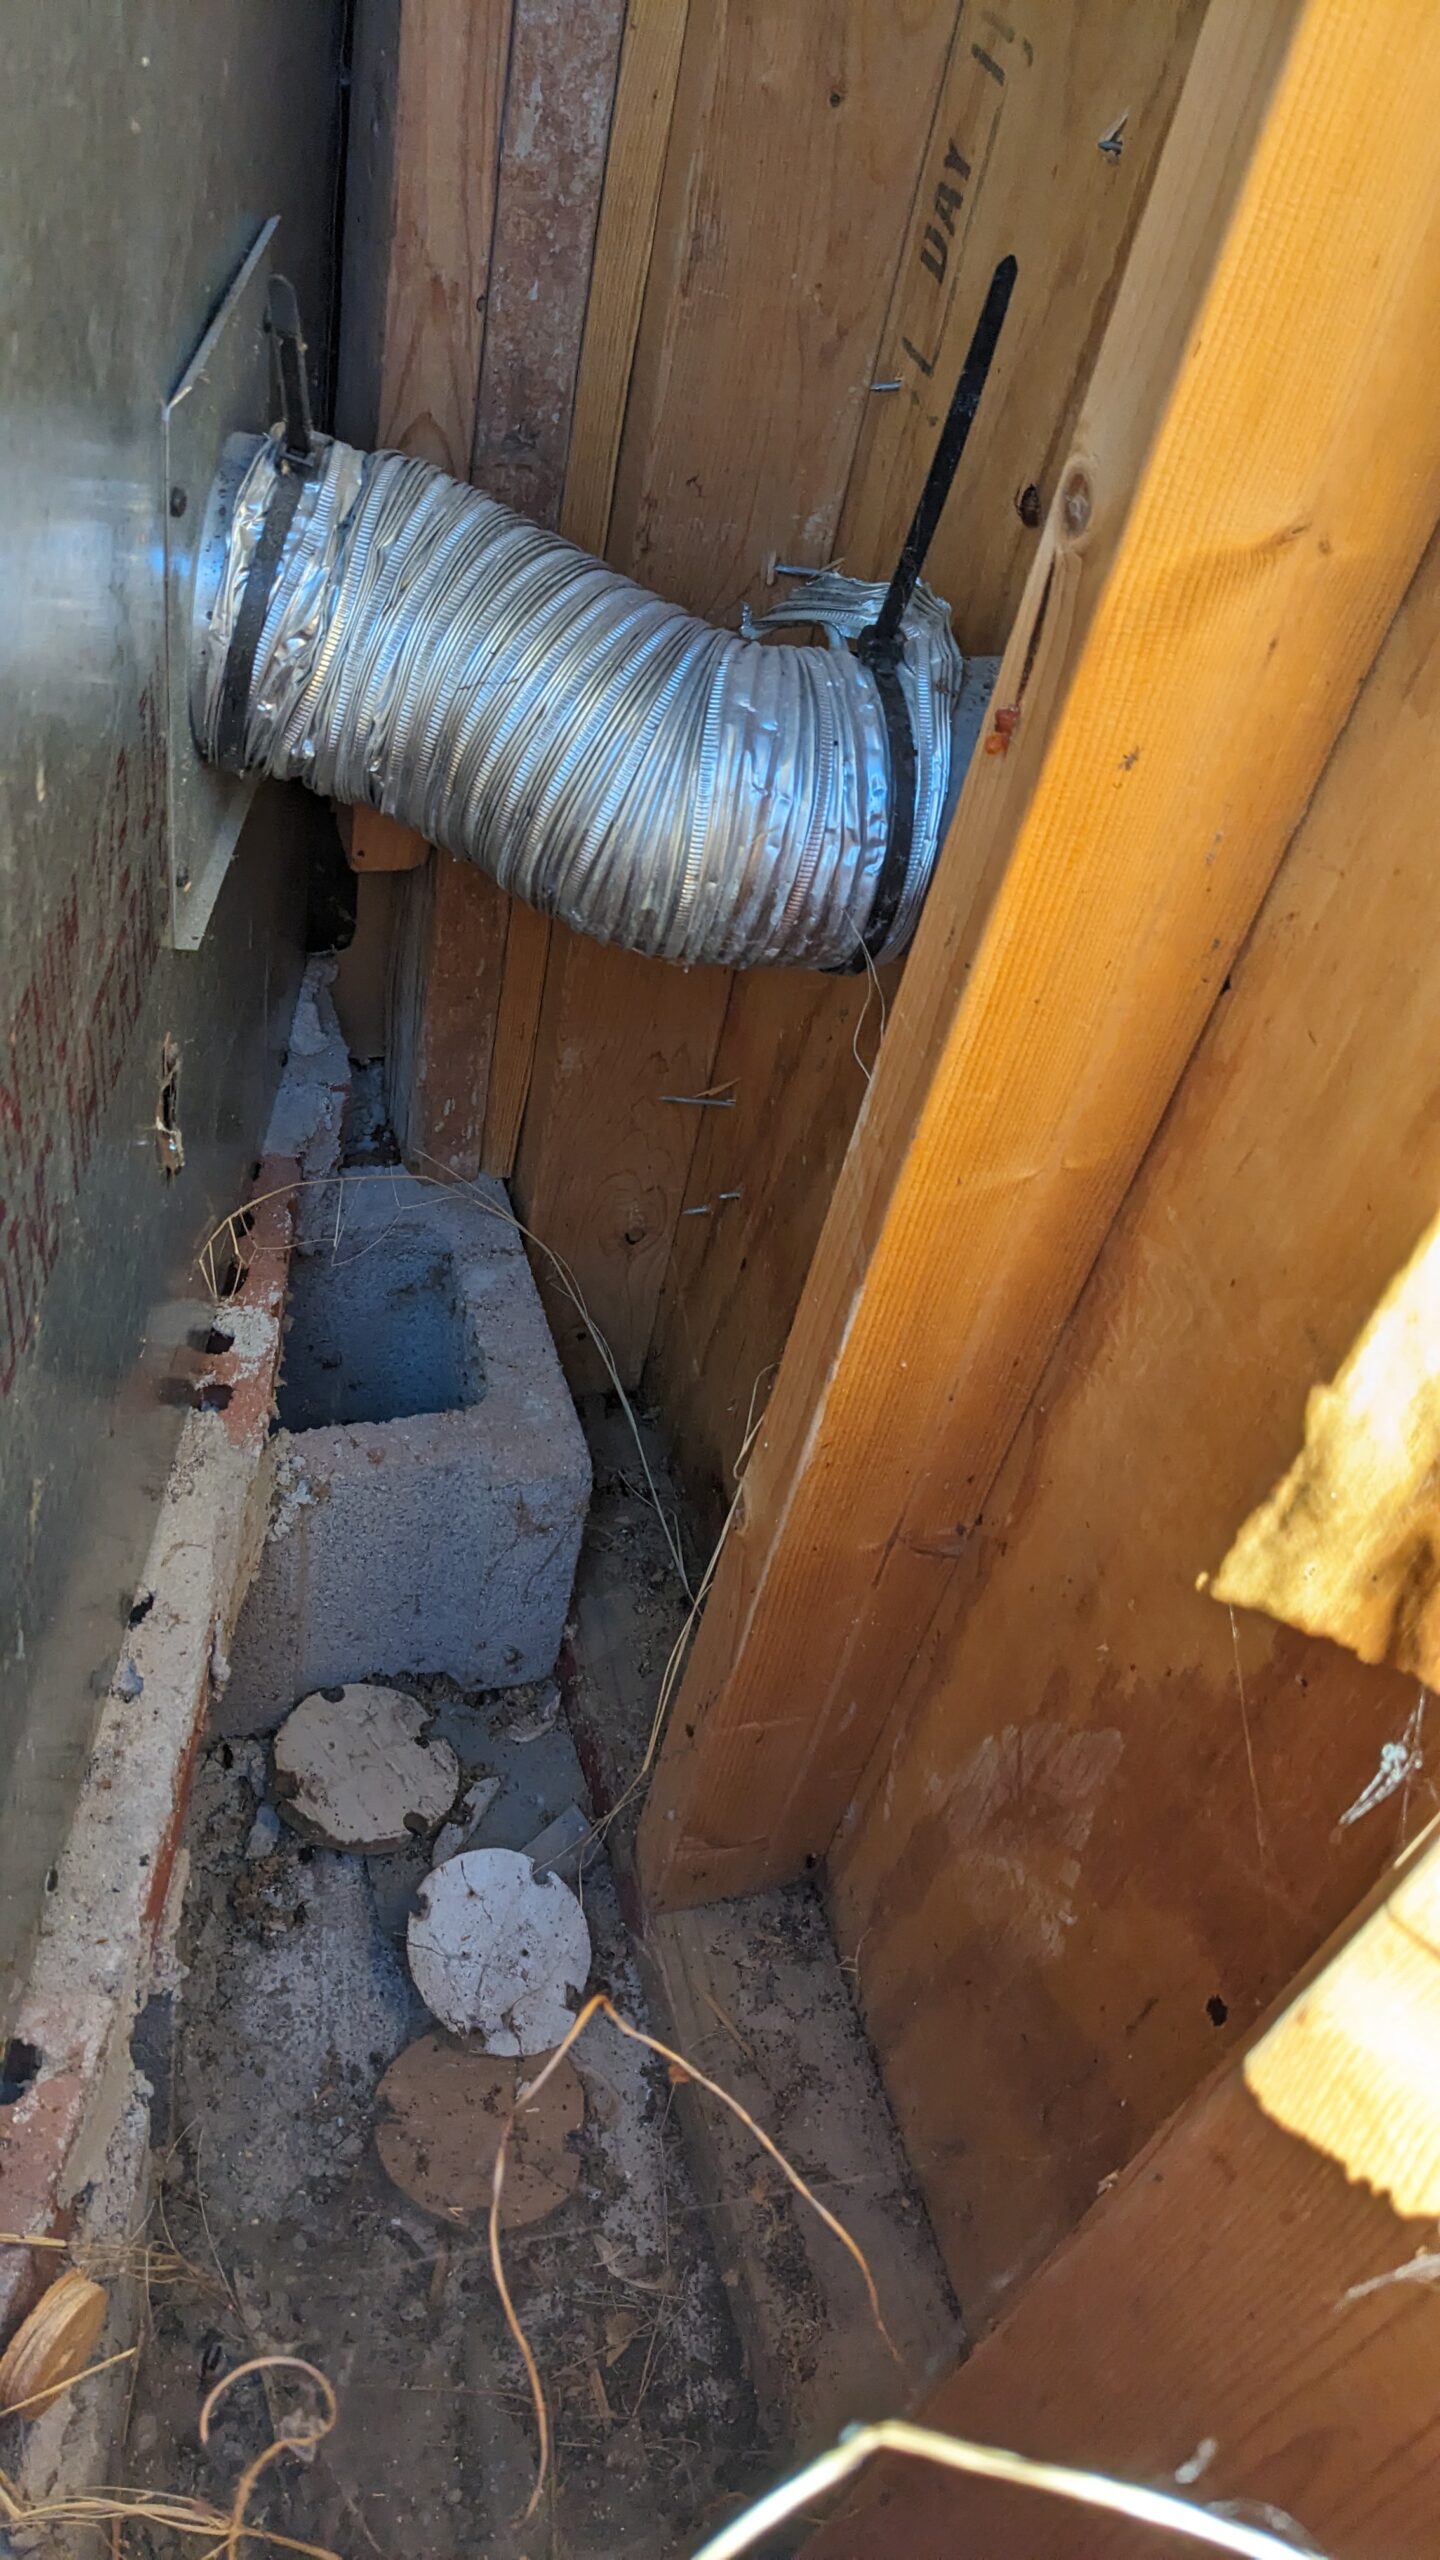
A dryer vent was used to close off this 4″ cold air intake duct (see photo #2). But not before it was packed with old t-shirts to keep wasps from nesting inside the firebox. The louvers only flip outwards, allowing air to blow out of the fireplace and not in (d’oh), but don’t worry, it was caulked shut also.
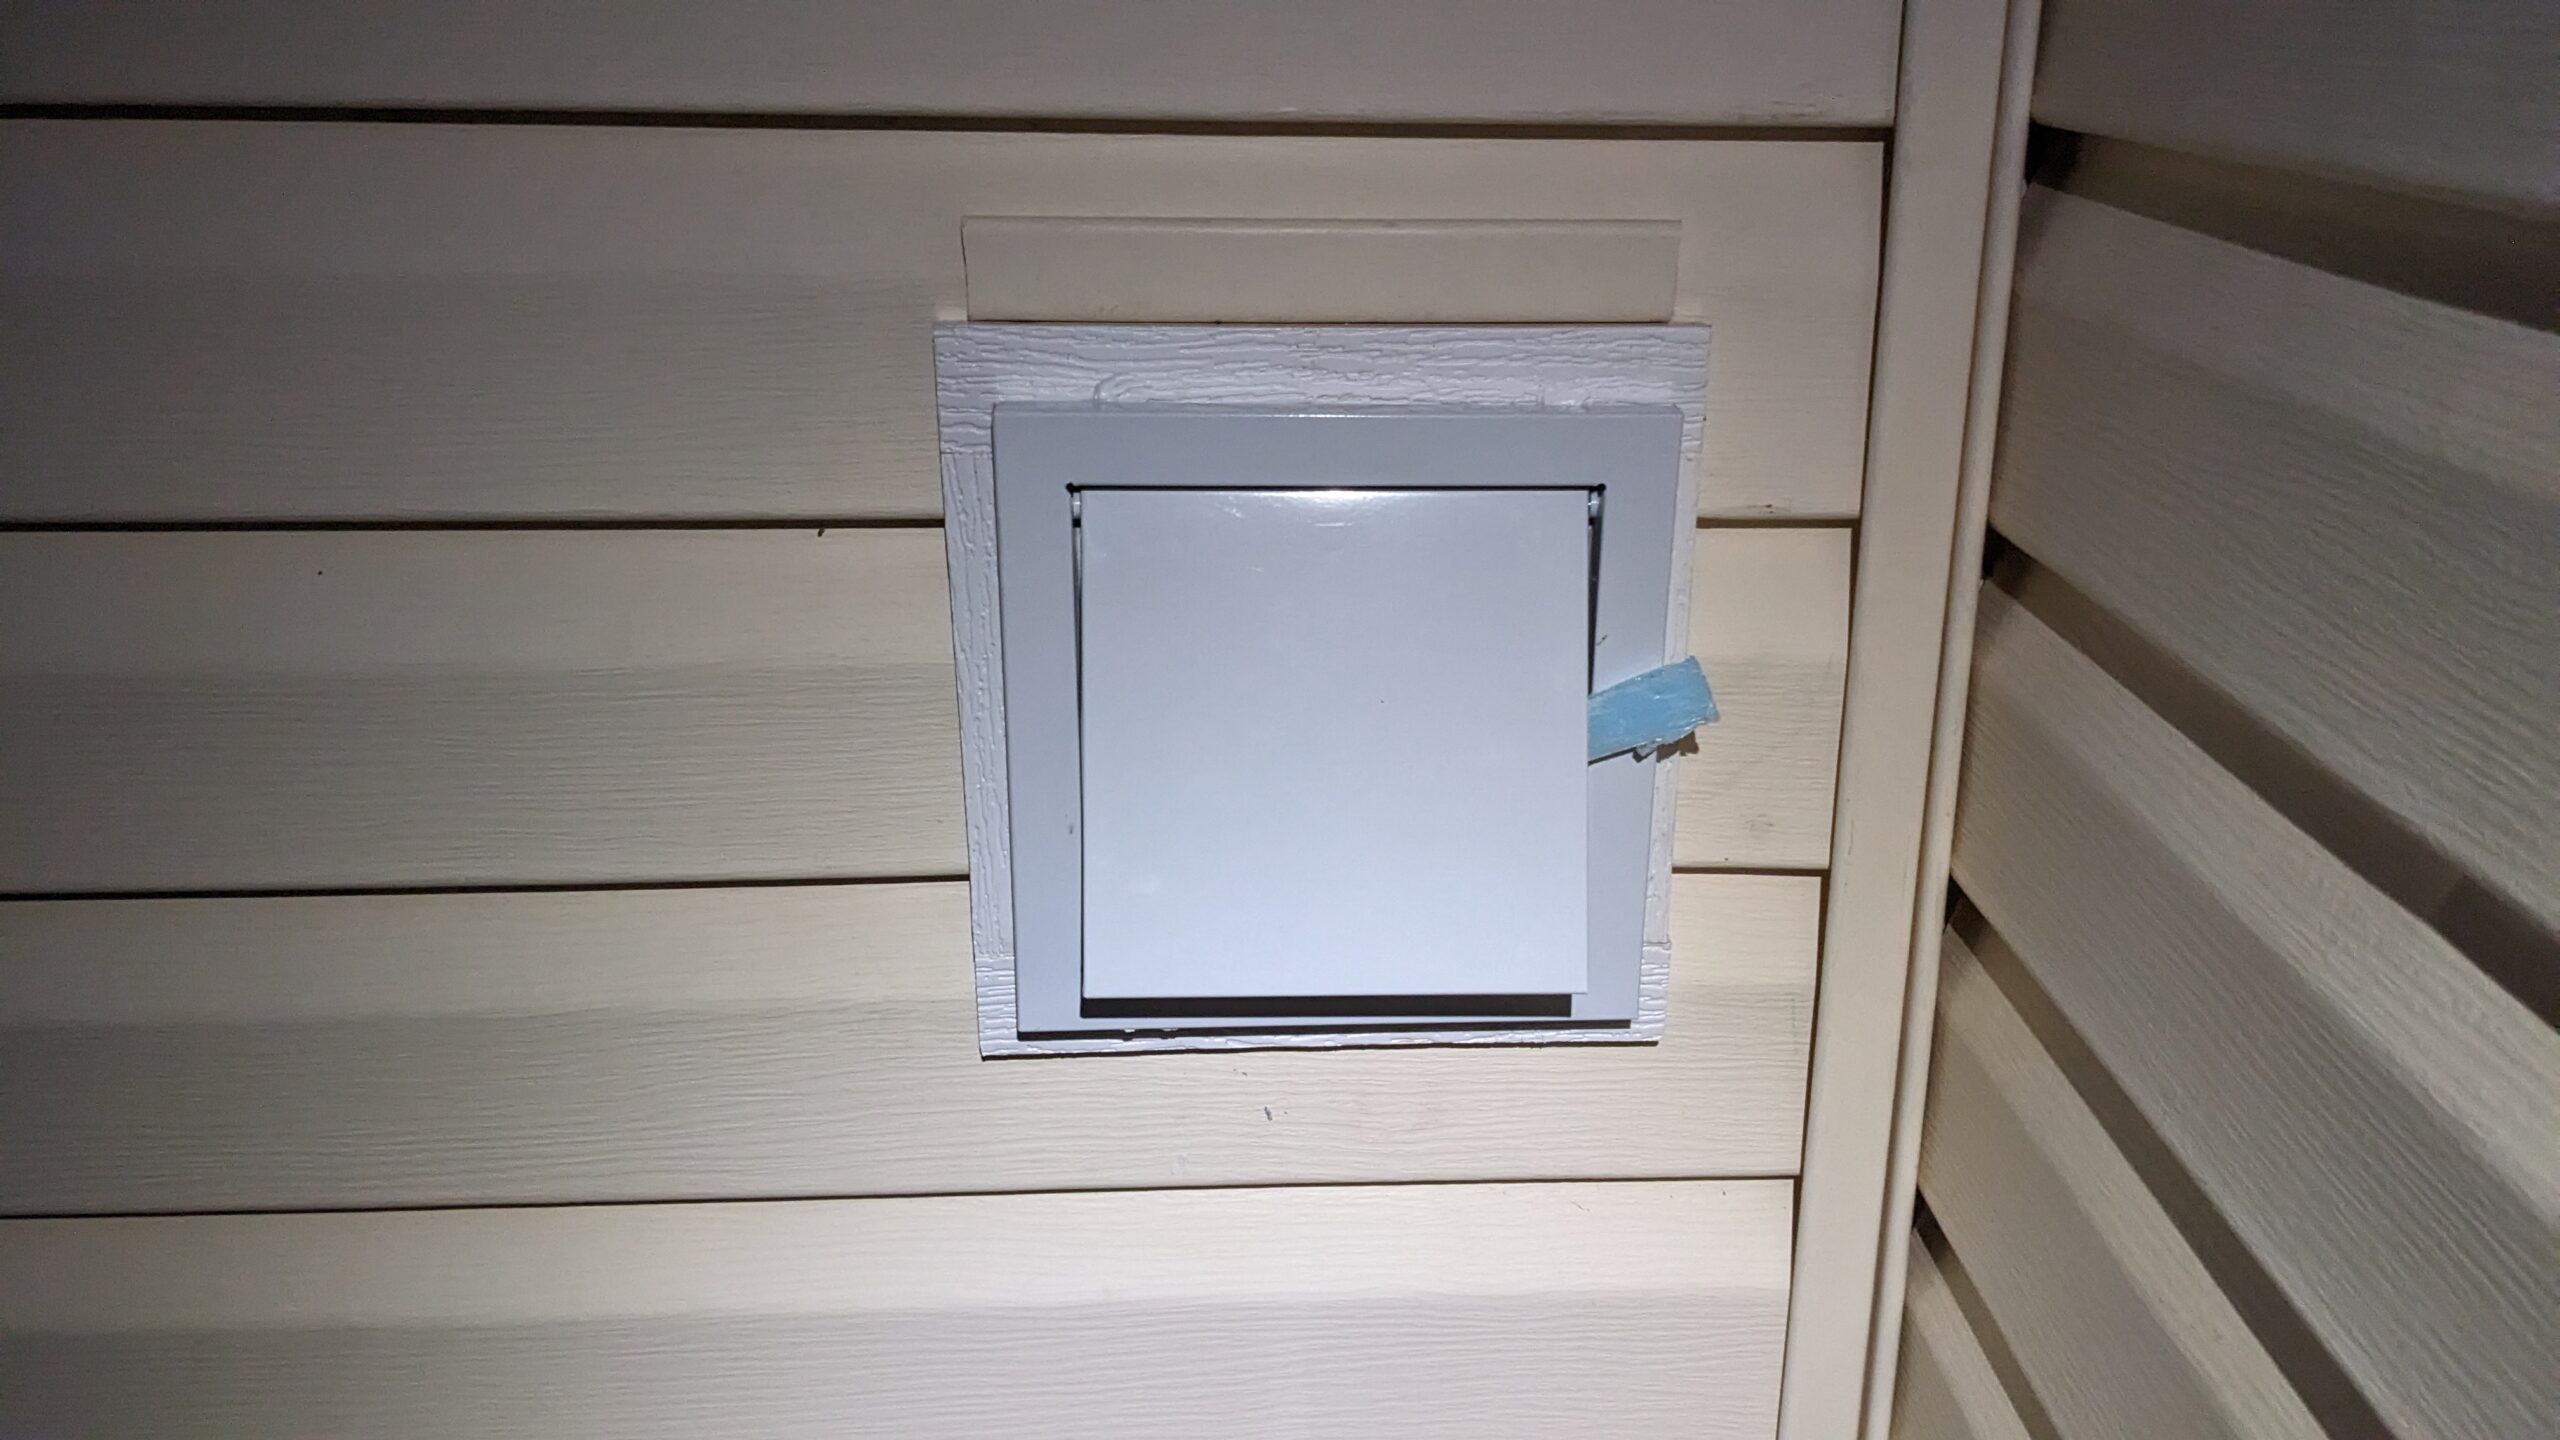
There was a fitting that could be bought from the manufacturer of the fireplace as part of a fresh air kit, that is no longer available. It was essentially a blast door for a dust collection system. I’m going to use a nice metal dryer/range hood exhaust vent. It has a magnet to help keep it closed, and a foam ring to keep out drafts. When used, I will open it up and hold it open with a prop rod. We only do that a few times a year, so I’m not worried about having to walk a few feet outside to open it.
The item in question, made by Imperial. I will add a drawer pull that’s weather resistant to make it easier to open in the future. Right now it has to be pried open gently with a pocket knife/dental pick/piece of mulch. I may also add a prop rod to one side, depending on how much time I have before selling this place.
PVC trim to hold vinyl siding down with rabbets 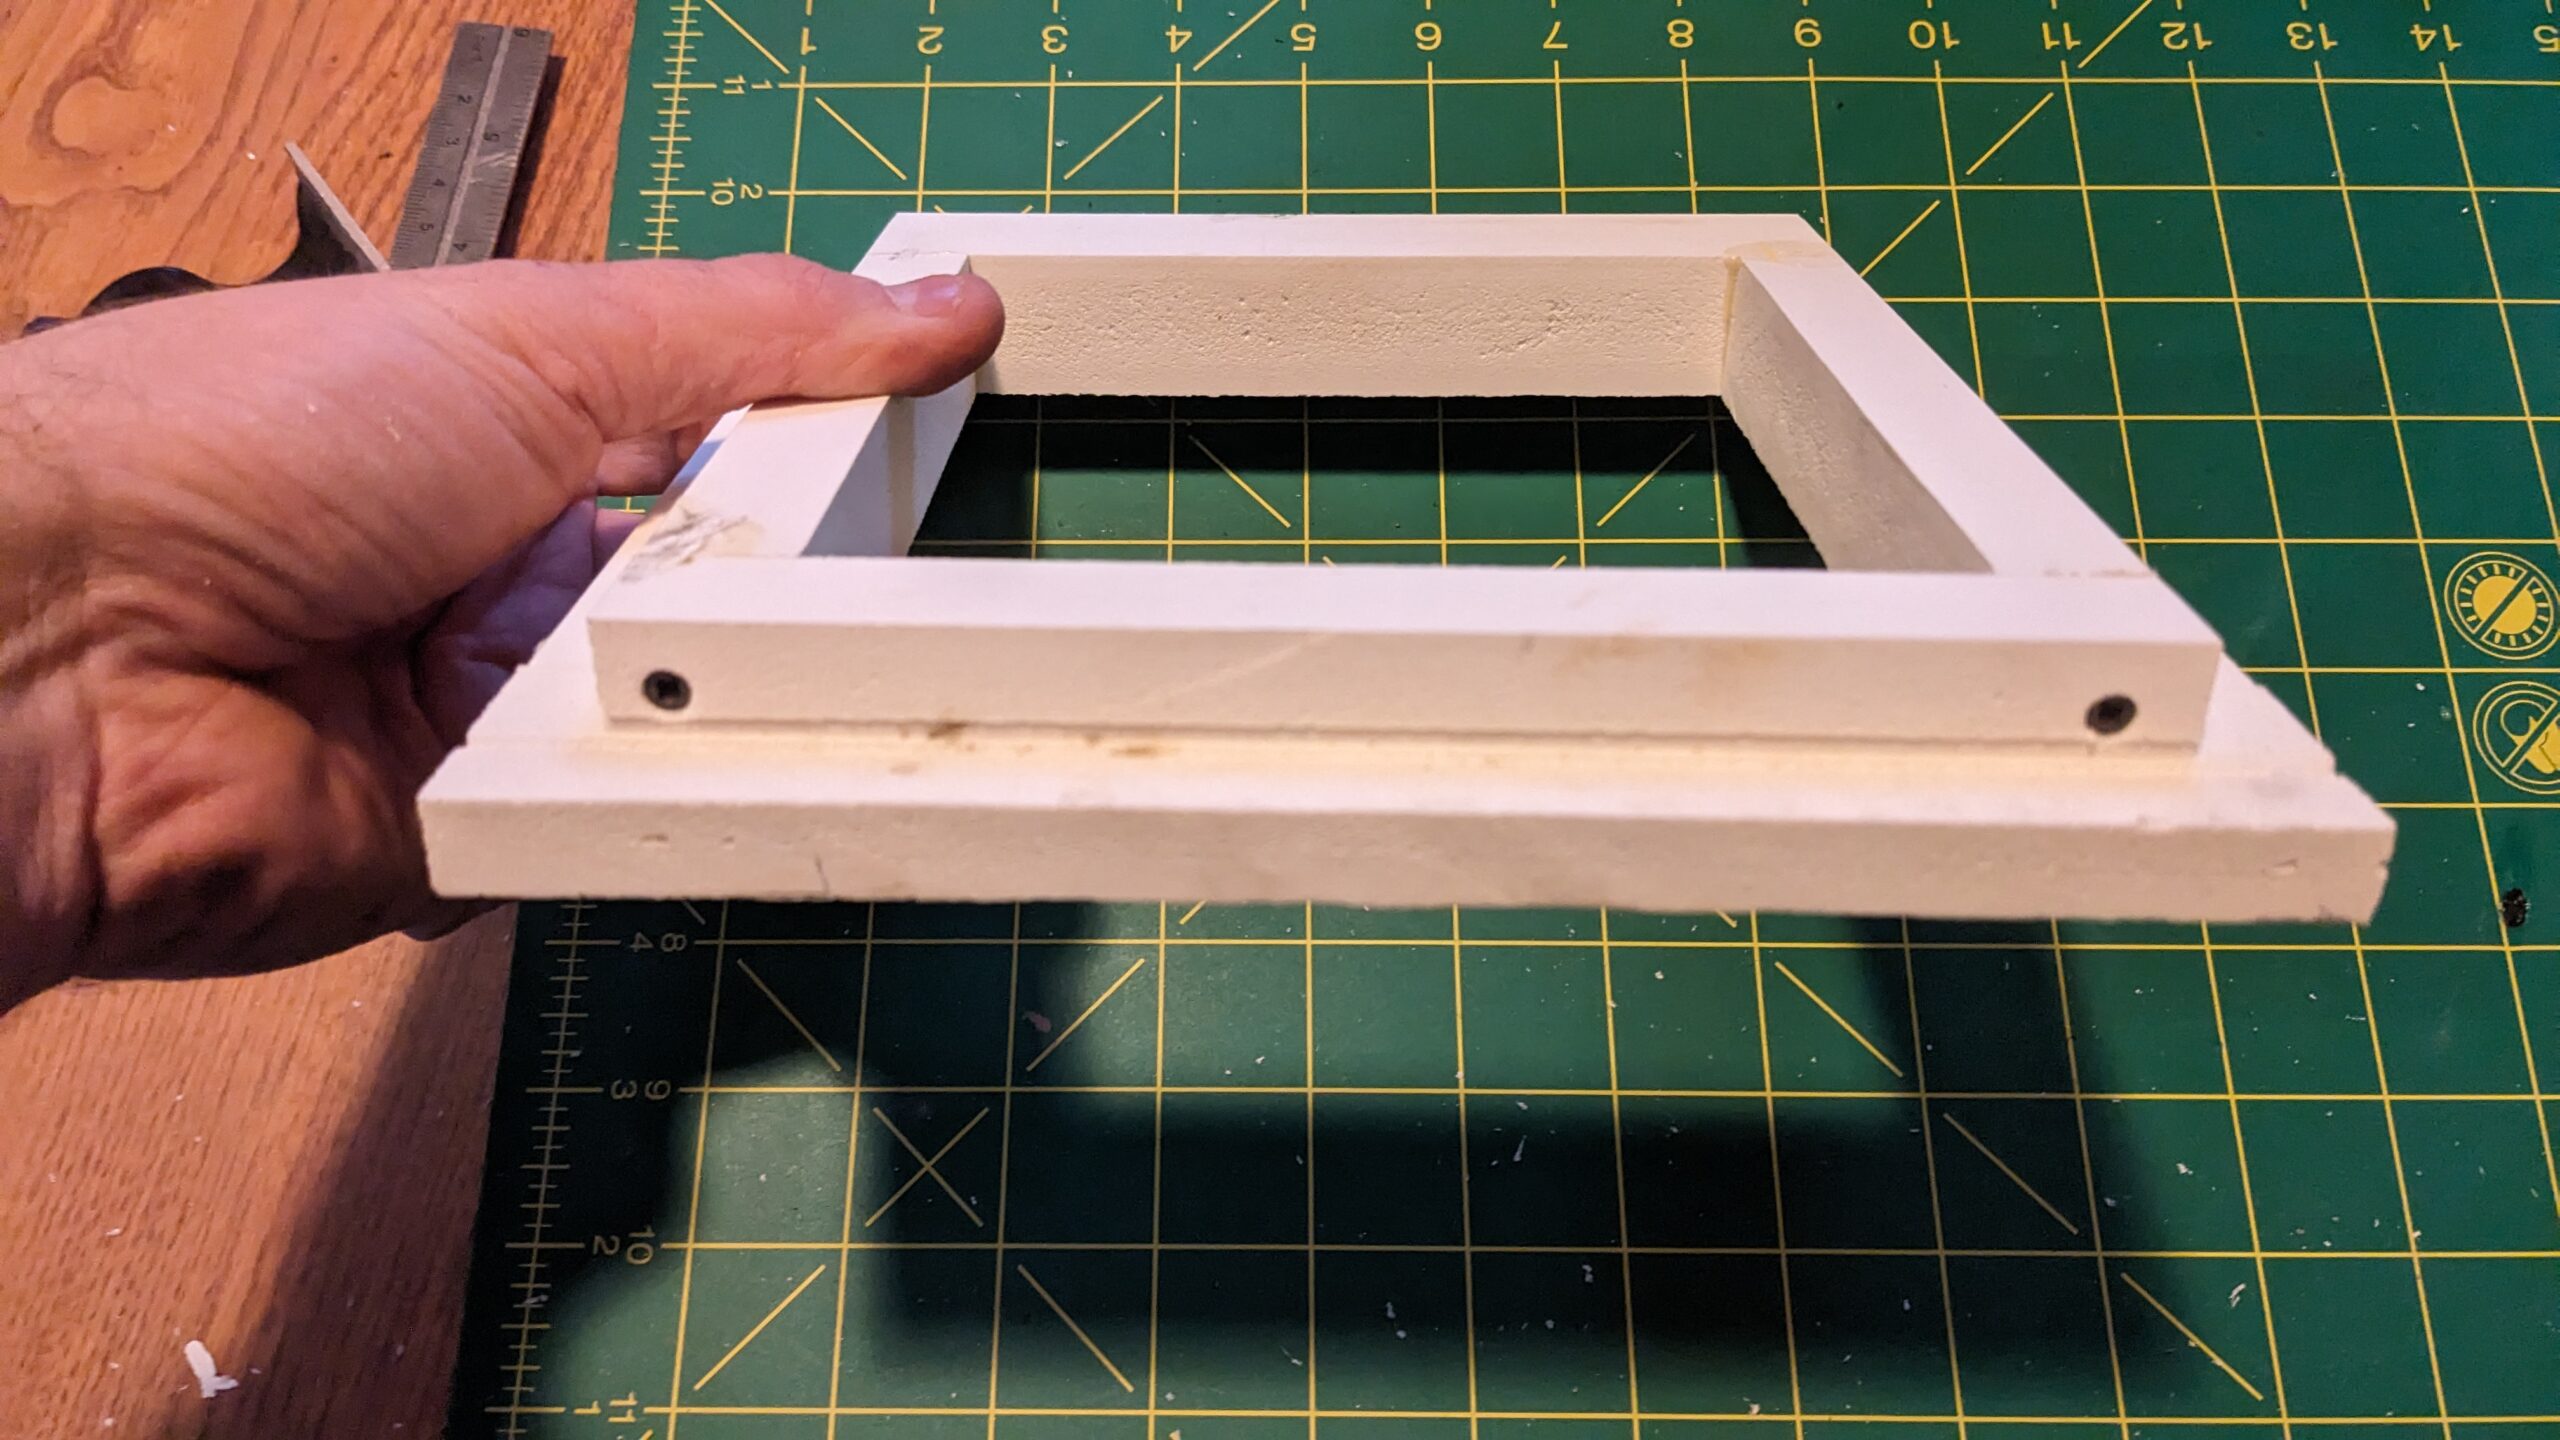
Held in each corner with a trim screw 
After scribing the location onto siding 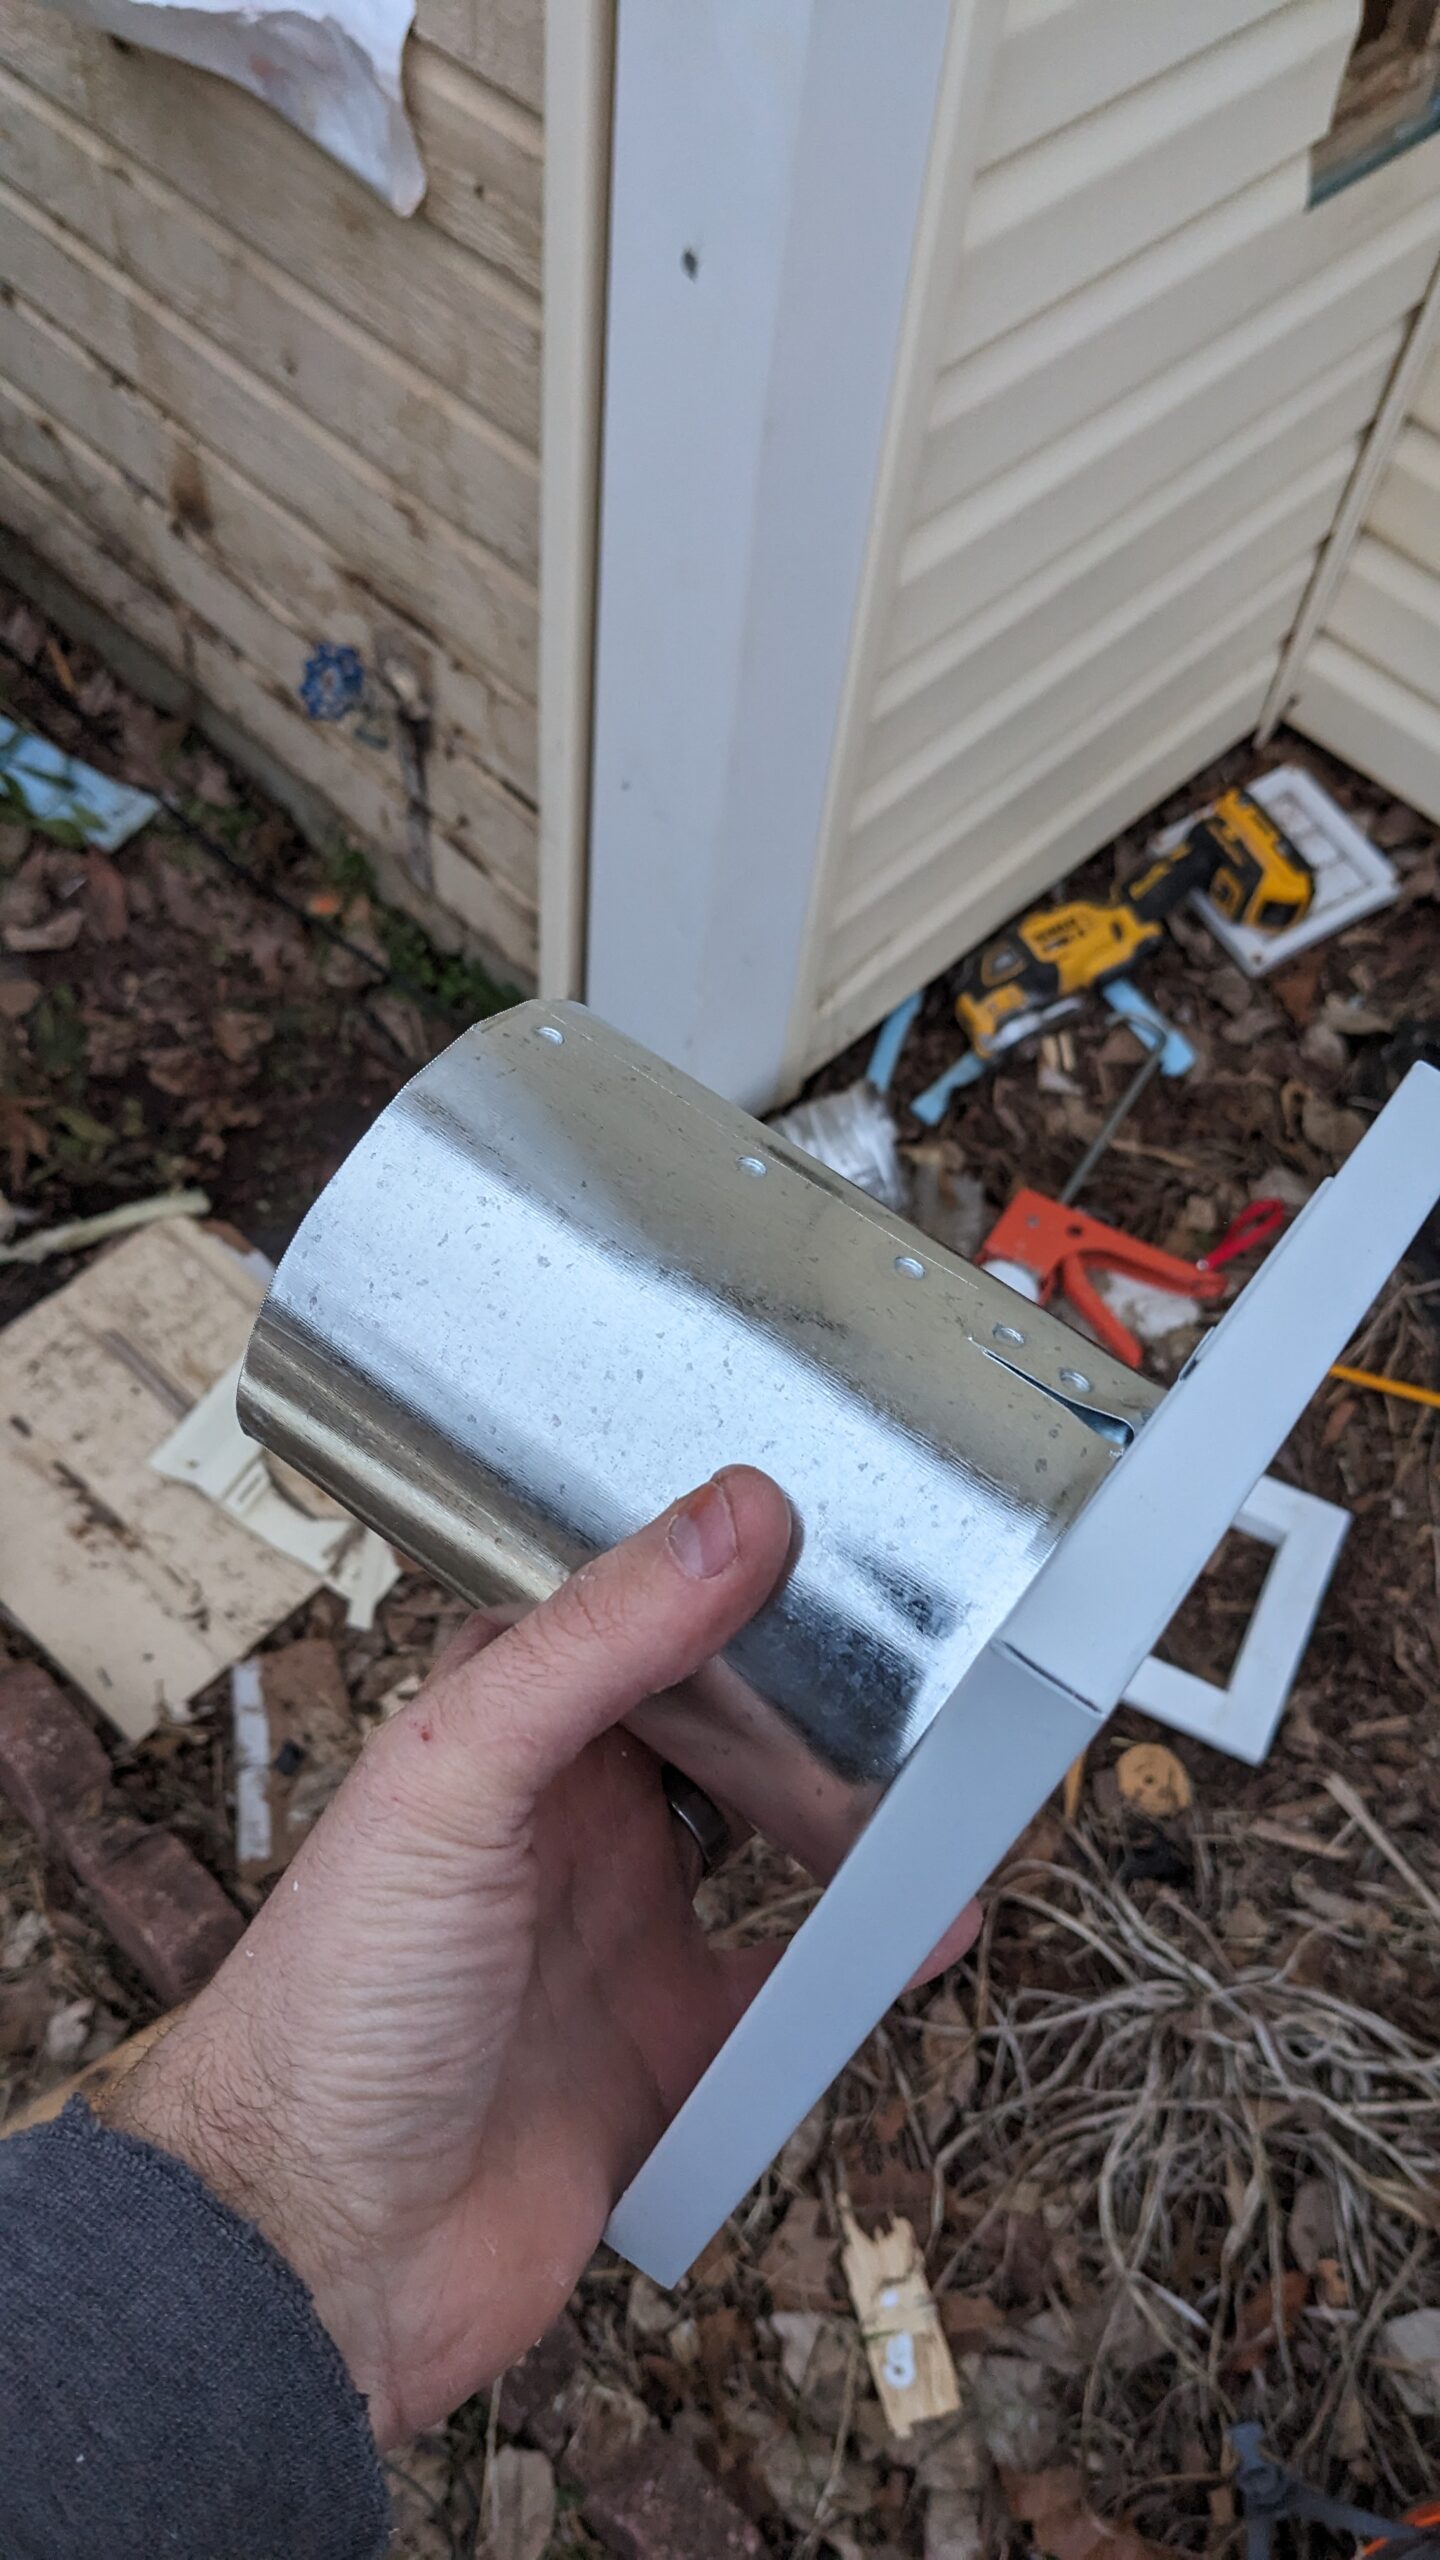
The vent 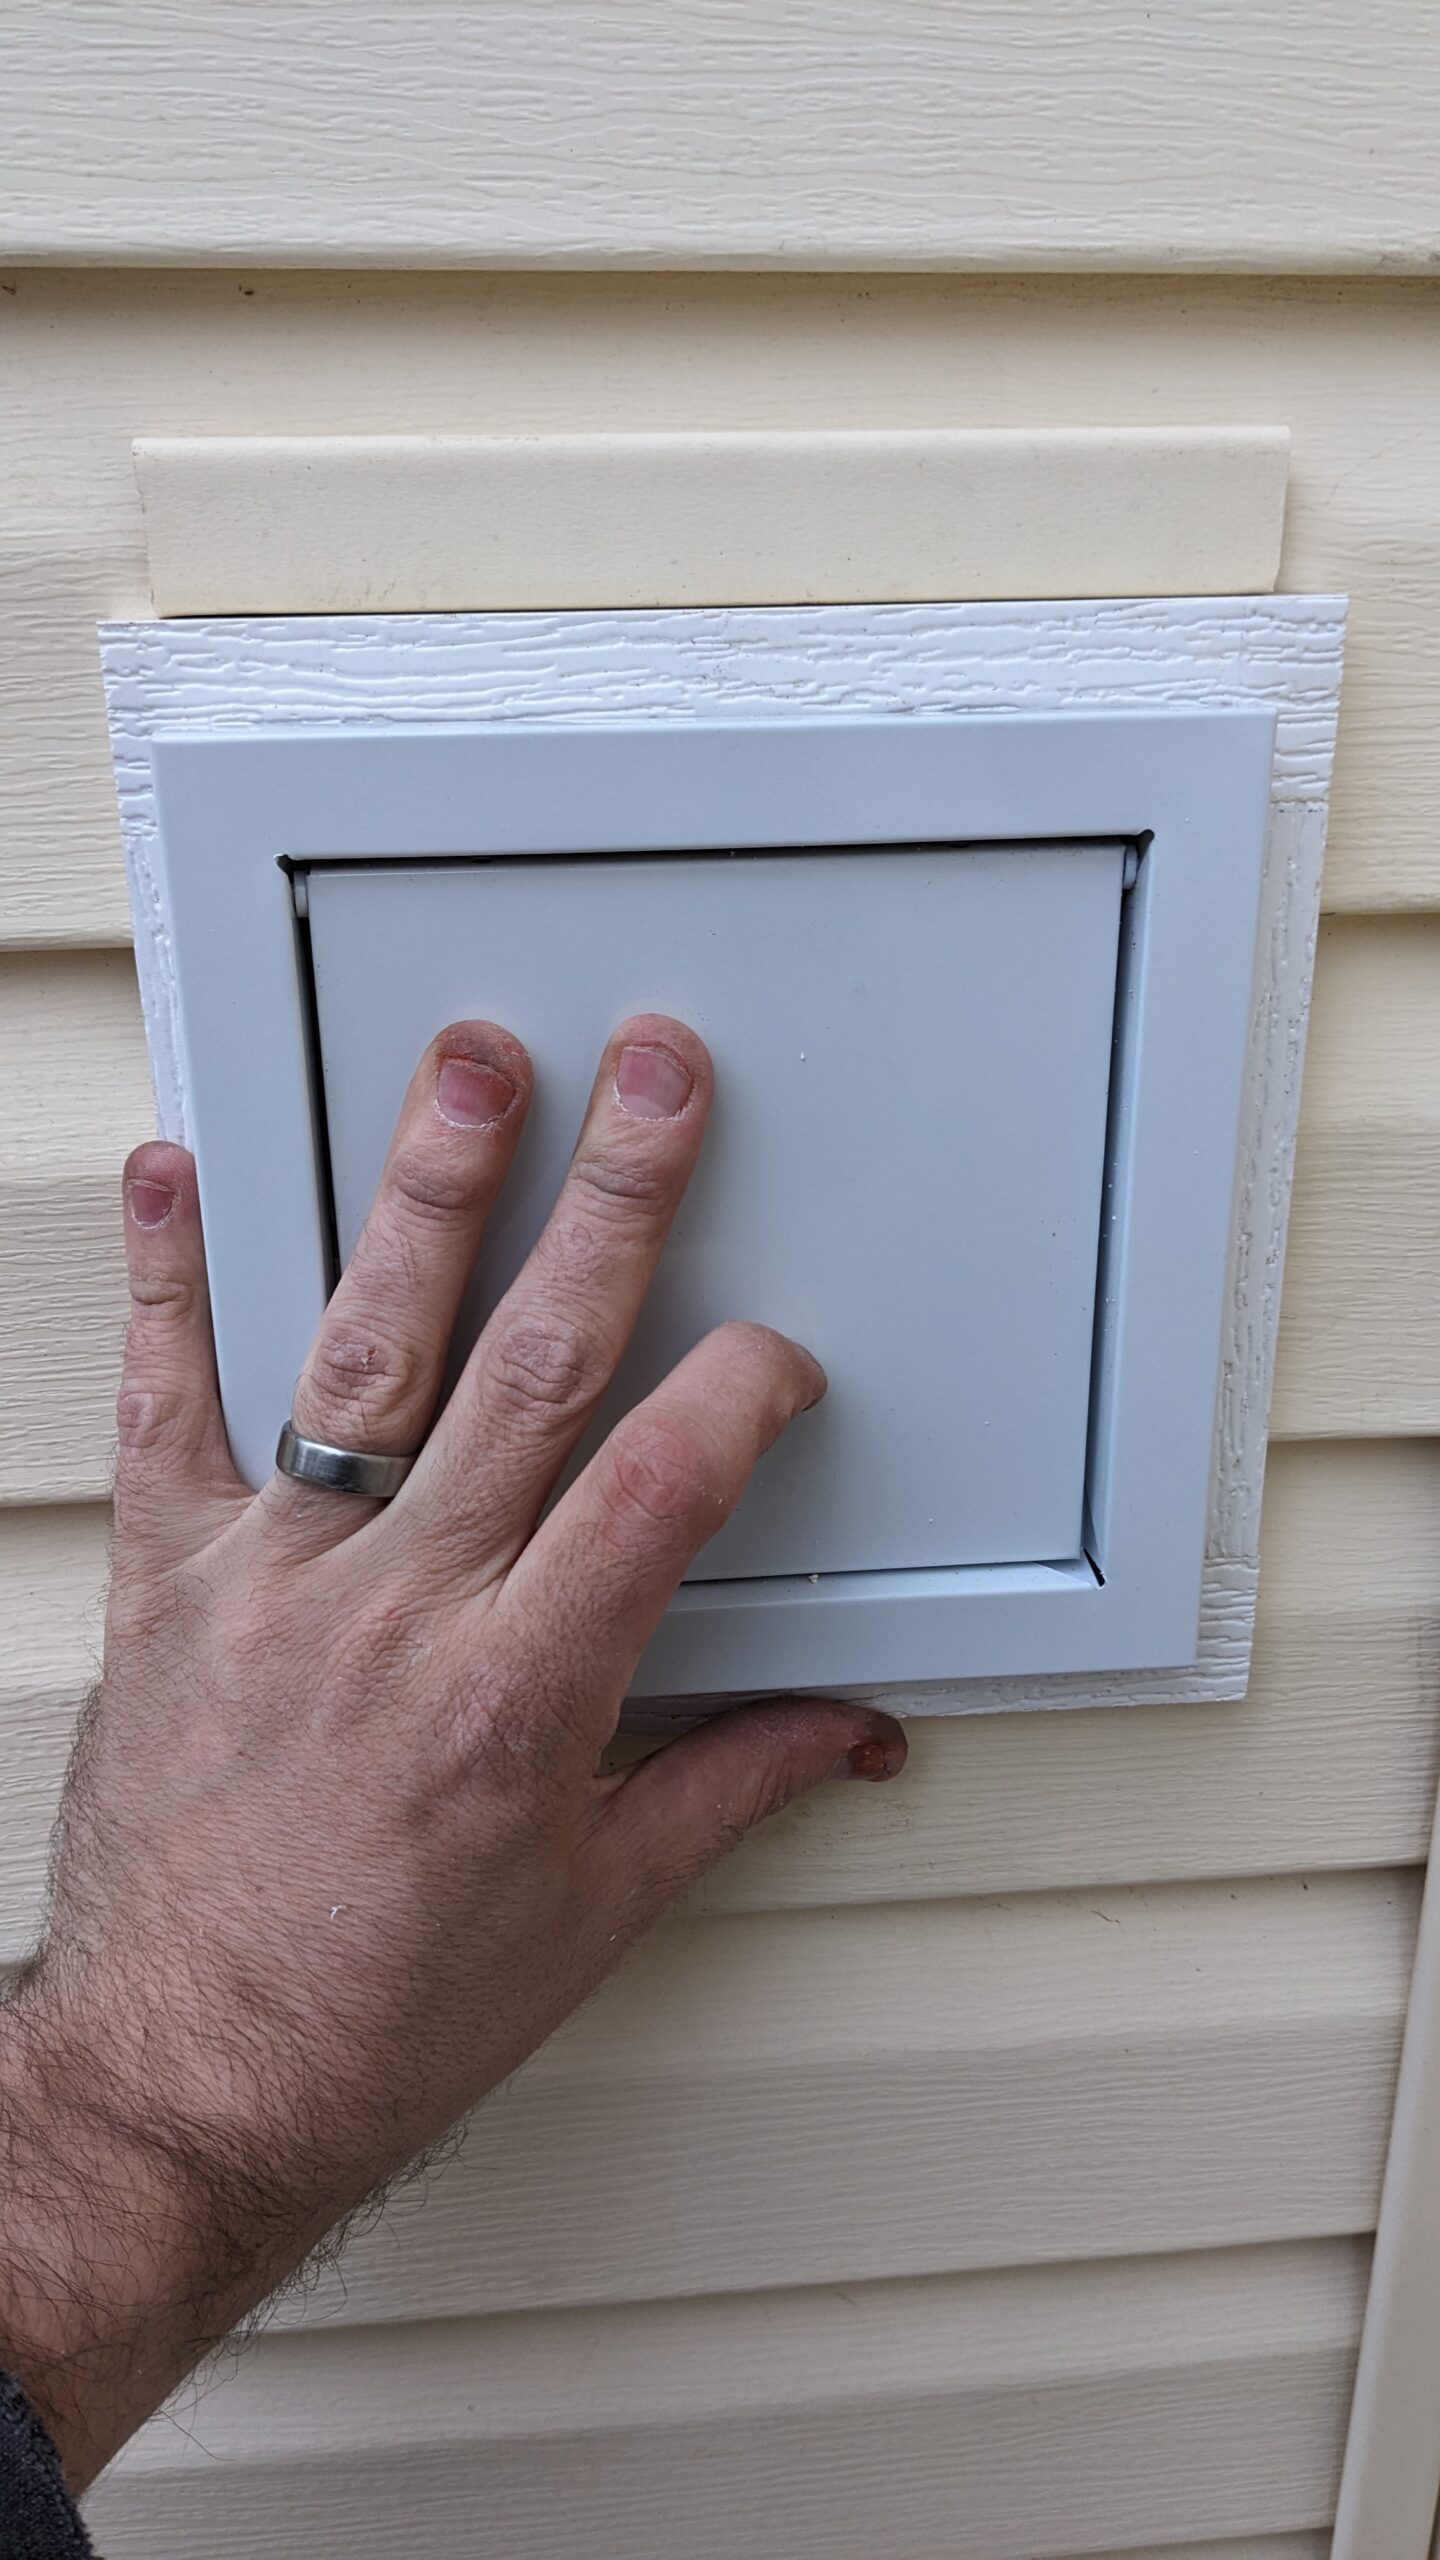
In place. Ignore the J-channel that’s too narrow, which needs to be replaced later 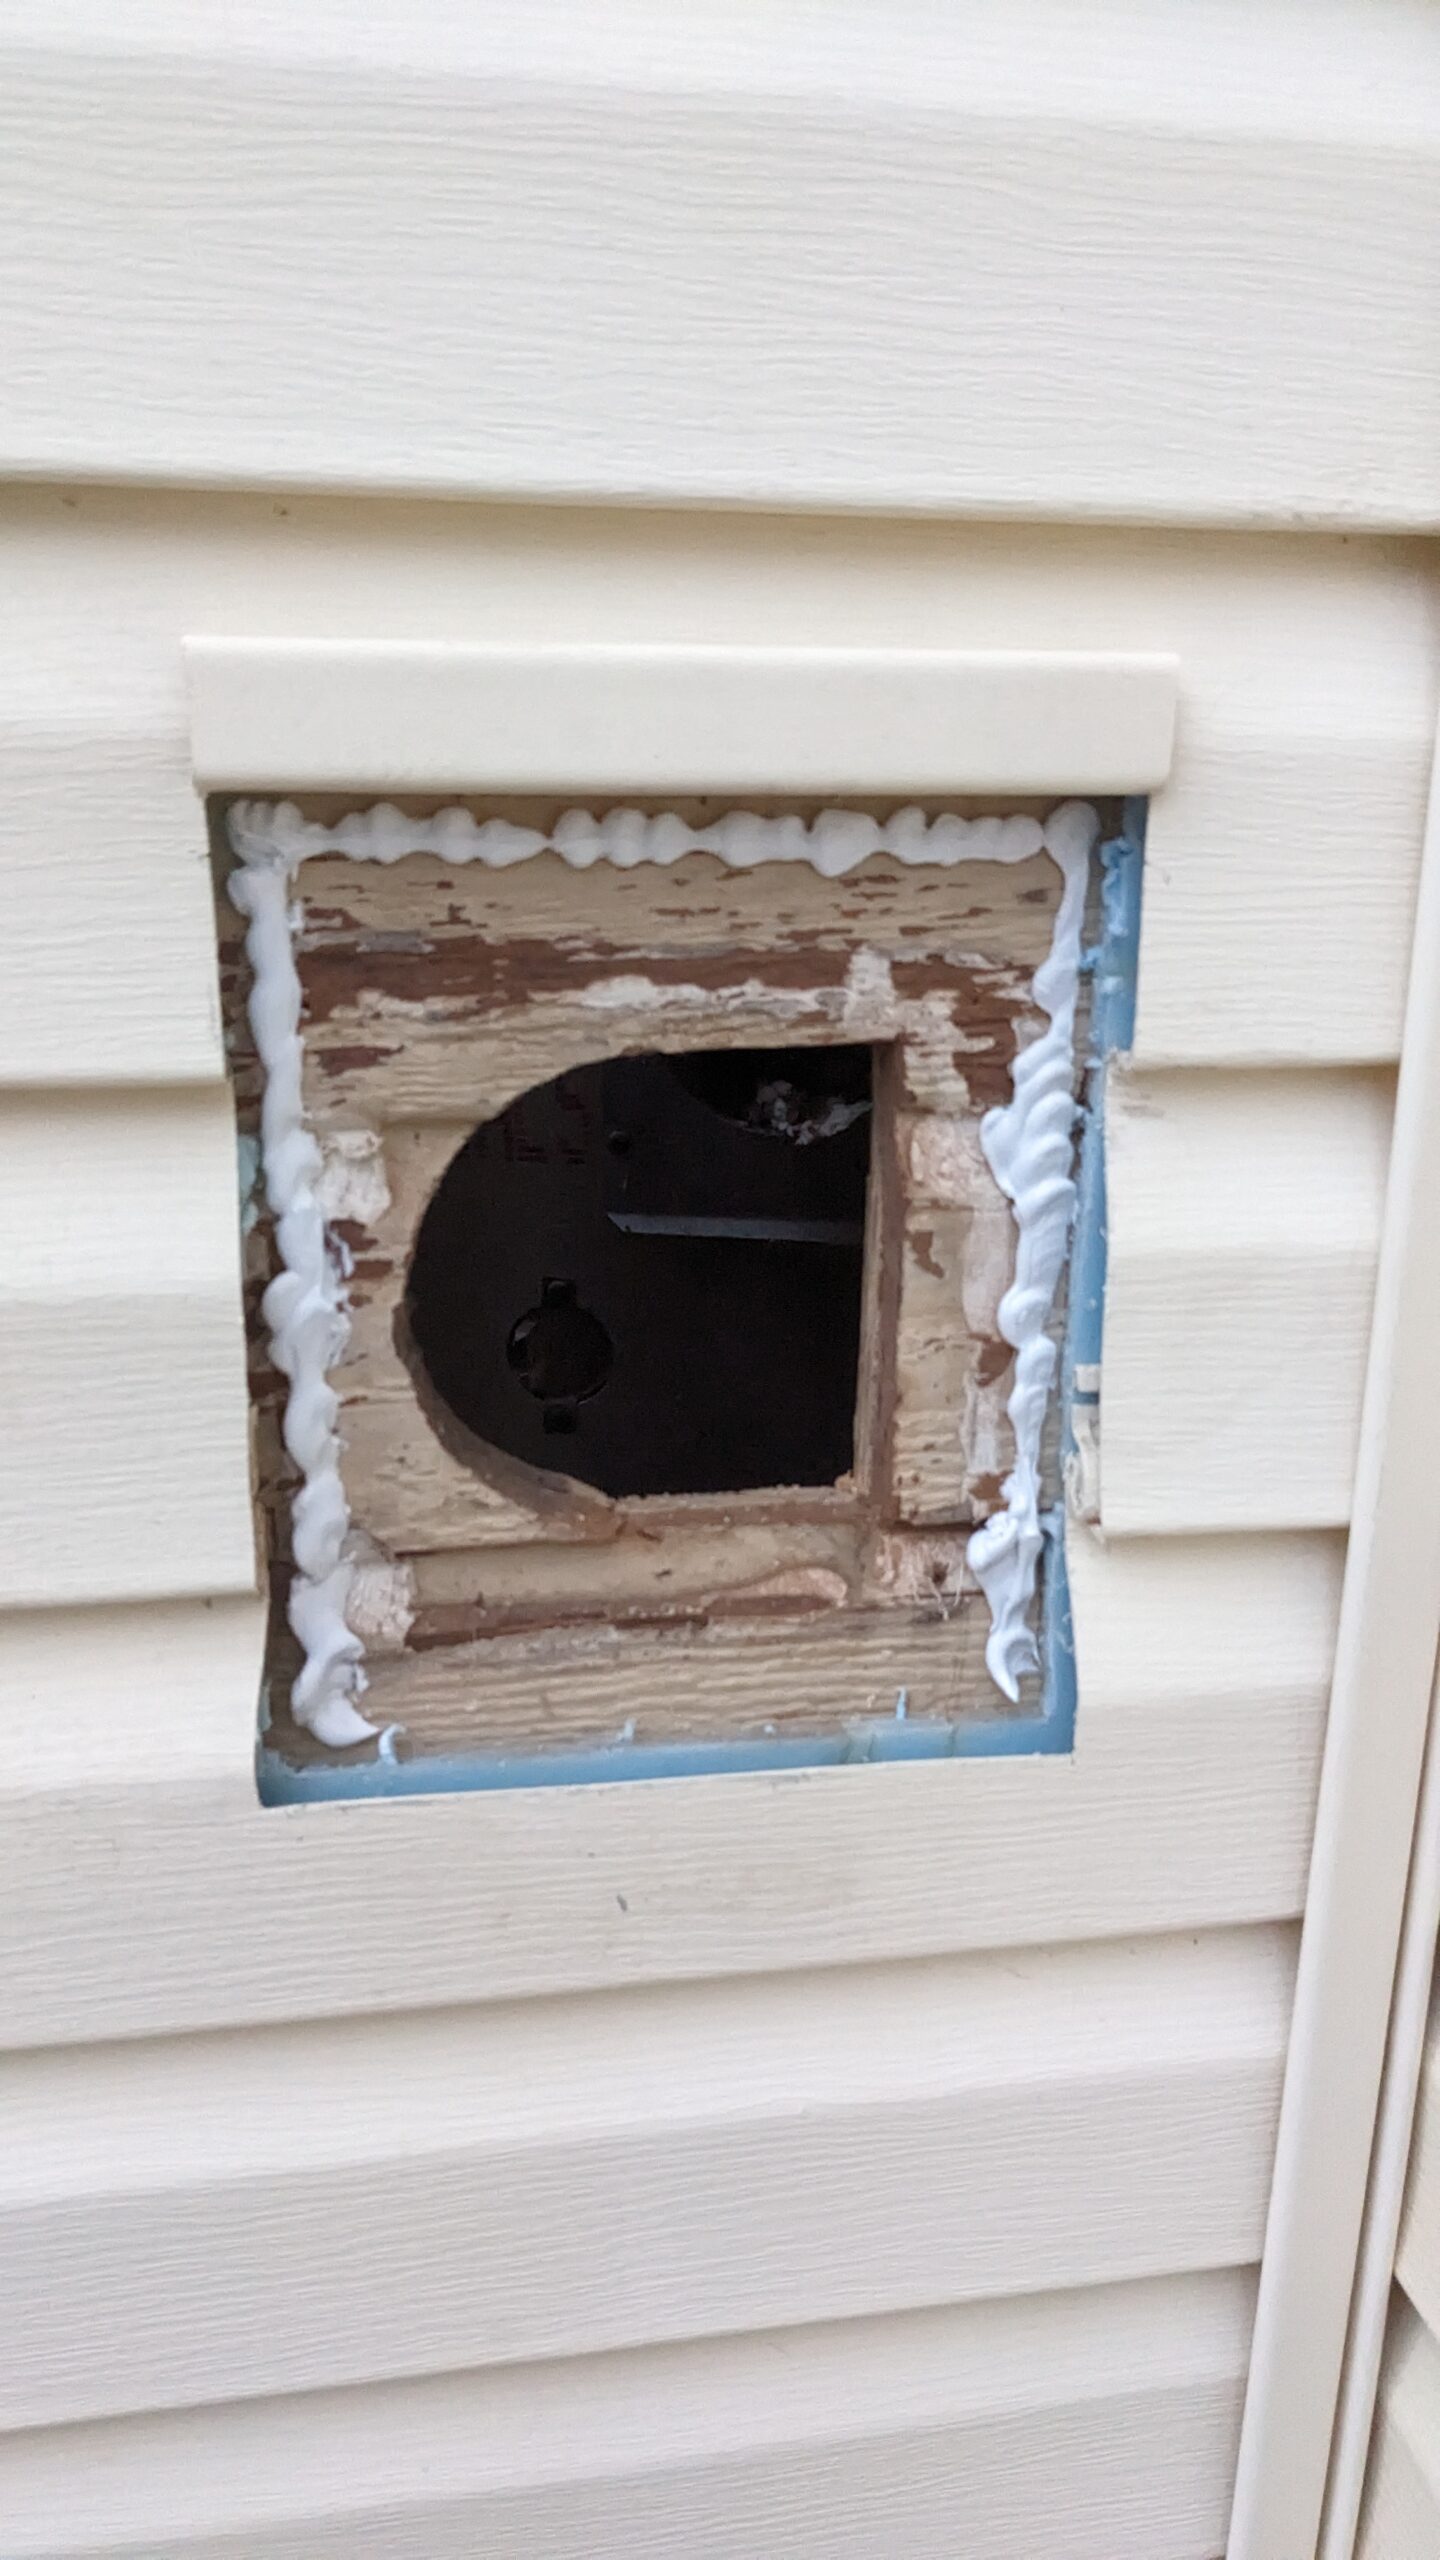
I had to widen the hole a bit, and didn’t have a good option besides an oscillating saw. The square corners will be hidden 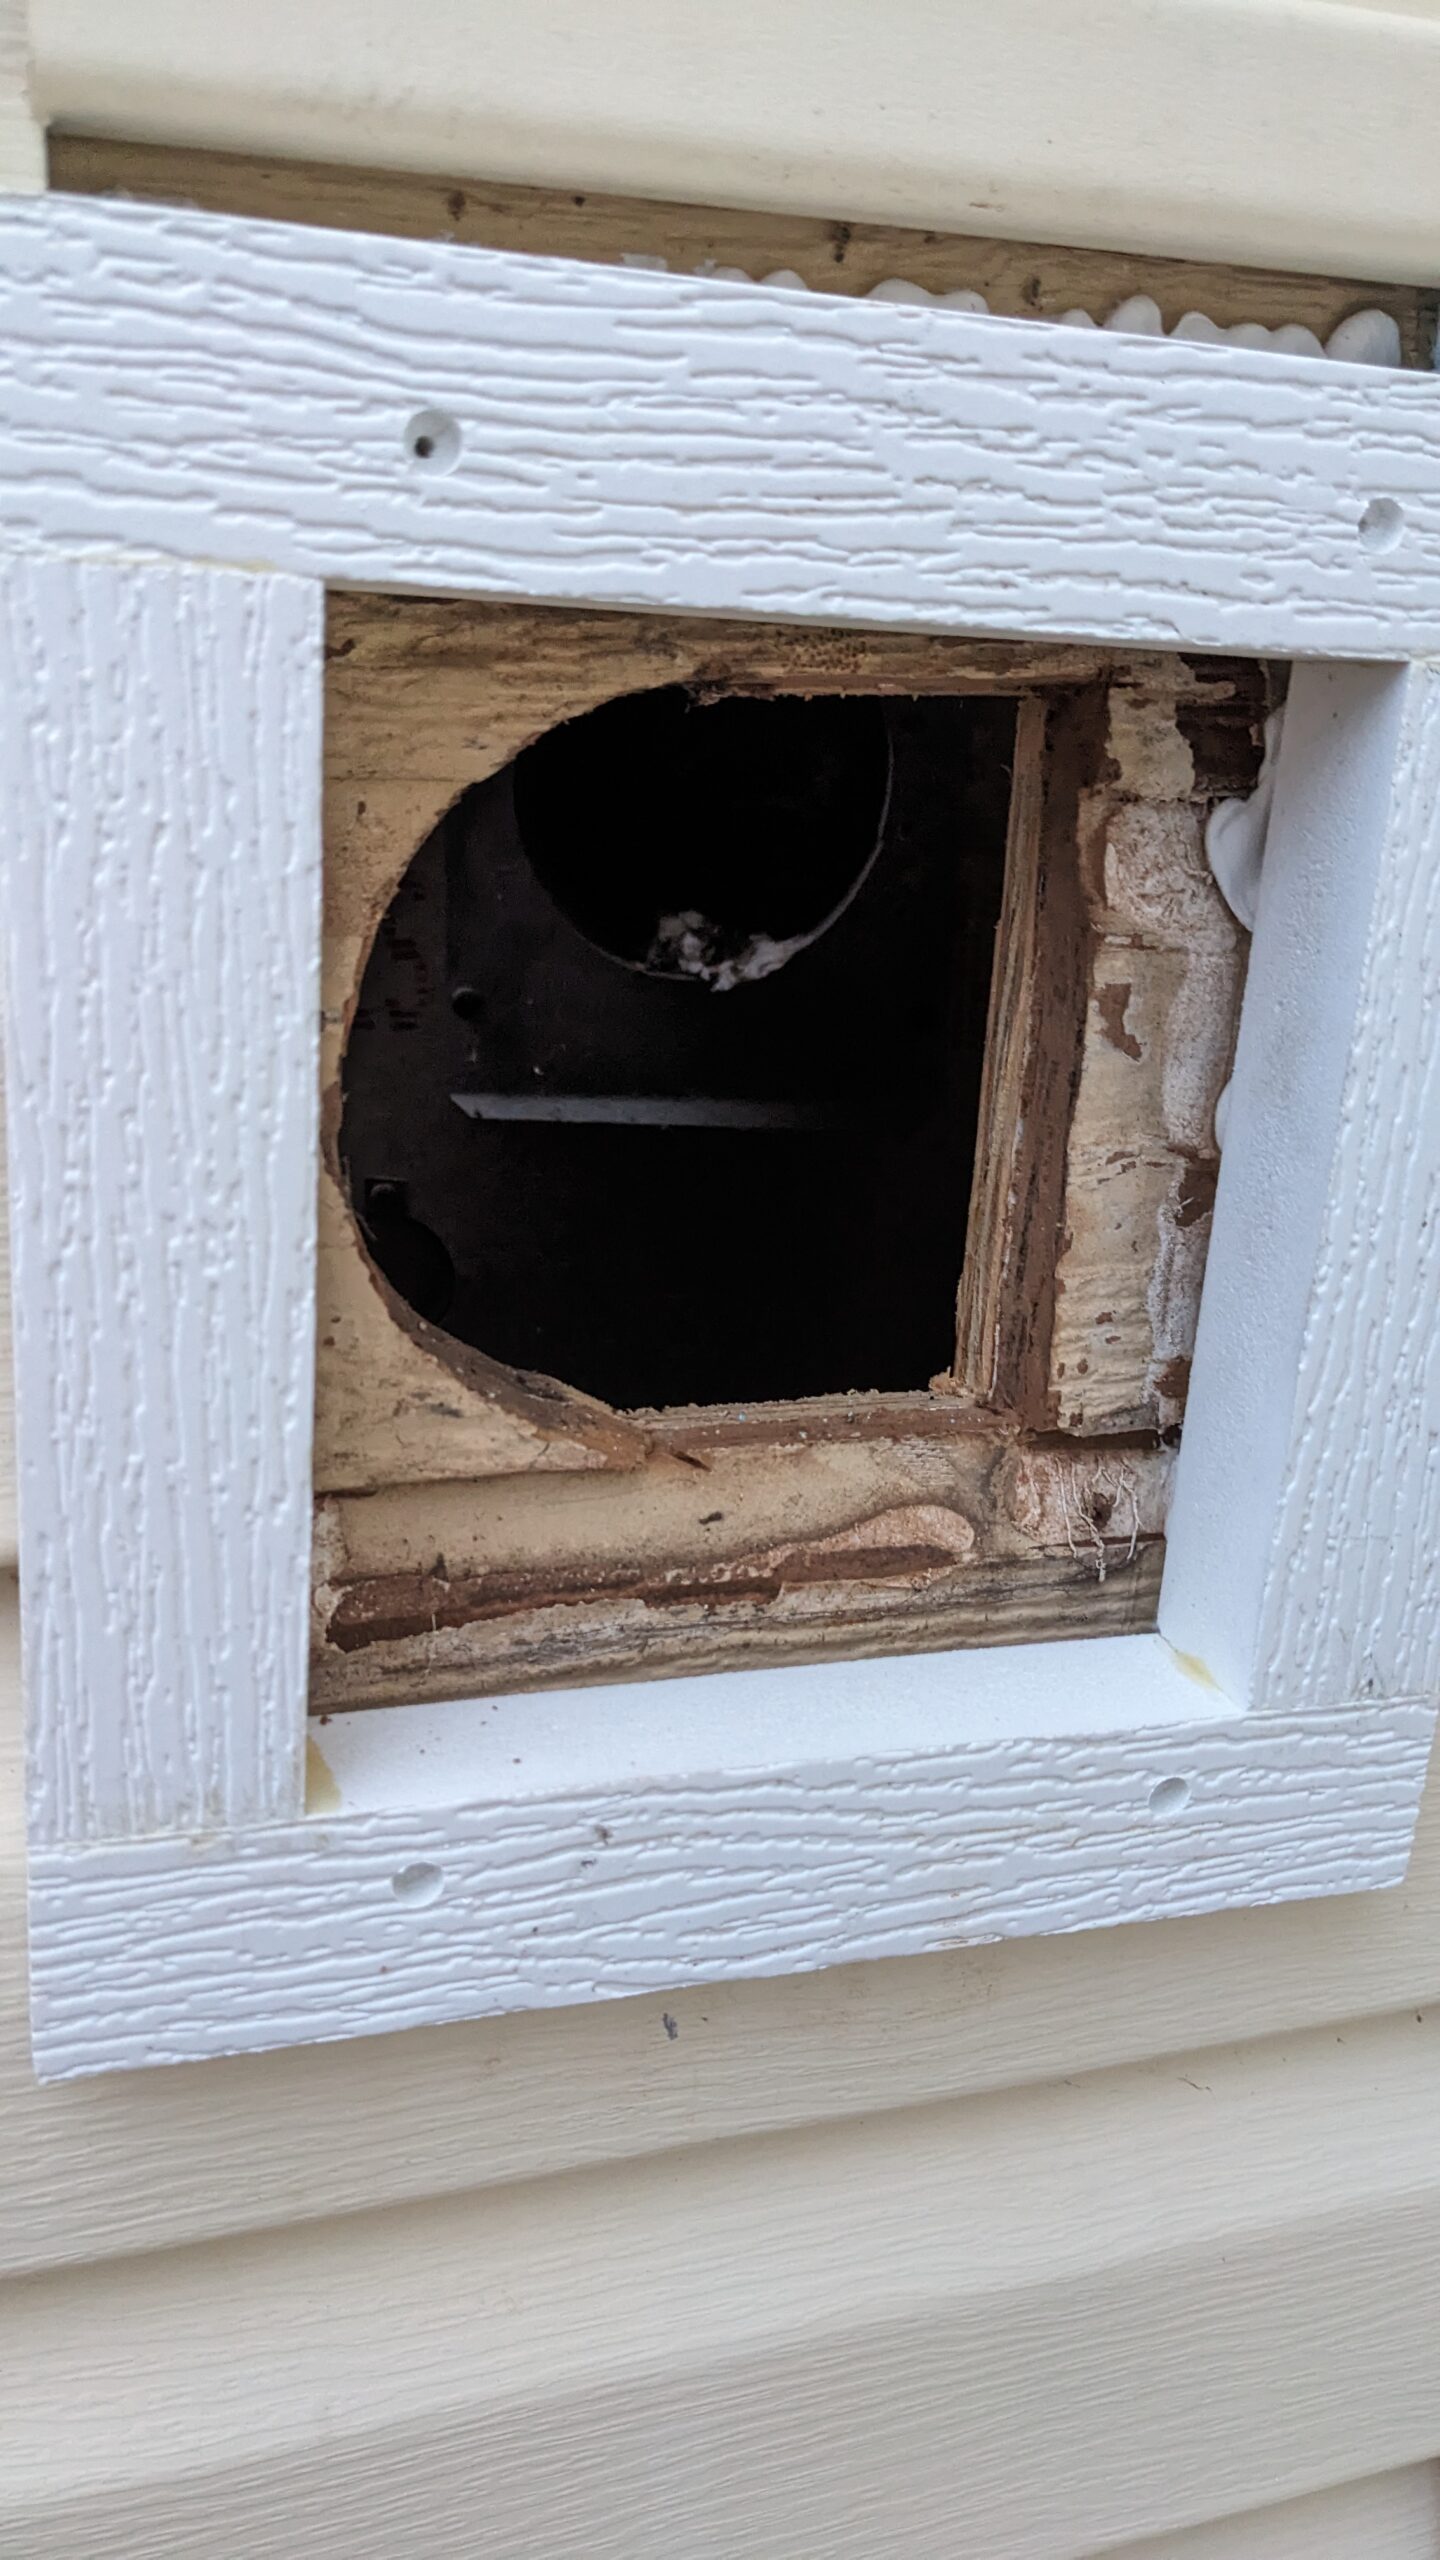
4 screws to hold it down, which will be hidden
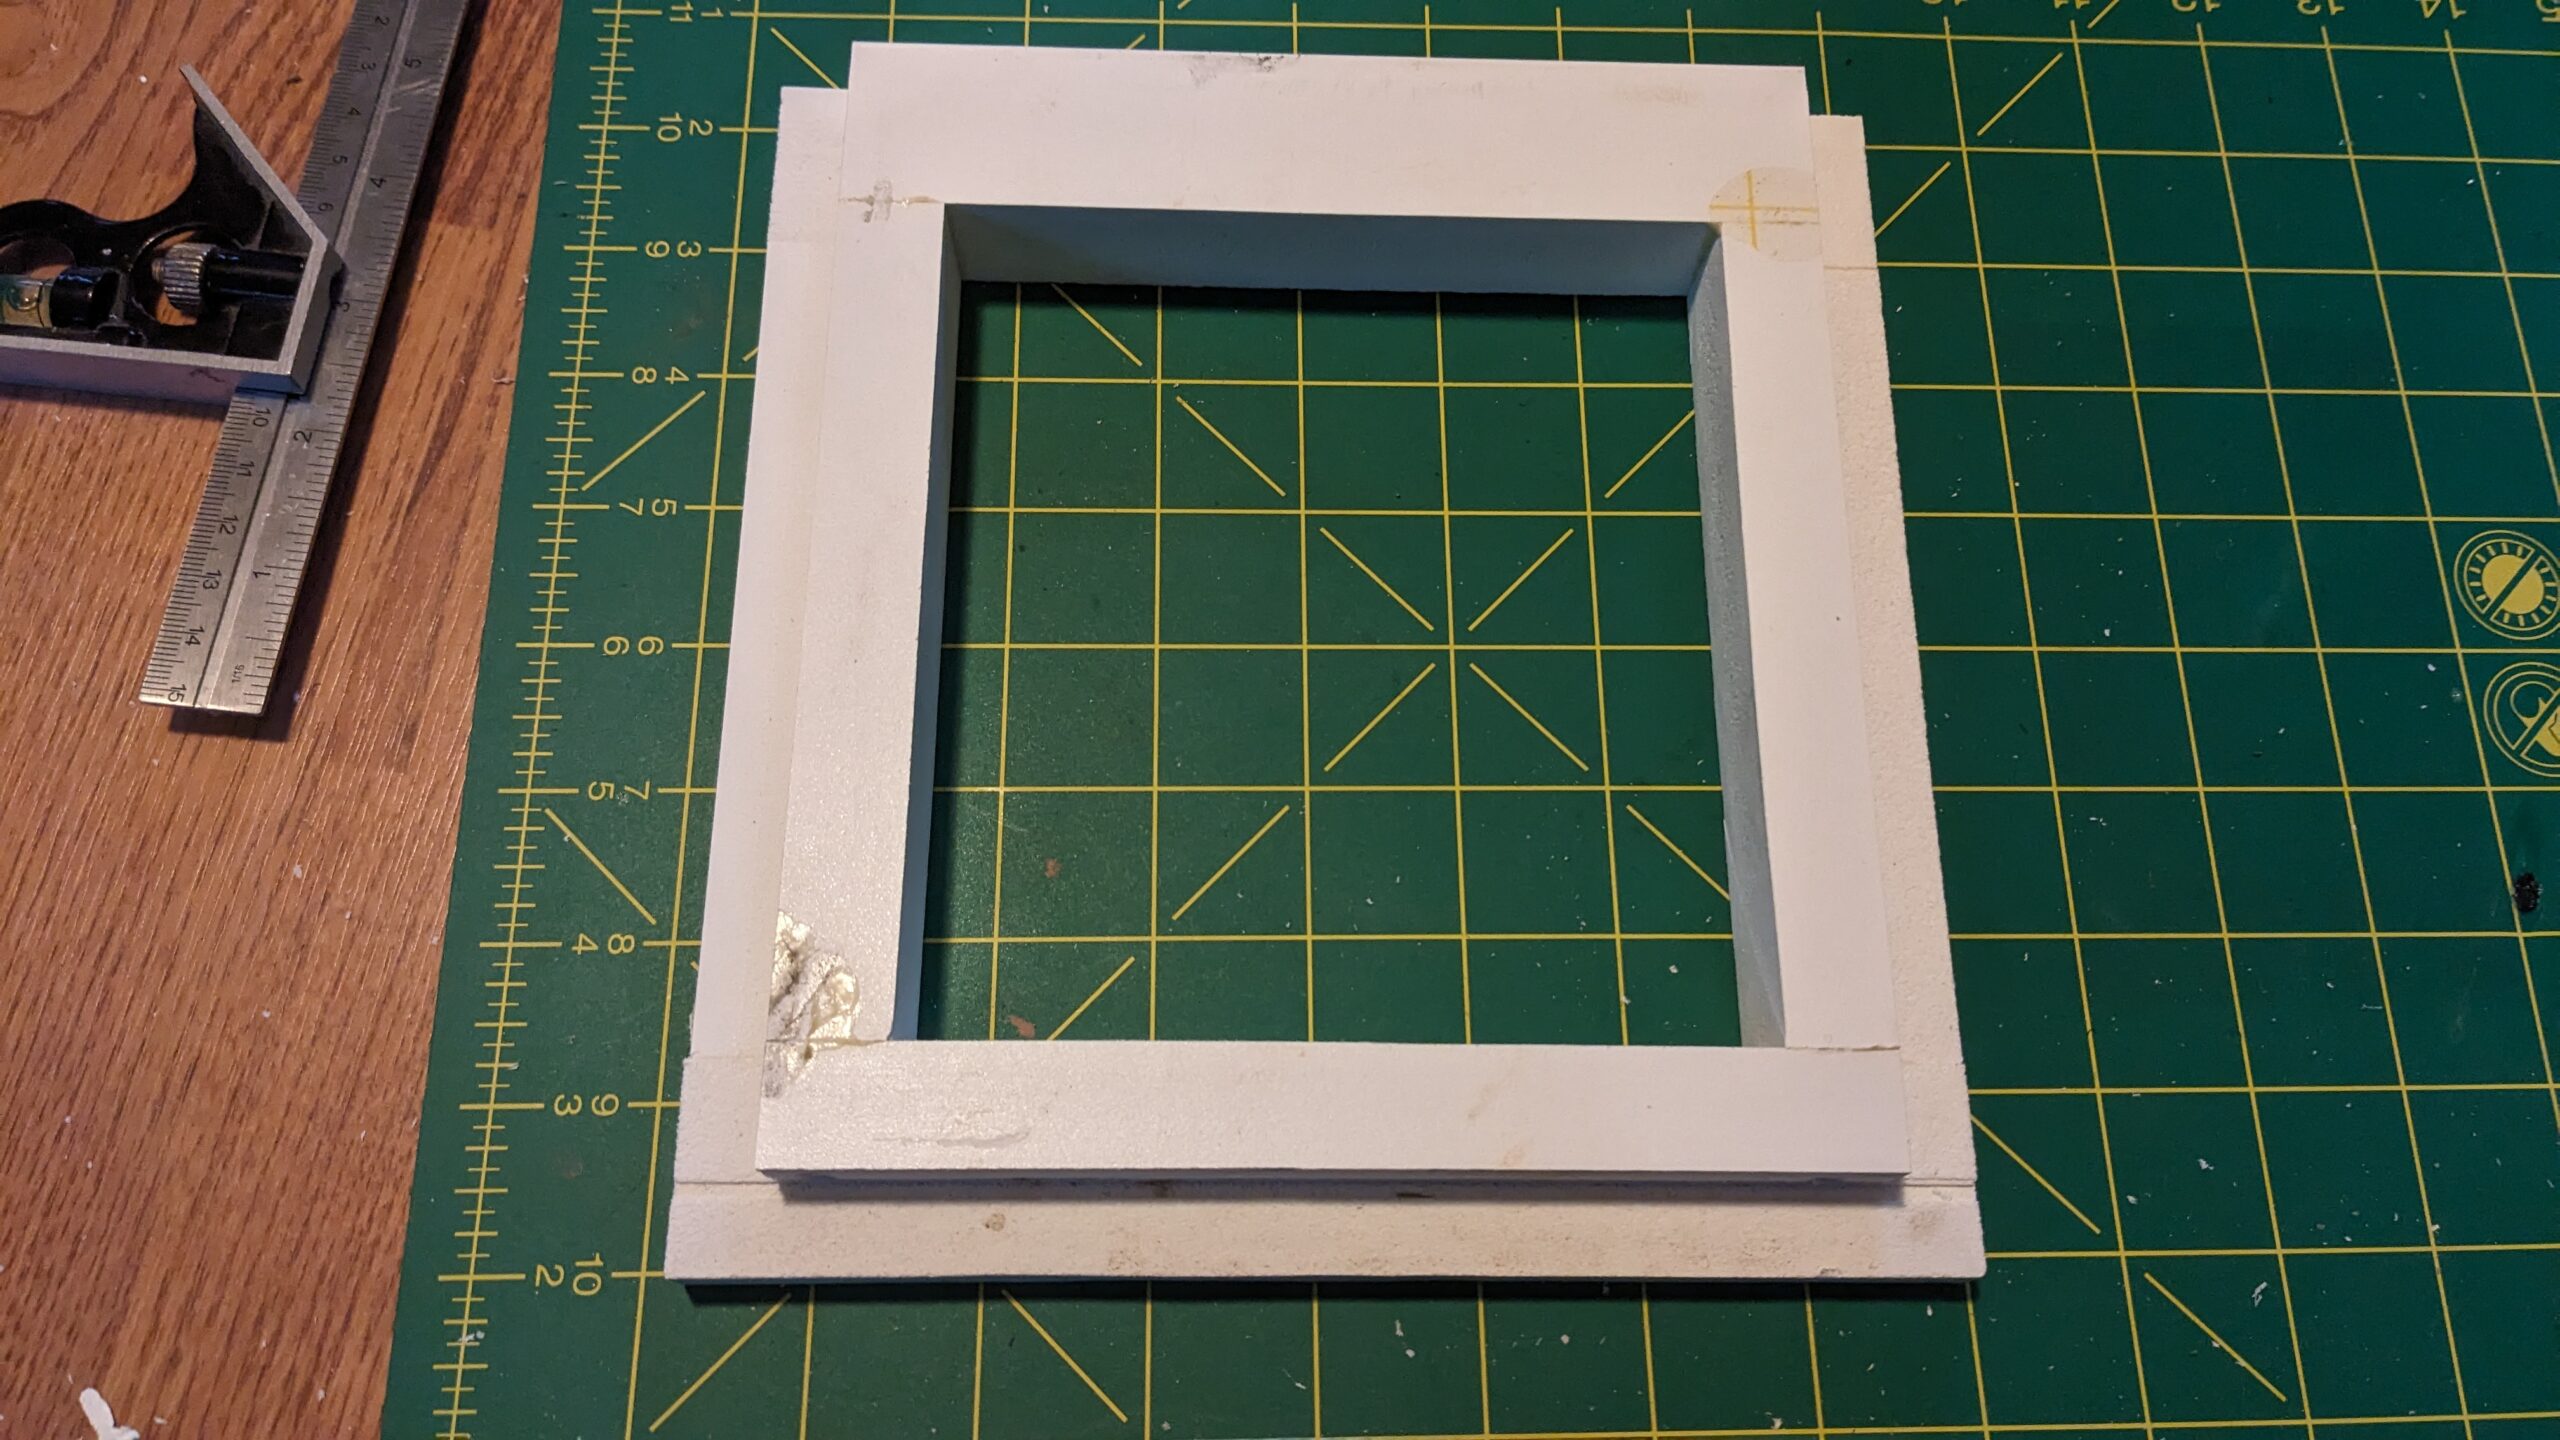
I used some leftover PVC trim boards and cut a rabbet into them to hold down the vinyl siding, the same way I trimmed out my replacement window a few months back. The top doesn’t have the rabbet cut into it, and will get a small piece of J-channel will make sure the water weeps to the sides and not behind.
I used clear PVC cement (from the plumbing aisle, avoid the purple stuff unless you want this to look like trash). It holds it all together well during screw installation, and has the added benefit of filling any cracks to prevent water intrusion. You can see that I held it all flat against the cutting mat, and it was strong enough to pull a bit of the coloring off with it.
I dry fit the setup with the vent cover to ensure my reveals were consistent, then scribed the siding. Cut the siding with an oscillating cutter and utility knife, then caulk, seat, and attach the PVC trim base to the old siding.
How it’s going:
Evening of the first day:
I was only able to get so far the first night. And it started getting cold. The top was closed up, but the back of the house was still wide open. So it was colder now than it ever was to start with.
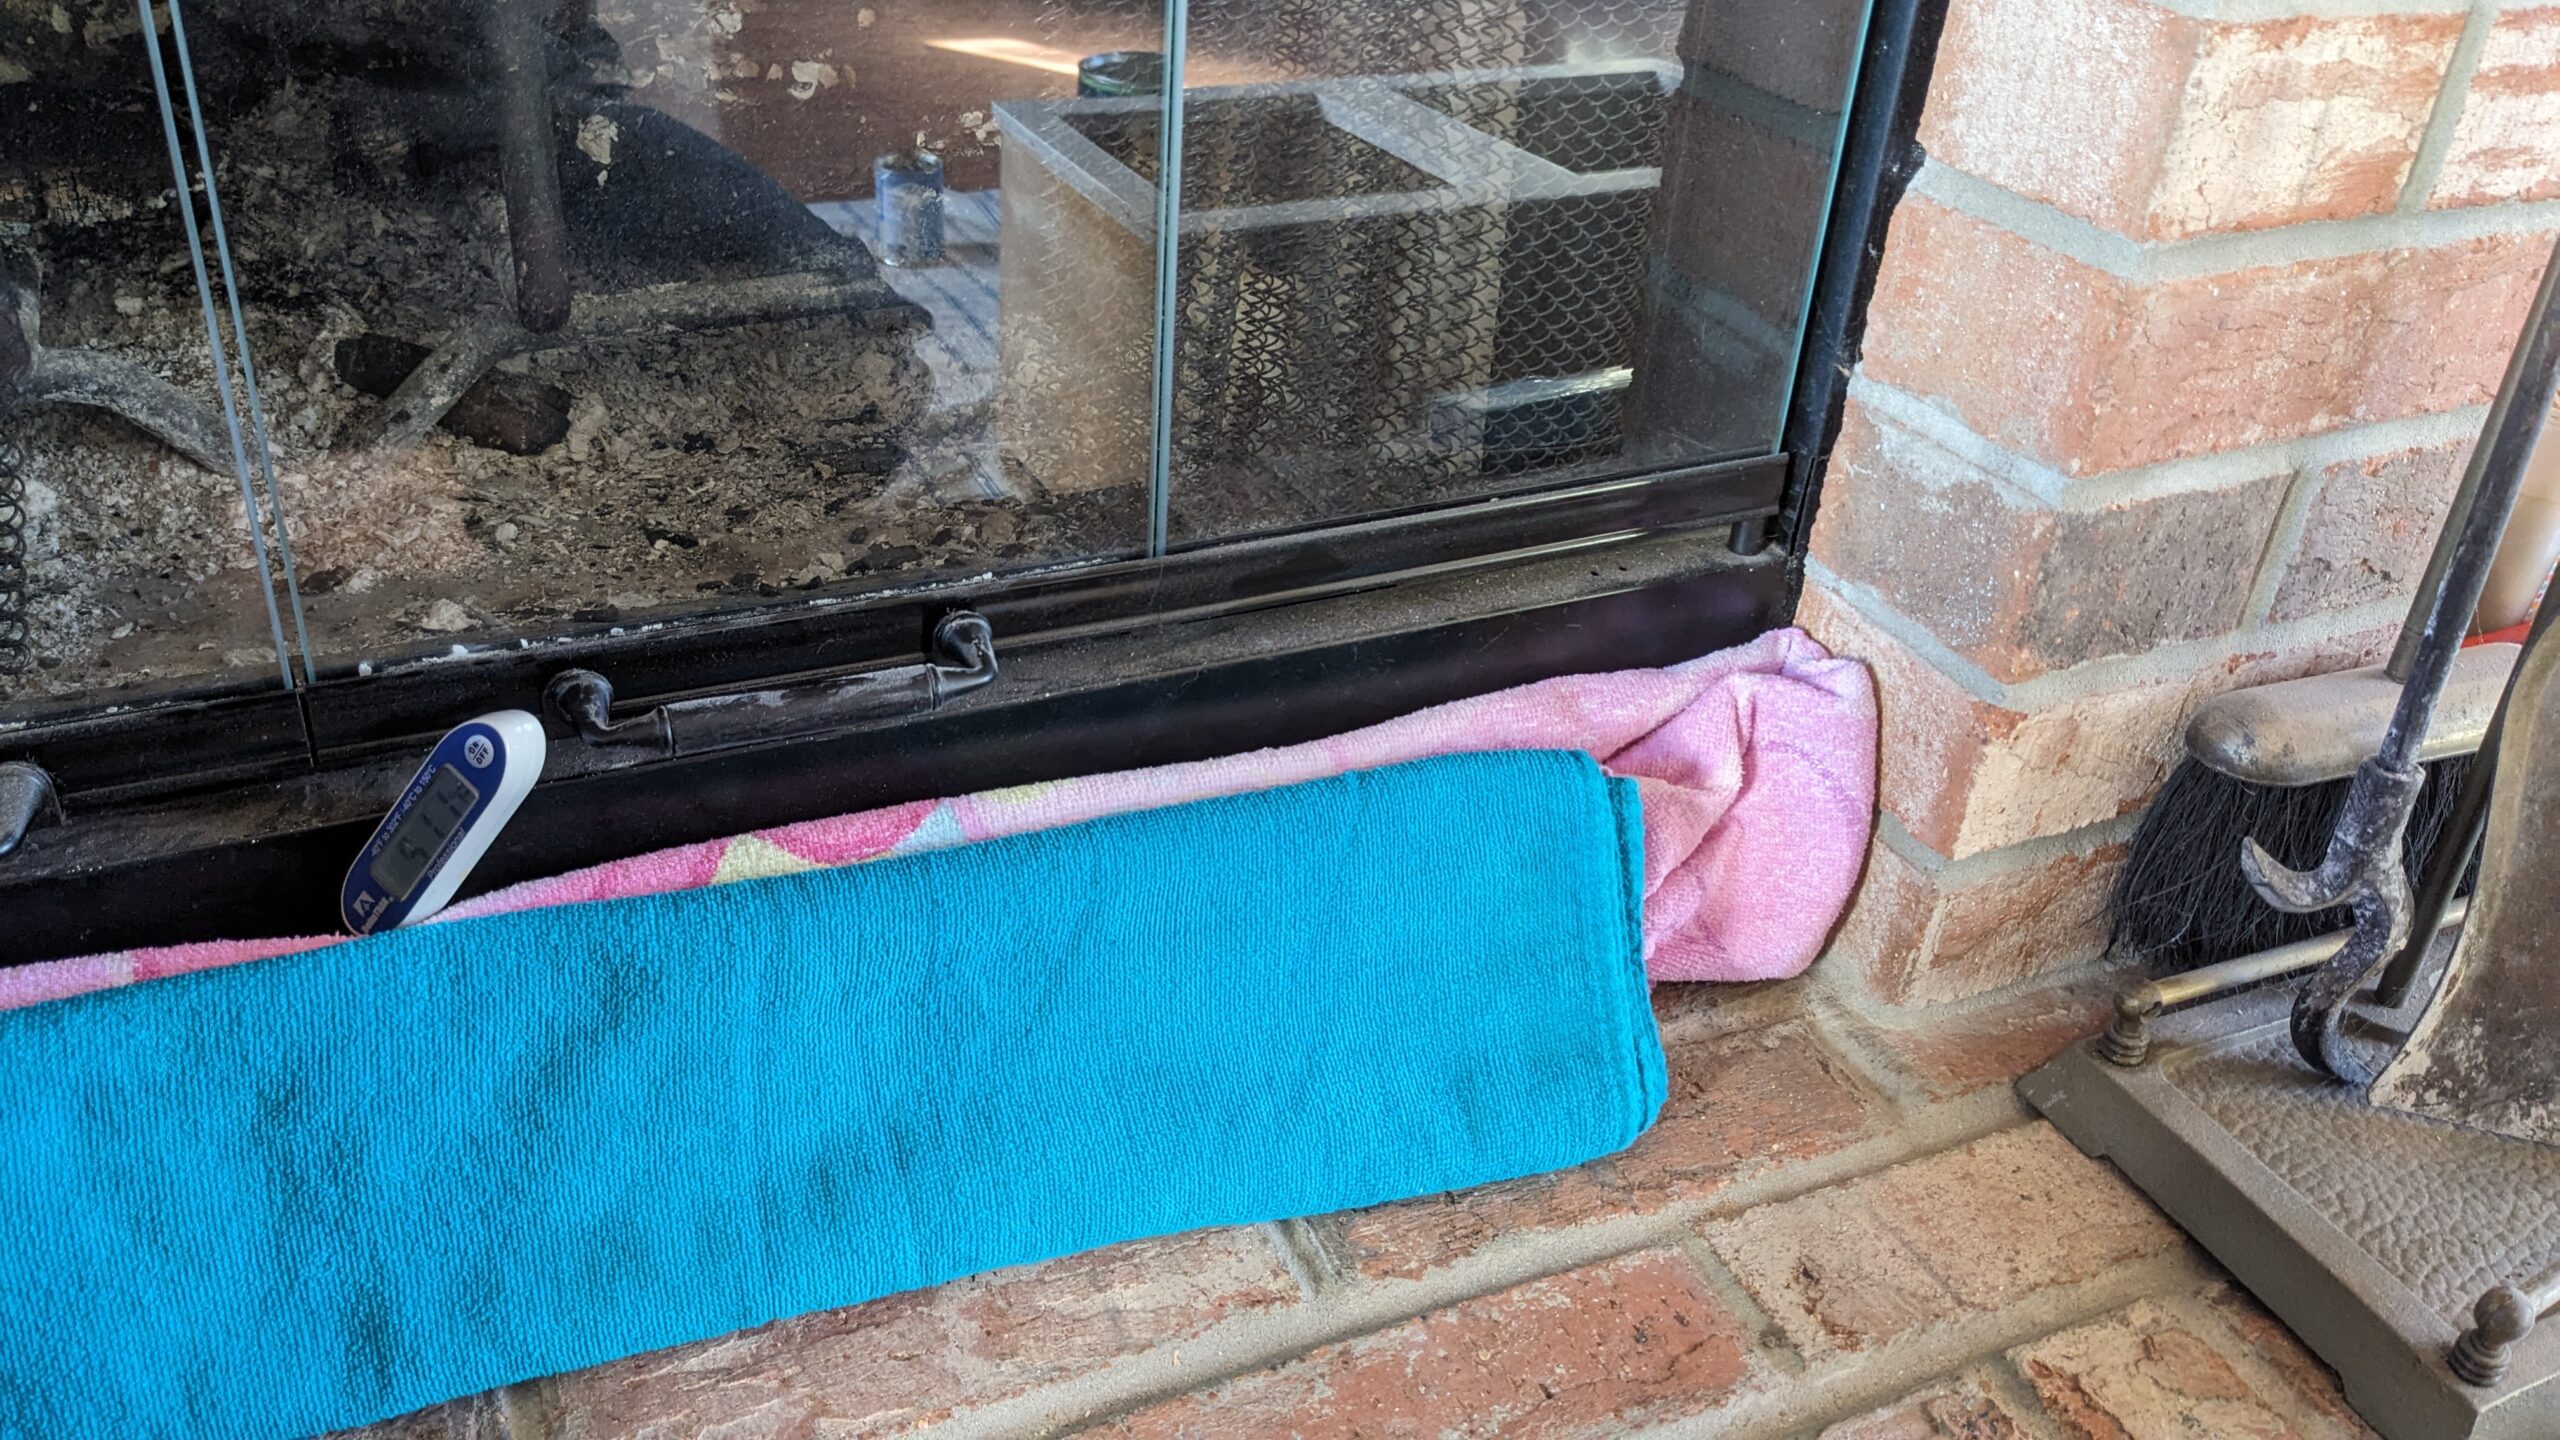
I used beach towels, a gymnastics mat, and some bumper plates to seal everything off. And an arduino logging data, with the temp/%rh sensor fished through the insulation into the fireplace.
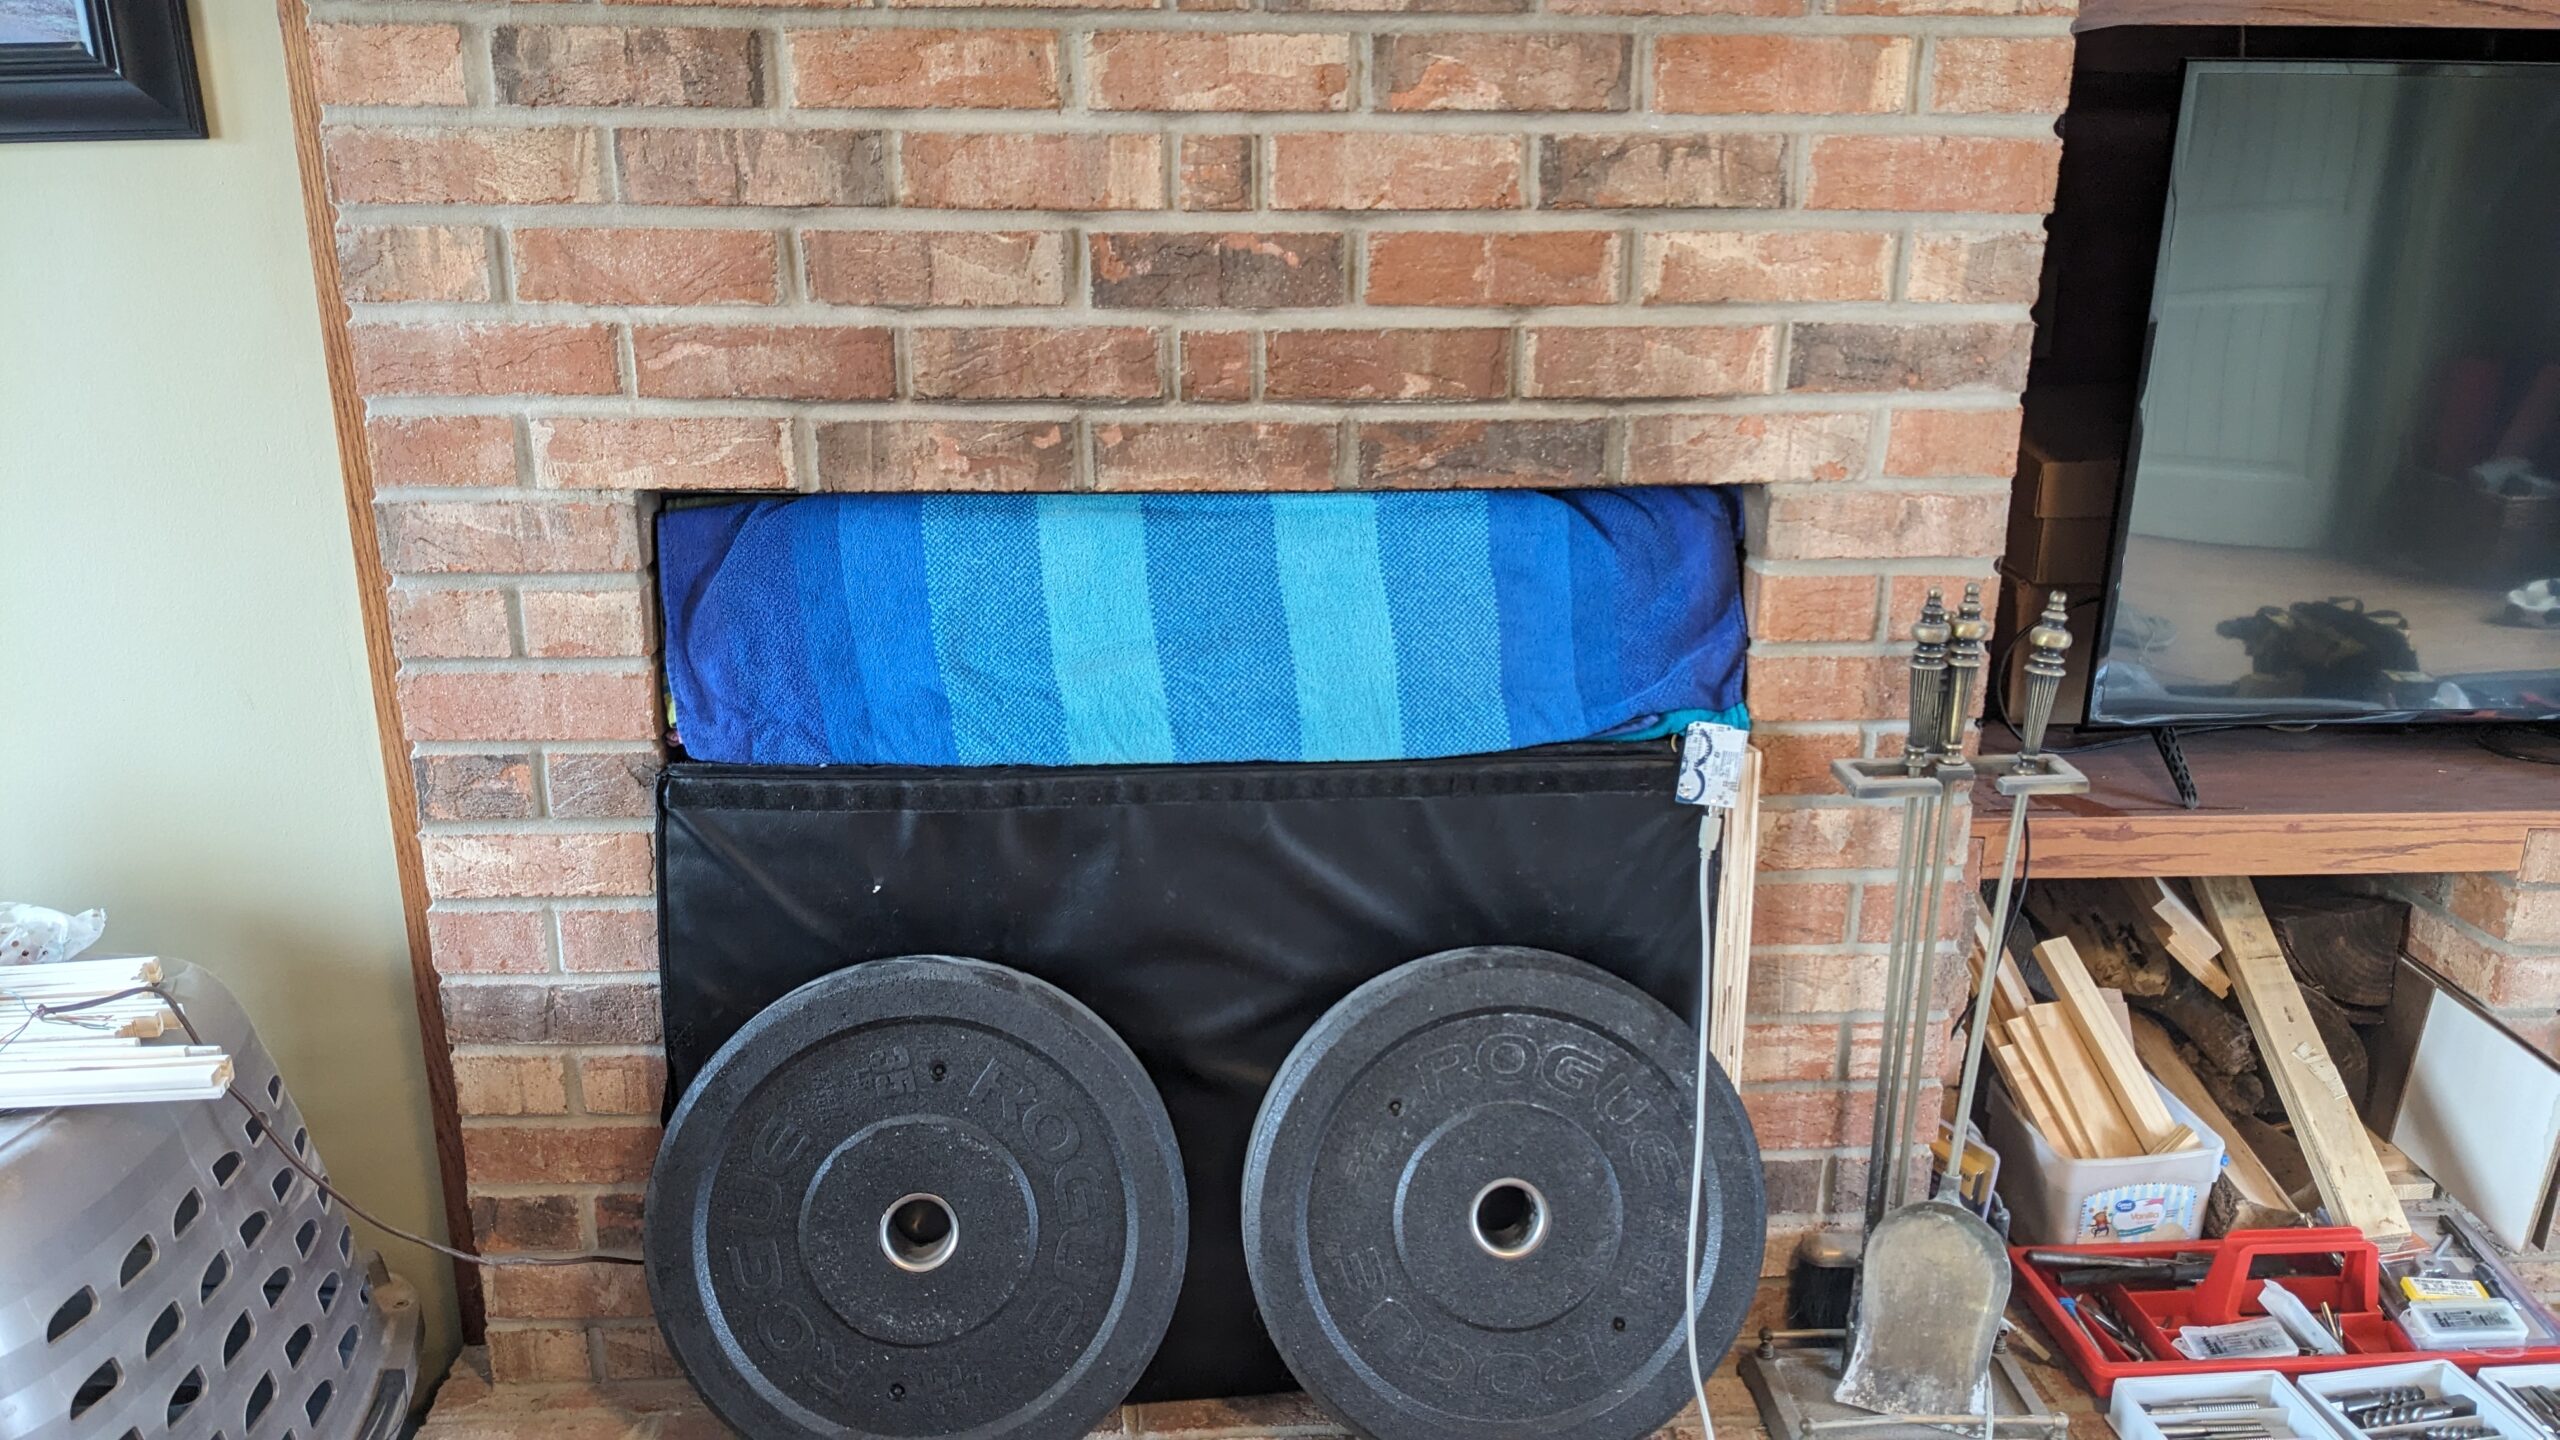
I’ll have to go see if I can pull the data I logged. I think the fireplace at this point was 20-30ºF overnight. Nothing between the inside of the fireplace and the outdoor air besides two layers of 14ga sheet steel… The heat pump earned its pay that night.
Step 5: Furring + insulating walls
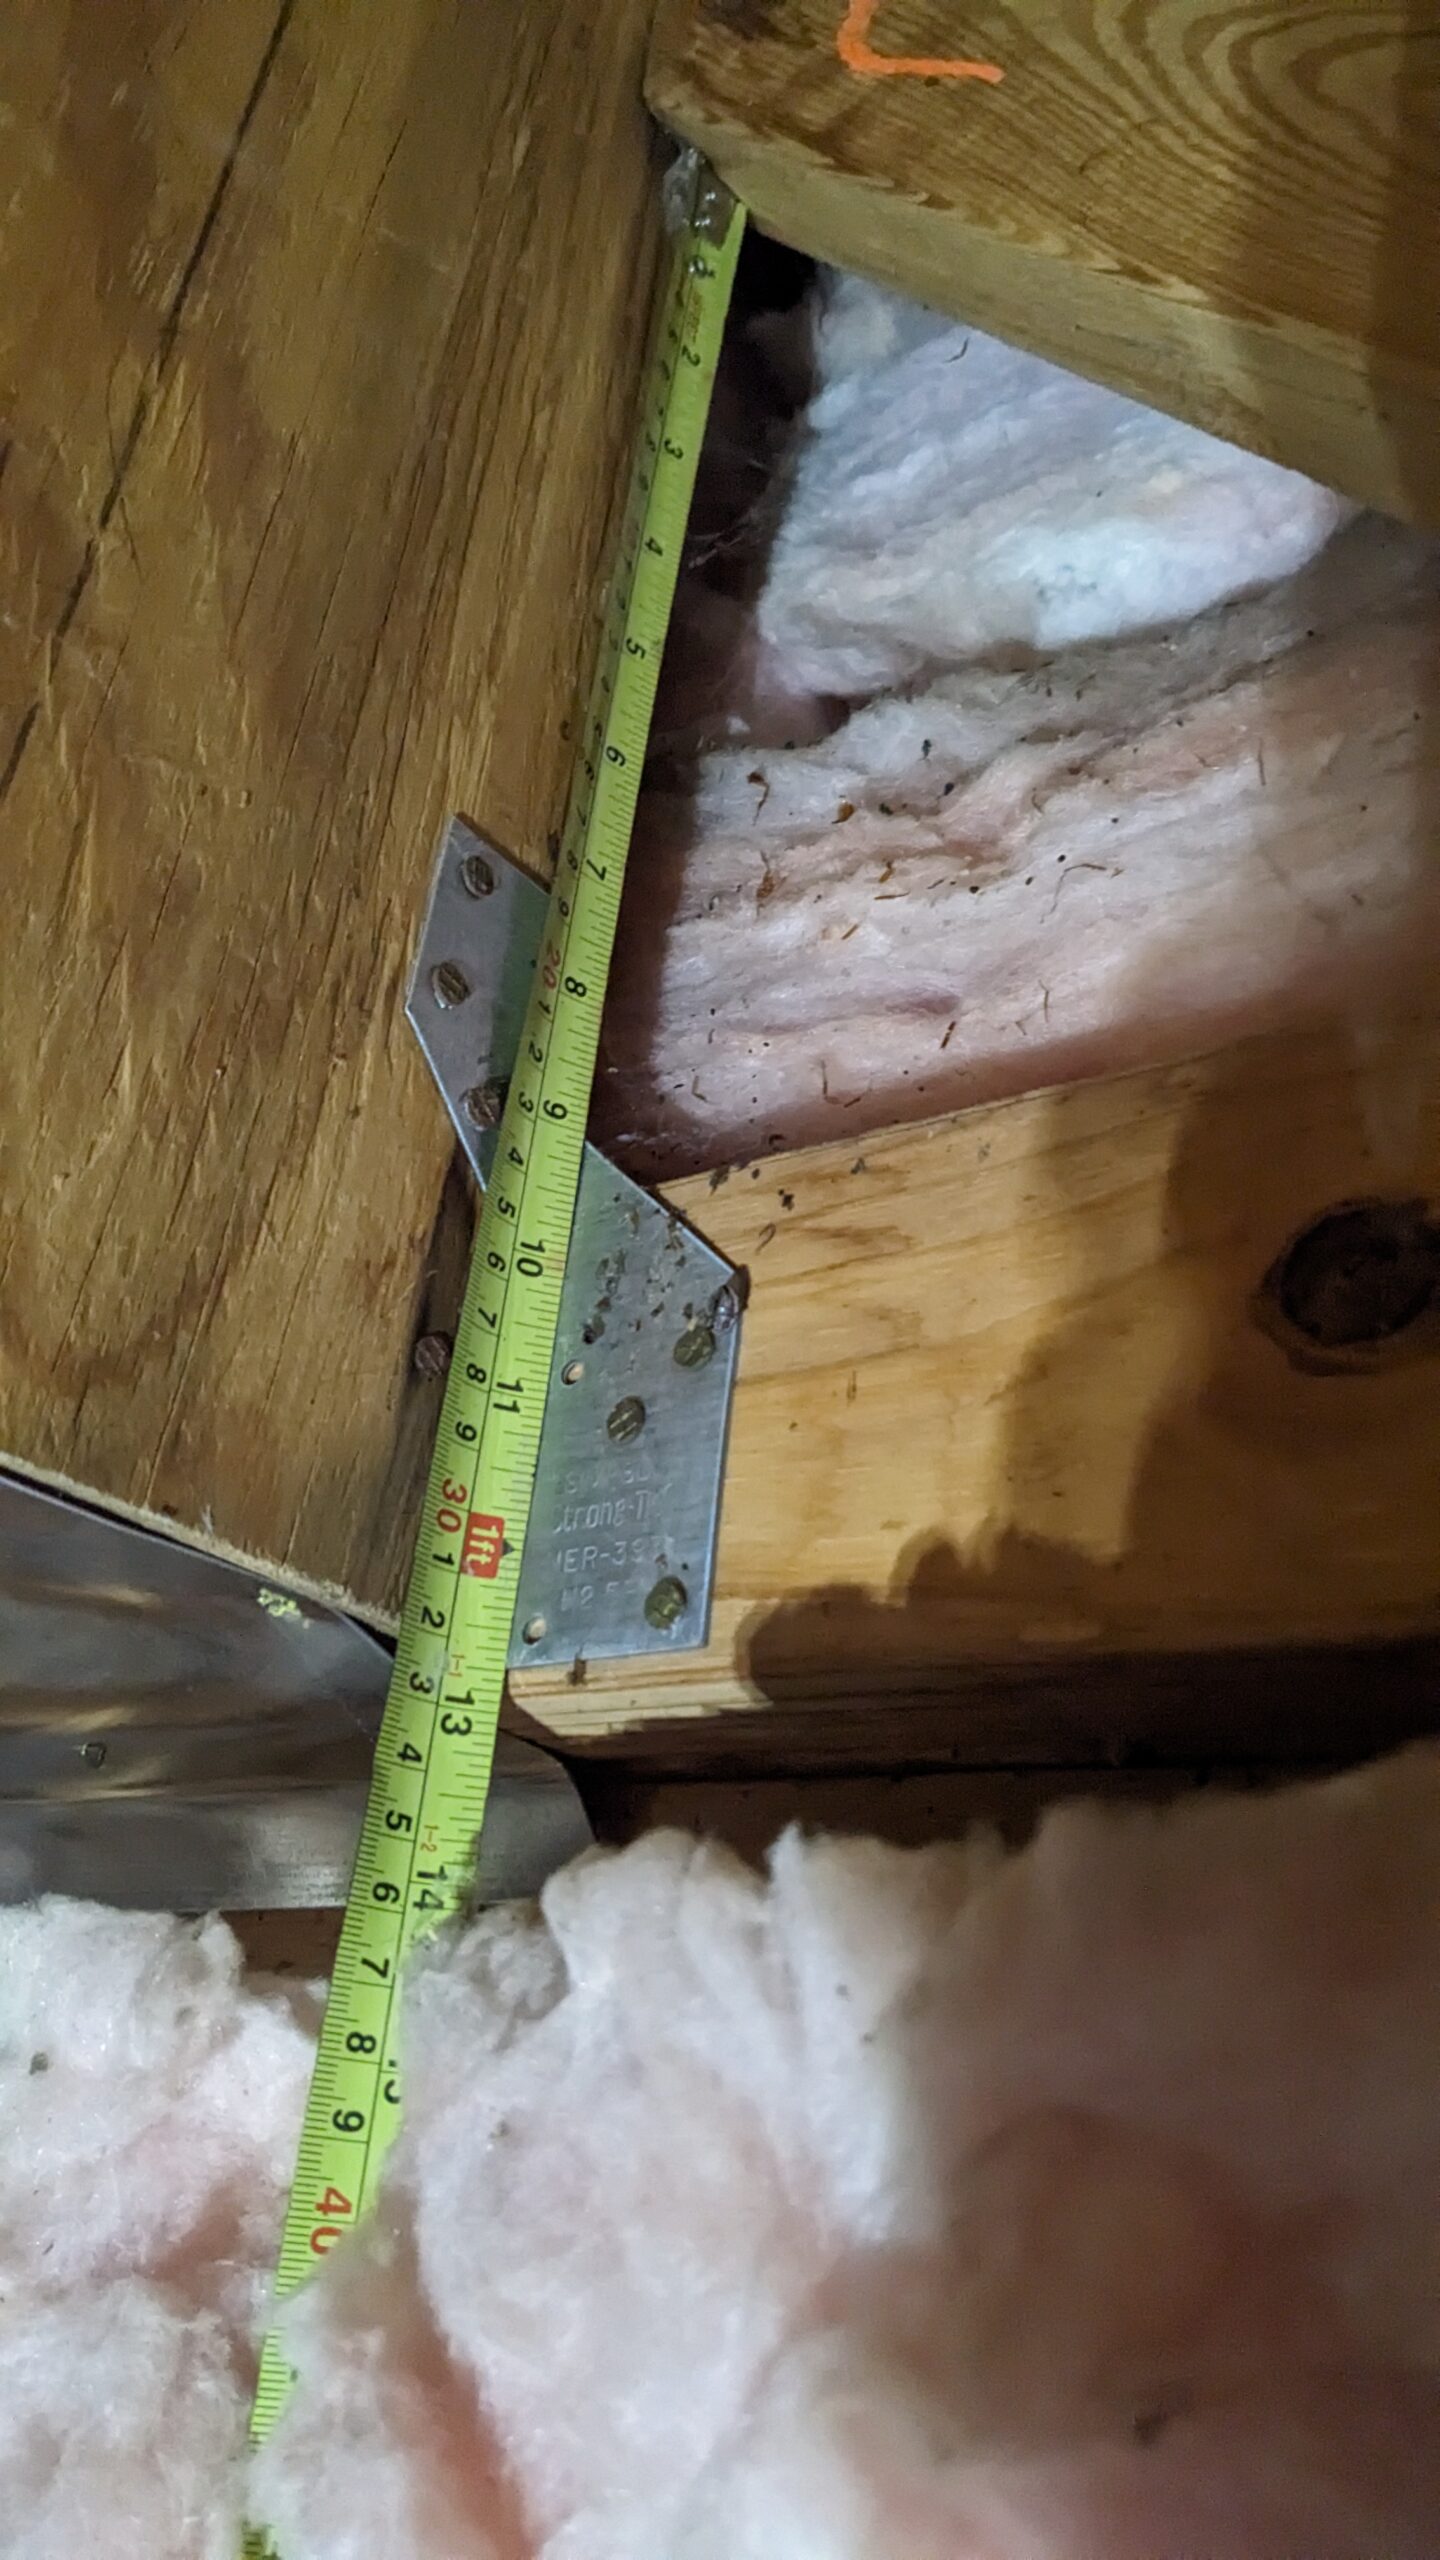
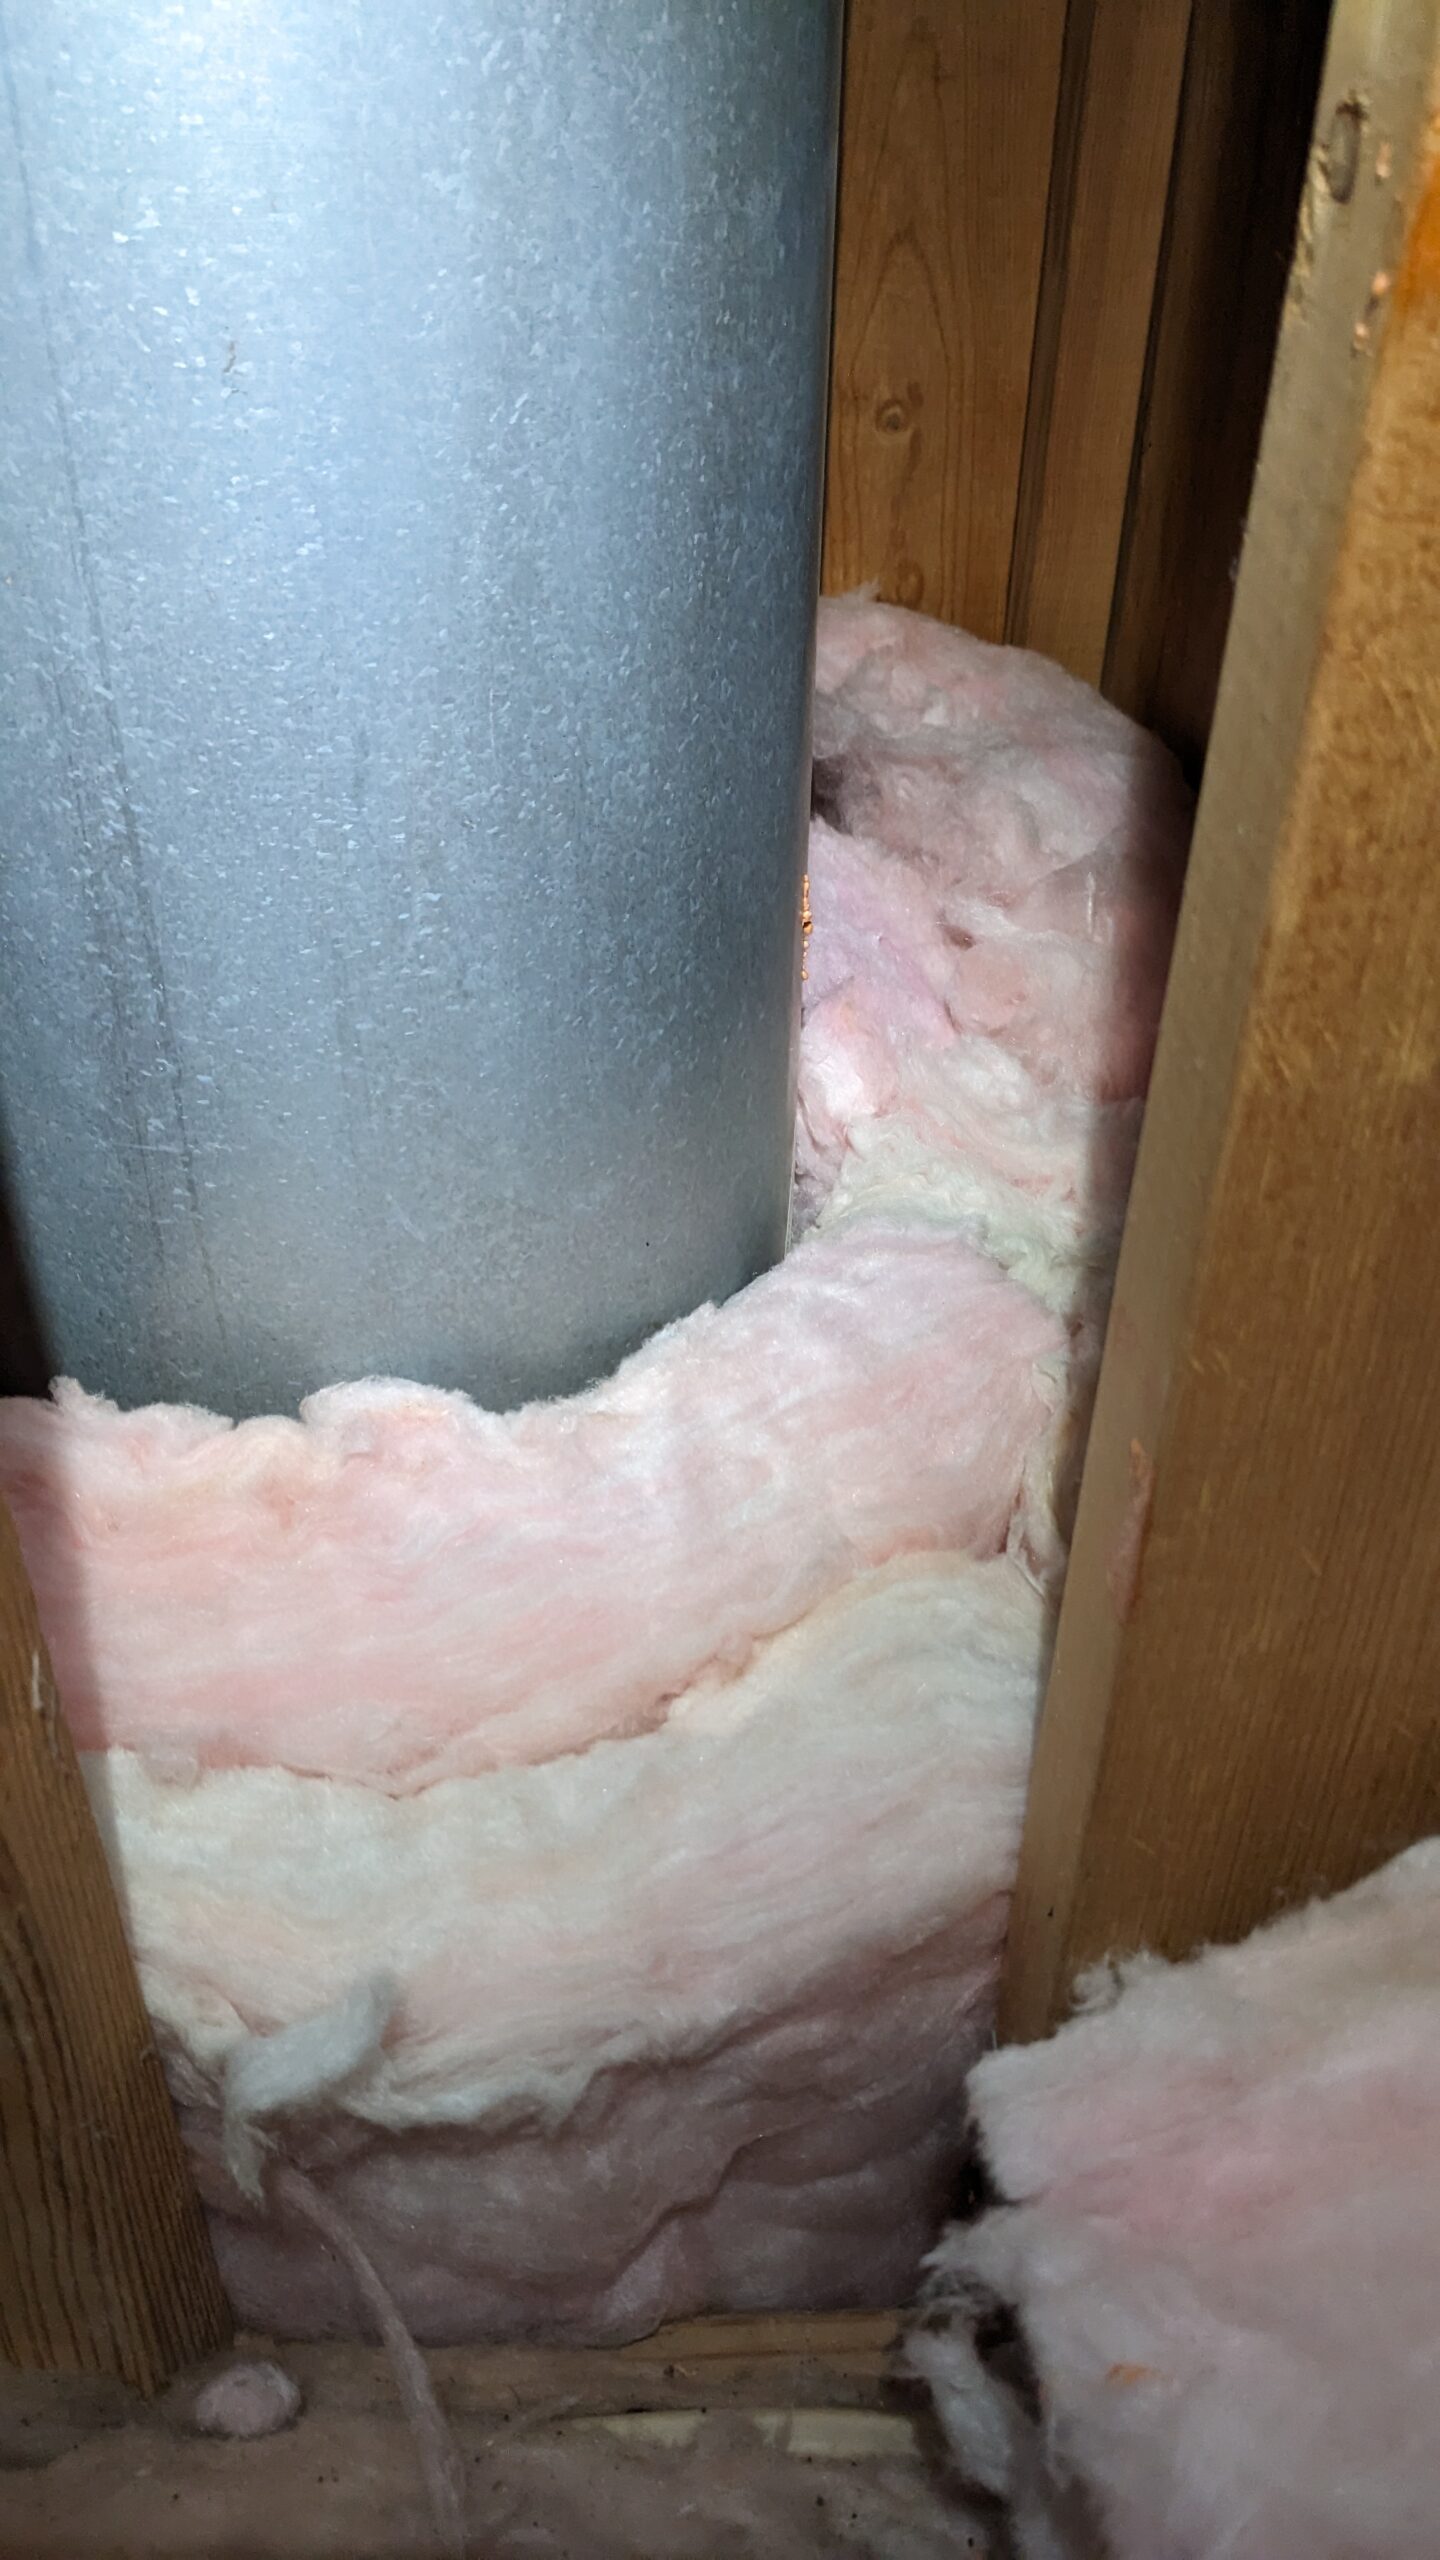
I chose R-19 faced insulation for this, because I have plenty of space back in this empty cavity and want better thermal performance. It’s meant for 2×6 walls, and I have 2×4 walls. So I need to add 2in. I’m just using a 2×4 ripped in half to give me $$3.5″/2 – (blade kerf)\approx 1-5/8″$$.
This will squish the fiberglass a tiny bit, but 5-1/2″ vs. 5-1/8″ is only a 6-7% compaction. In reality, the paper backing will bulge towards the middle of each cavity and the compression will only be on the edges. So maybe I’ll end up with R-18.5 or something. This is much better than R-13, and will use up some scrap lumber I have sitting around.
So I essentially just fur the existing studs out on the inside of the cavity. Only a few screws are required (2 or 3 in each strip, 24″ or greater spacing) since this isn’t structural. Small gaps between strips are okay if I don’t have boards that are full length.

You can see above how some gaps in furring strips are fine. You want to keep the paper on to aid in stapling, or one side will be hard to attach. You do this by not cutting all the way through.
You can take a moderate cut on the back side of the insulation at first then use your hands to part the red sea, as it were, while gingerly cutting further until you hit the paper without puncturing it. Then just pull the fiberglass from the paper, it’s not held on by much. Try and cut about 1/2″ wider than the space you have to fill, to create some friction against the studs and help hold the fiberglass in place. And I’m using the remaining unfaced insulation scraps (along with some unfaced I’m using in the attic) to insulate between the slab and the bottom of the firebox.
Step 6: Closing up
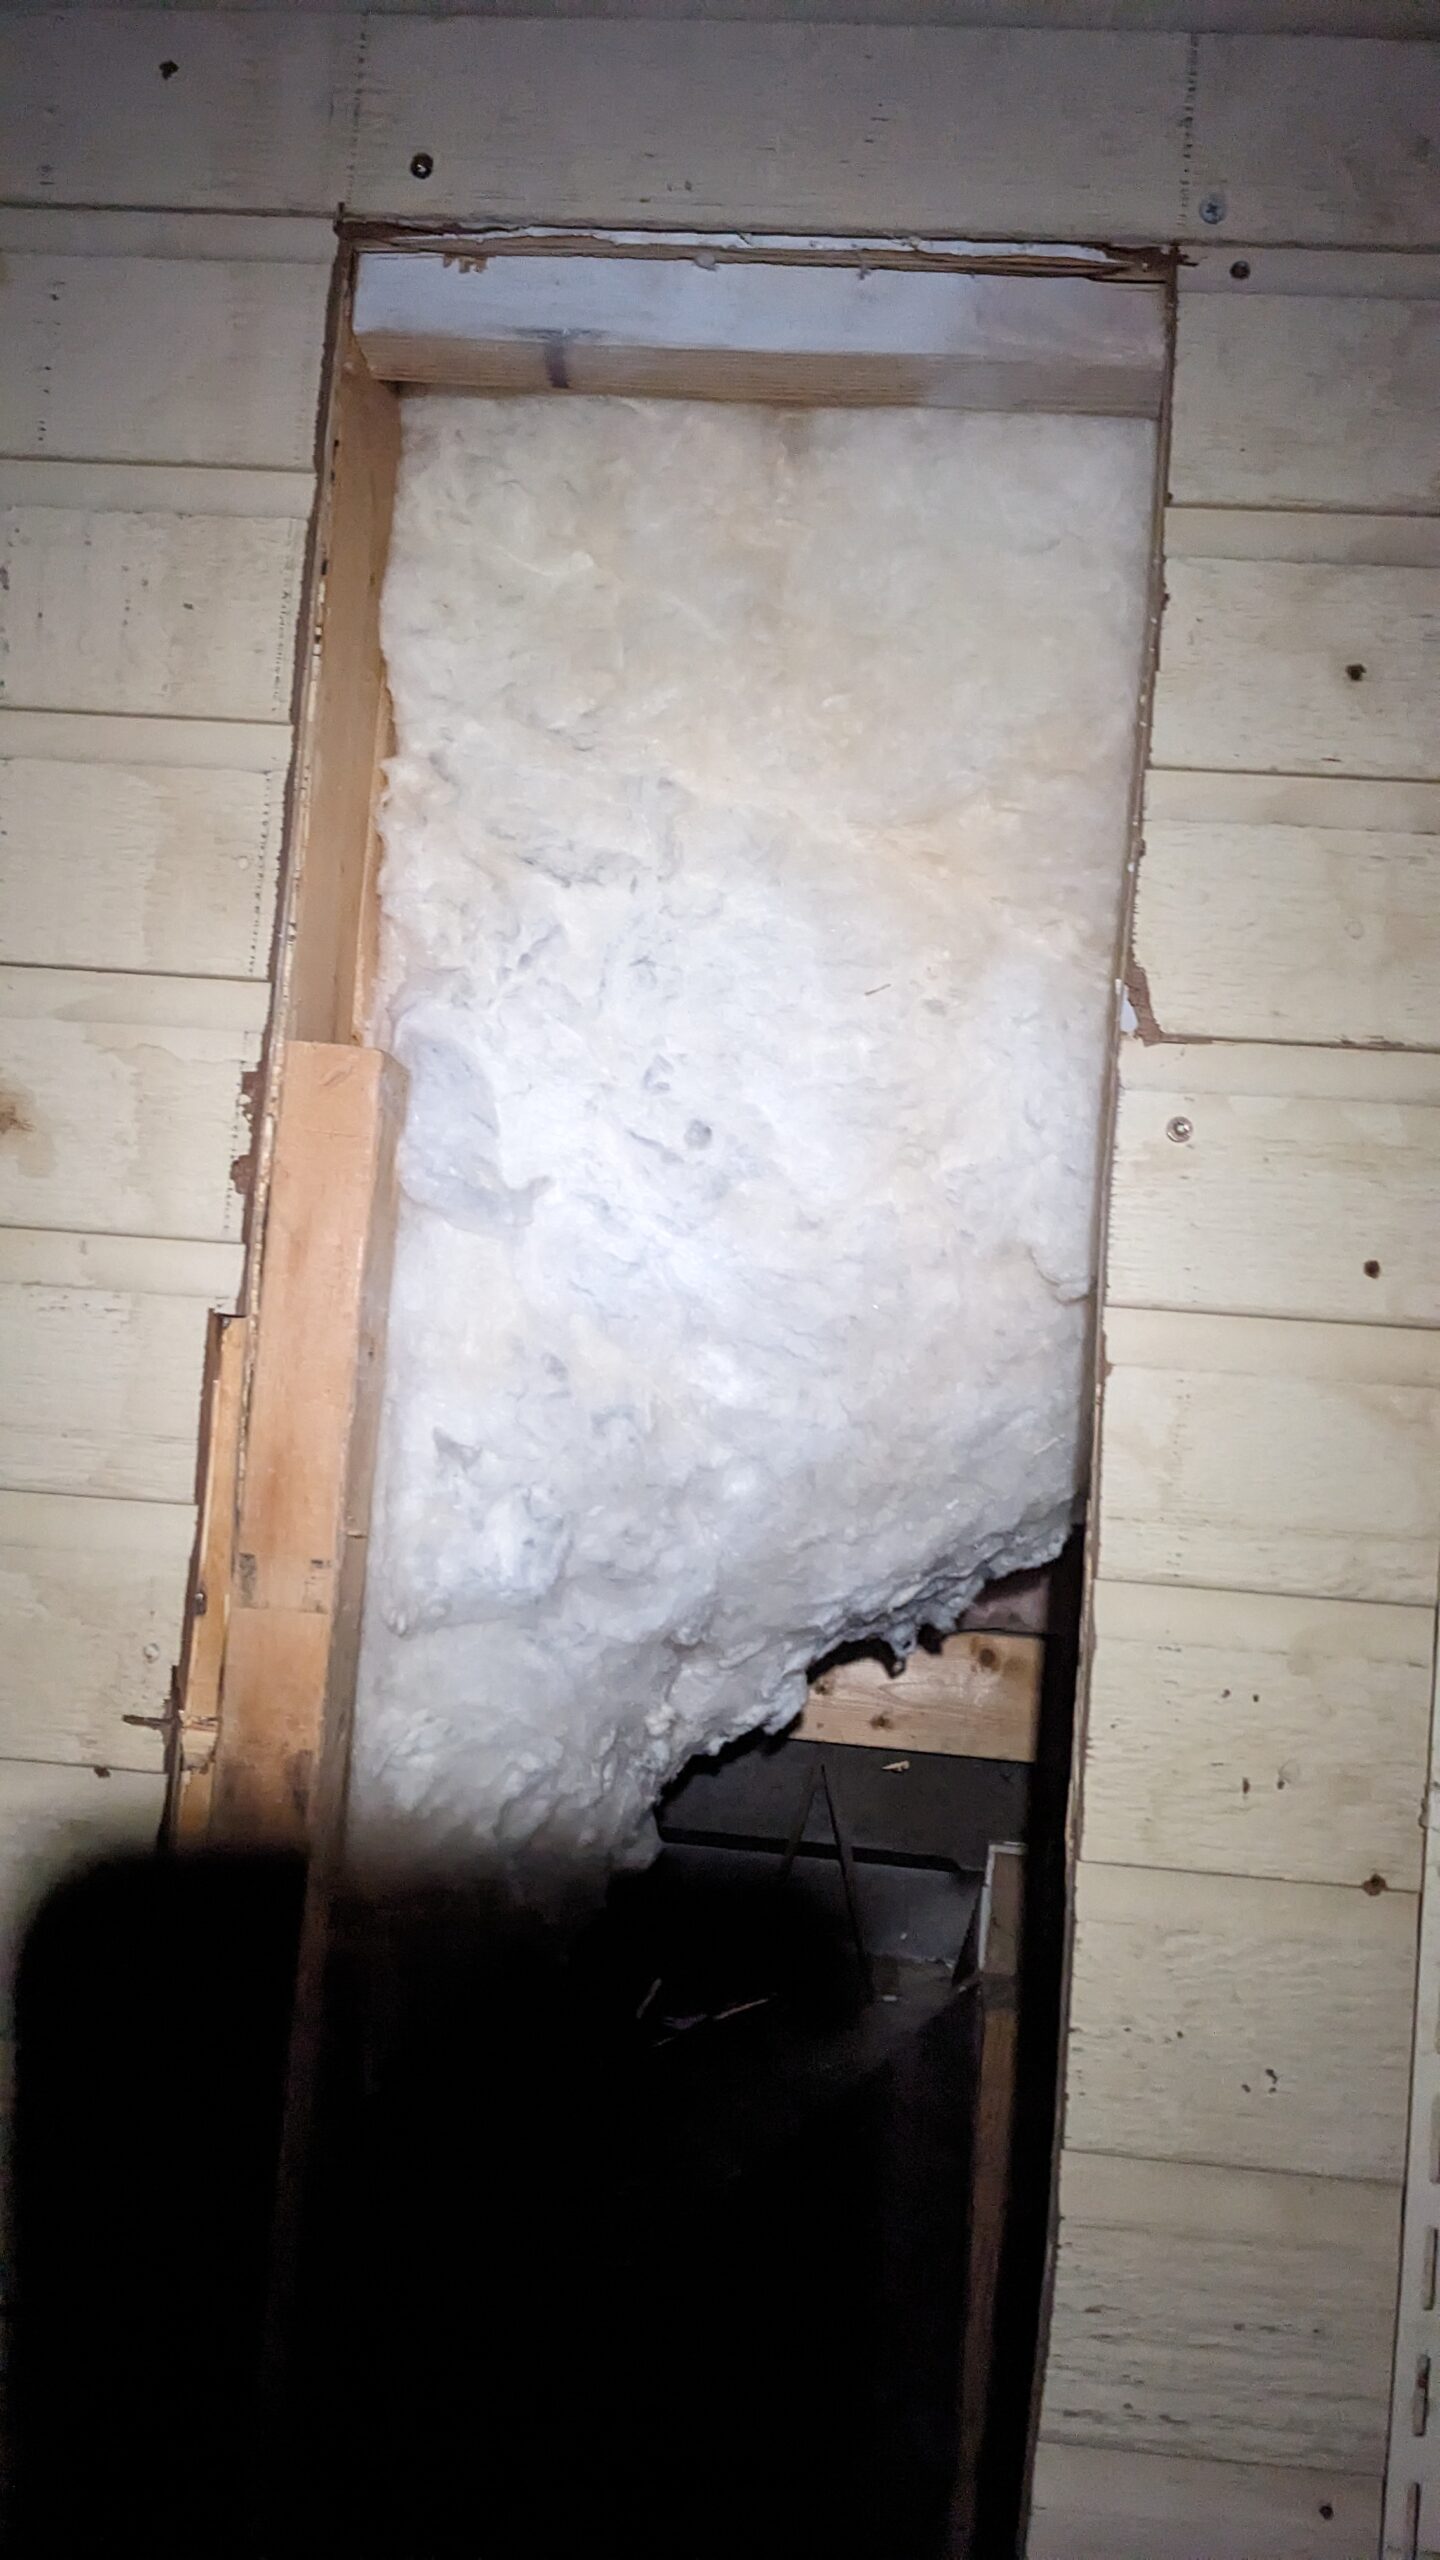
Everything is insulated except for one final strip over the access panel I cut earlier. I need to simultaneously insulate this stud bay, and close up the sheathing. How do we do this?
The answer is, not elegantly. I can’t really think of a perfect way to do this without crawling through tiny openings into the attic, which would jeopardize the way that I closed up the interface with the attic. So we’re going to do our best.
First I cut the insulation strip to length, and stapled it to the studs up high. Then let gravity do the rest and let it drape to the bottom of the cavity.
Next I cut some scrap plywood into strips and attached them to the top and right side of my hole. This will allow me to reattach the plywood that I removed, kind of how I would do a large sheetrock patch. Then cut a strip from a 2×4 and attach it to the left side, which was directly up against a stud, and can get screwed in flush to the stud with screws from the side.
These strips were just large enough (or my opening was just small enough) that I couldn’t fit my chest through the cavity when they were installed. So this couldn’t have happened earlier.
Now that the strips are in place, I am reaching one hand in with my staple gun, holding the insulation straight with the other hand, and stapling it in where I can by feel. Below some threshold, only one side of this insulation is able to be stapled in. You can use your hands or some long tools (prybar, BBQ fork, bamboo skewer, etc.) to help poke and pull it into place down low where we can’t staple. There are no images of this process for obvious reasons.
Now we screw the removed flap back into place. Adding some plywood the same thickness as the original hardboard siding on top to make it all flat. Go ahead and use lots of construction adhesive here, you don’t want water leaking in for any reason, or air drafts. I used two entire tubes here.
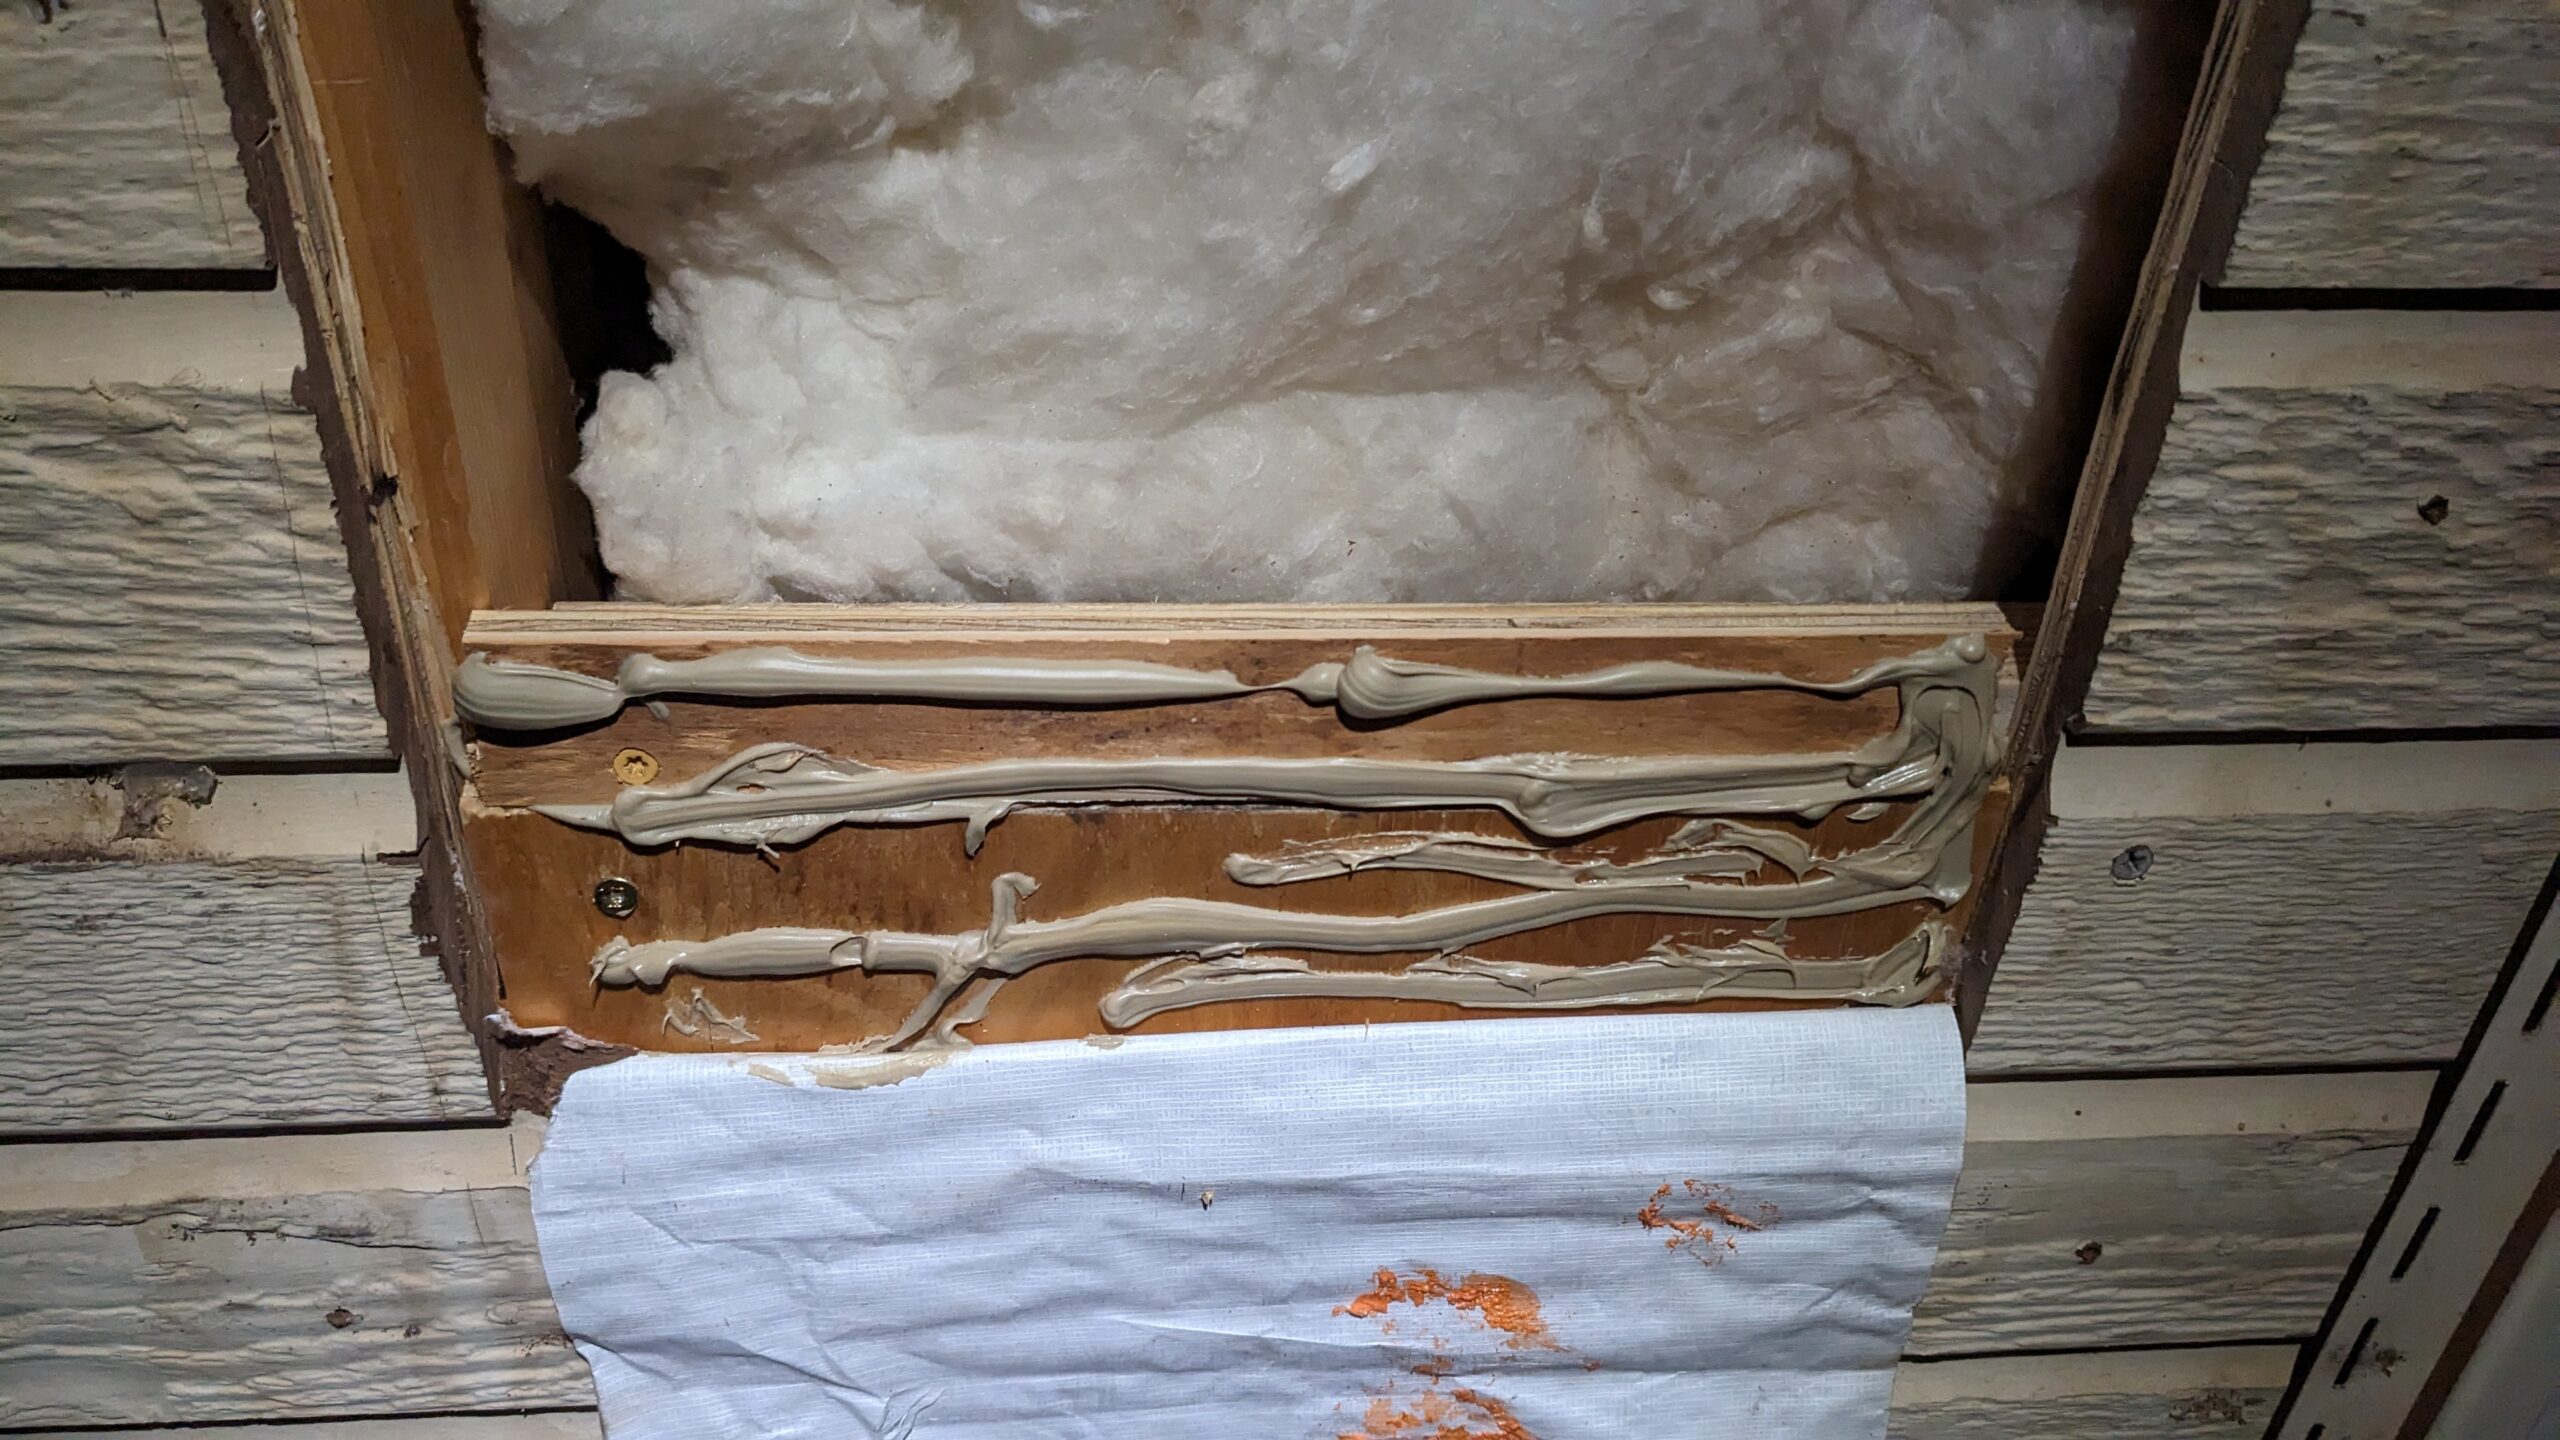
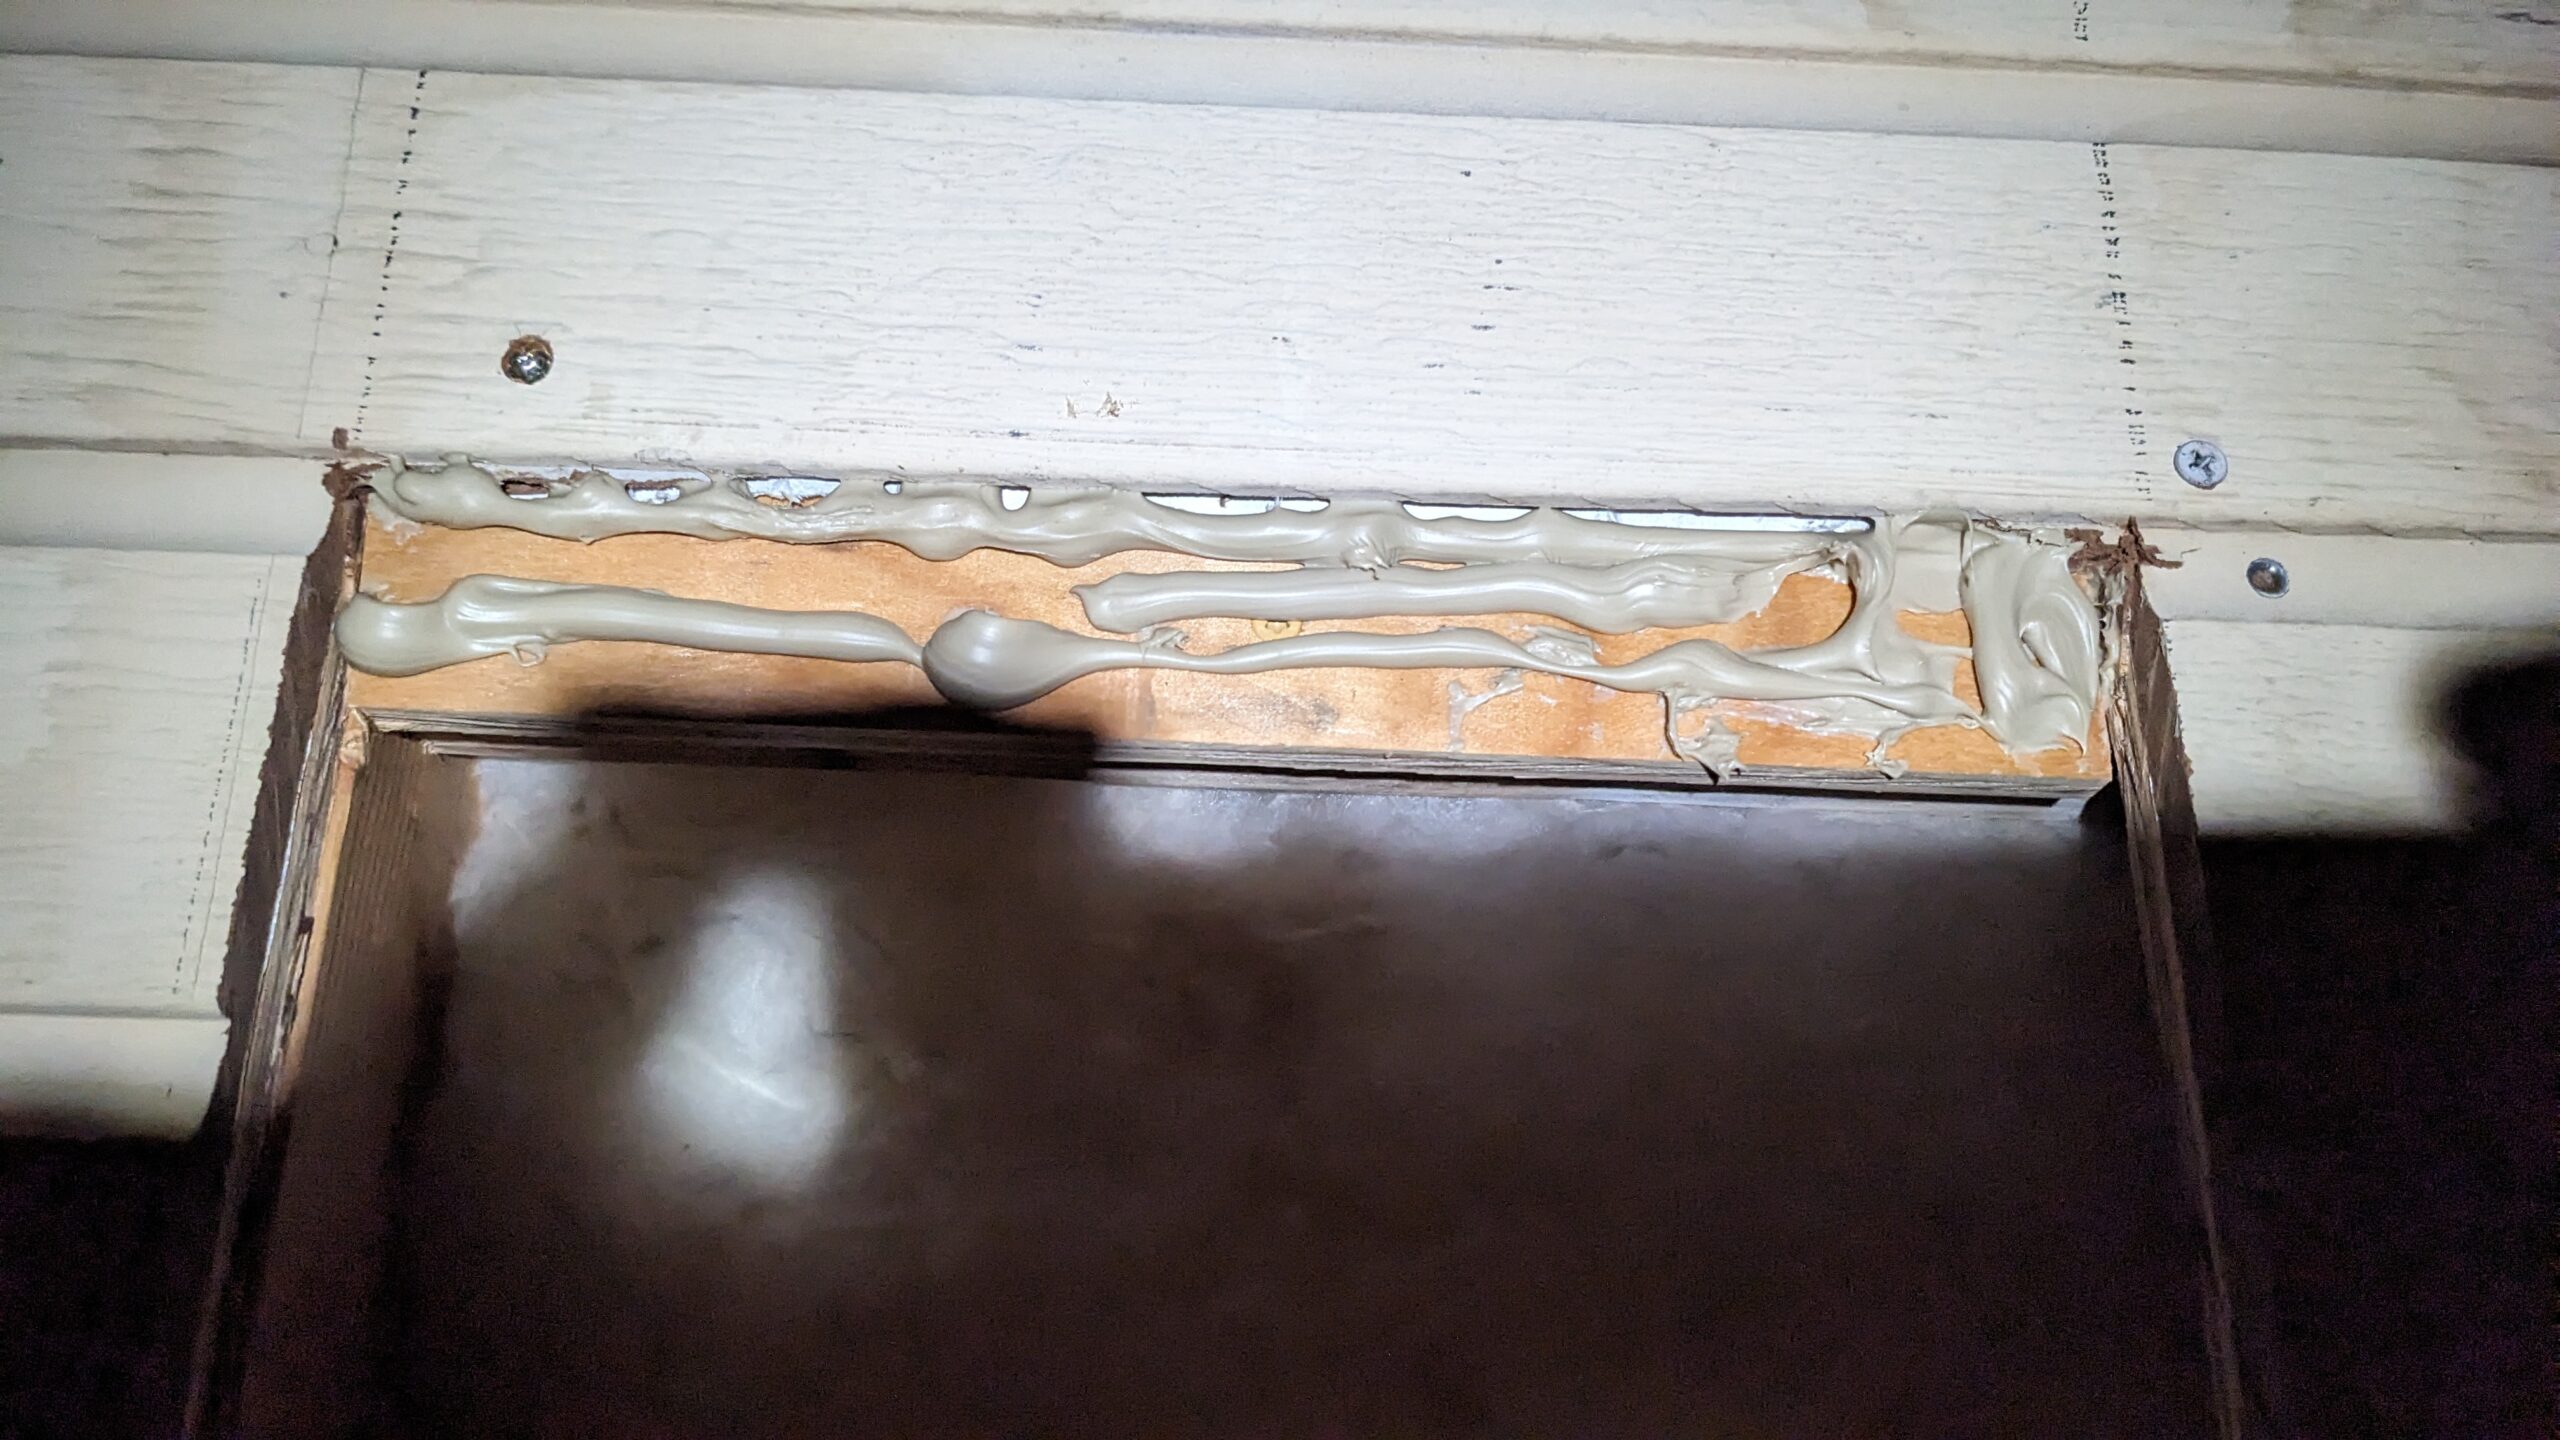
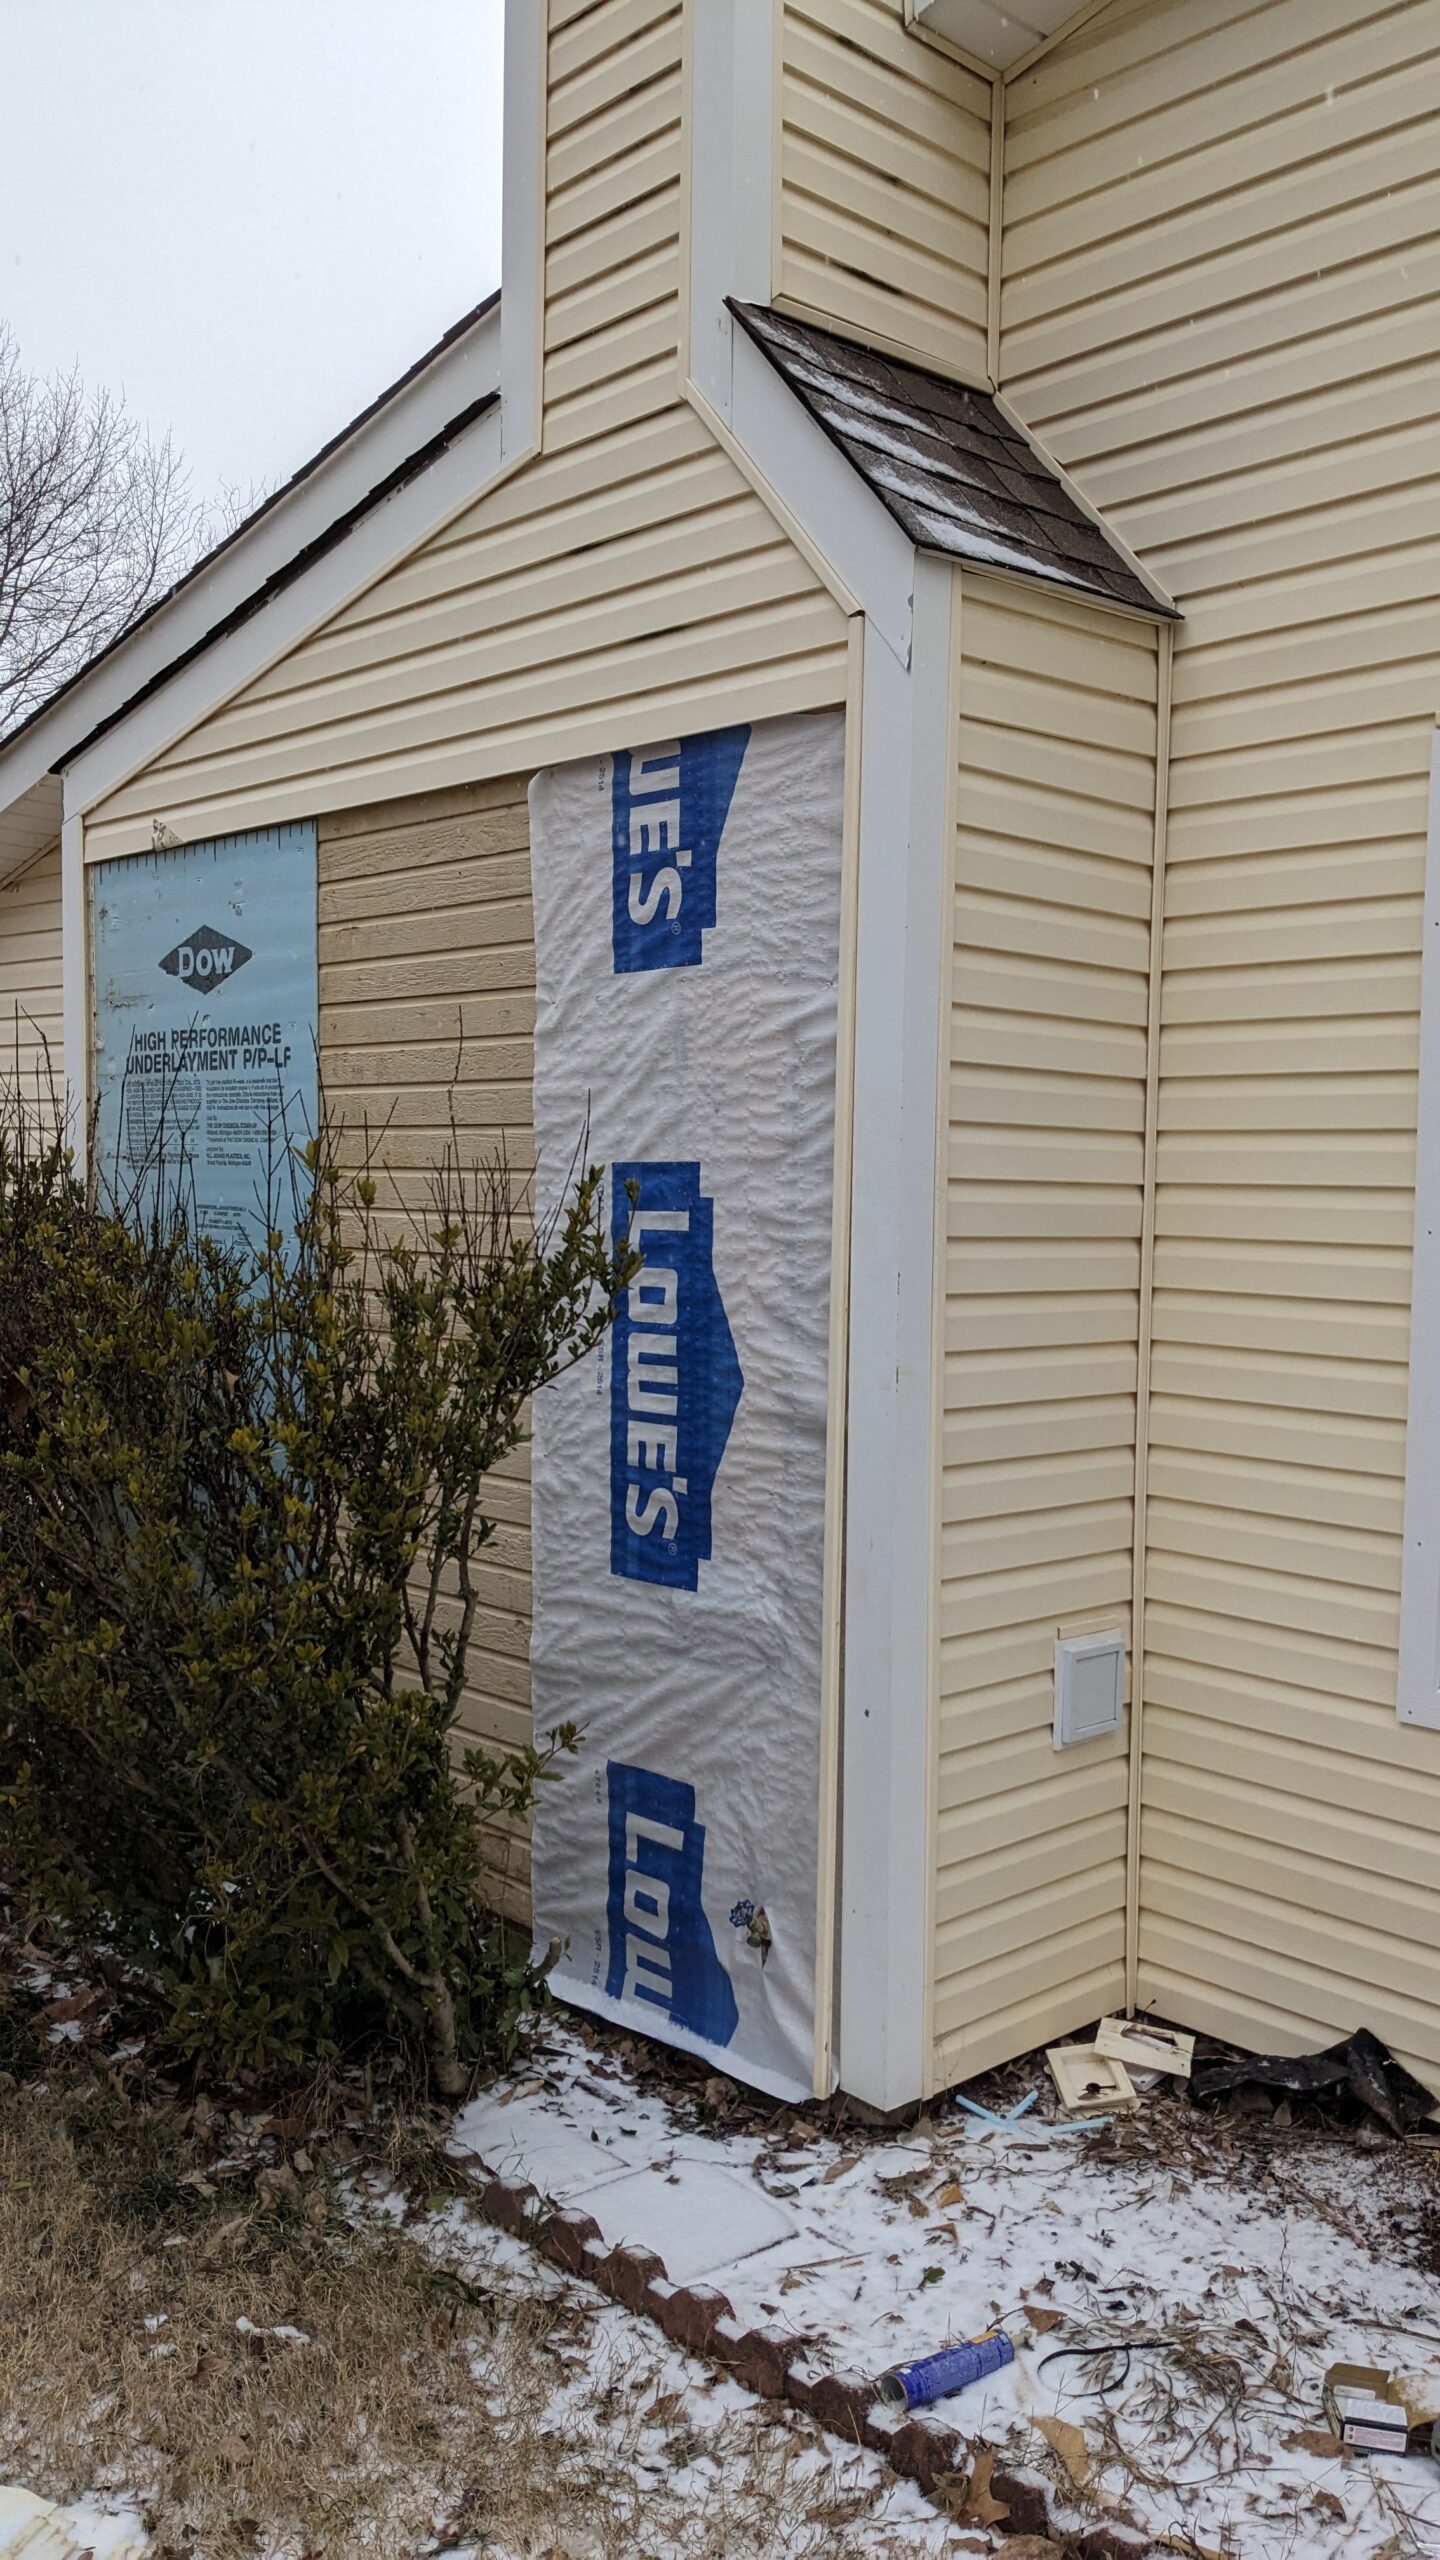
After closing up with plywood, glue, and house wrap,the process is the reverse of tear down and how I’ve done it in the past. Replace the R-1 insulation, tape it this time, and nail the siding back on from bottom to top. I waited until it warmed up a bit to do that, since I didn’t feel like hammering all of this in the cold. Living in Alabama has made me weak.
Epilogue:
This sucked. I don’t know that anyone was expecting a winter storm to come through right after christmas. And the pressure of needing to get this done quickly made it a long miserable two days.
I already mentioned that I bought a couple of ESPs and DHT-11 temperature and relative humidity sensors. Since this project I’ve had one setup in the back room next to the fireplace connected to Home Assistant. I made a post or two about this in the past (this post took me a long time to edit with 93 photos taken). I would like to design a little 3D printed case for them so that I have a clean compact module that just requires a USB micro-b connector that I can setup for data logging in the future.
I want to rip off one small strip of siding above the air intake, re-trim it, and put in longer j-channel. But I need to order our siding from a specific supplier to match, and that will take a while to show up. A handle also needs to be installed onto the flap to make opening it easier.
Other than that, the project is complete and has made the back half of the house much more pleasant. I’m regularly seeing temperatures against the back wall only 1-2 degrees lower than the setpoint lately. There is some more insulation to go into the attic and a few gaps around light fixtures to be sealed. Hopefully I’ll be done with that in the coming weeks.
Leave a Reply